How to Add Images to Android Project through Android Studio
As an Android developer, you always want to add assets to your Android project. Here, let’s learn how to import images to your Android project easily using Android Studio.
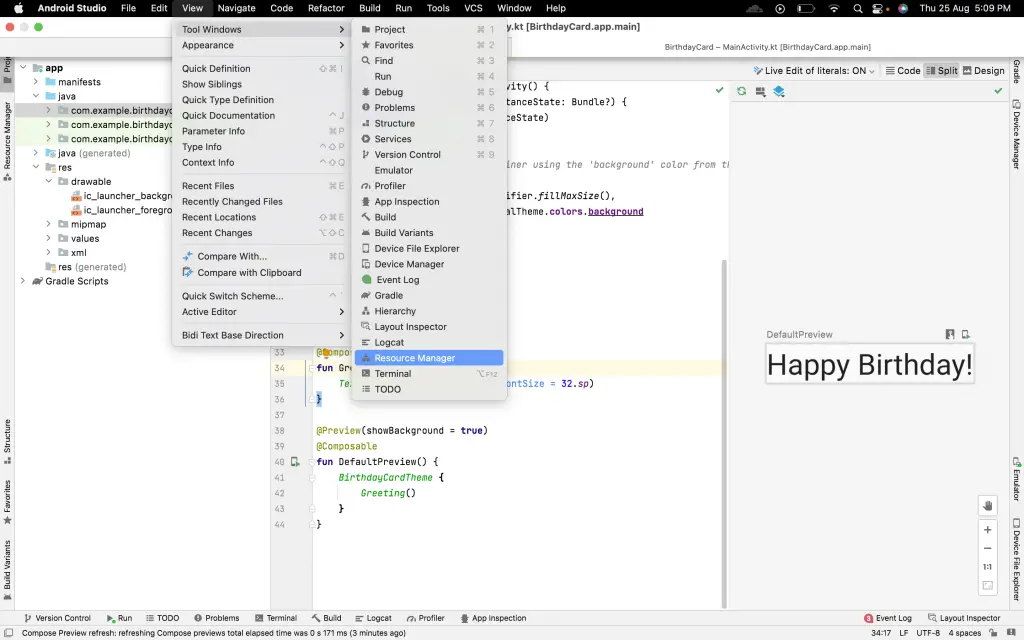
- Firstly, click on the View menu from the top bar of Android Studio. Then select the Tool Windows option and then choose Resource Manager. See the screenshot below for reference.
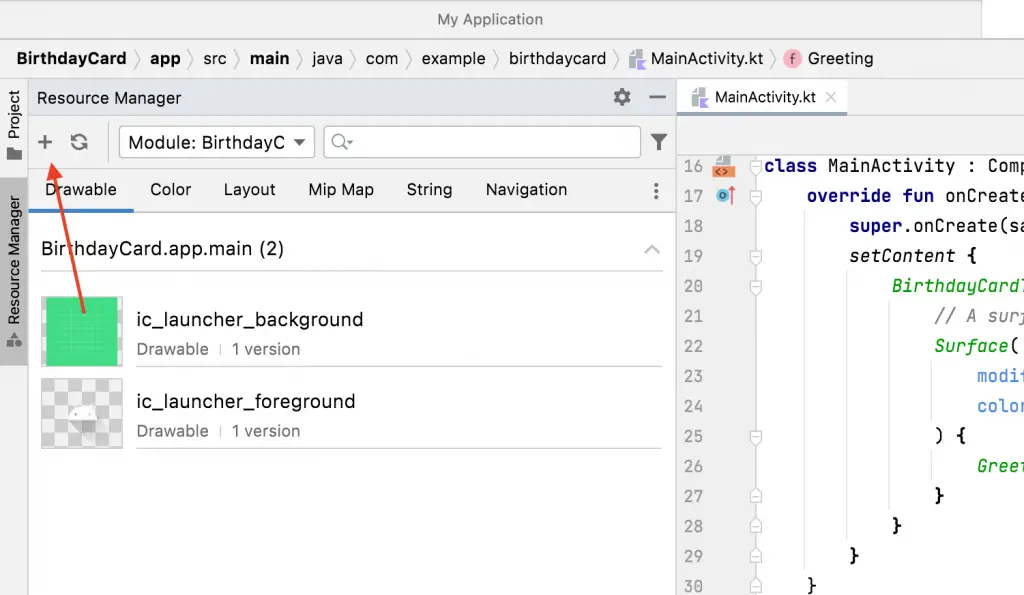
- The Resource Manager pane will be opened. Now, click on the plus icon given on the left top of Resource Manager.
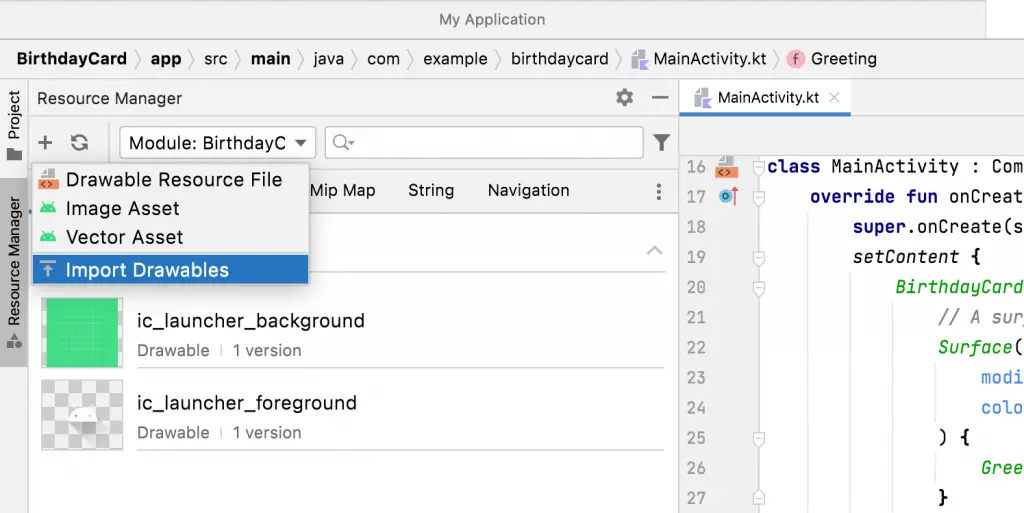
- Then click on the Import Drawables option and choose the image you want to use.
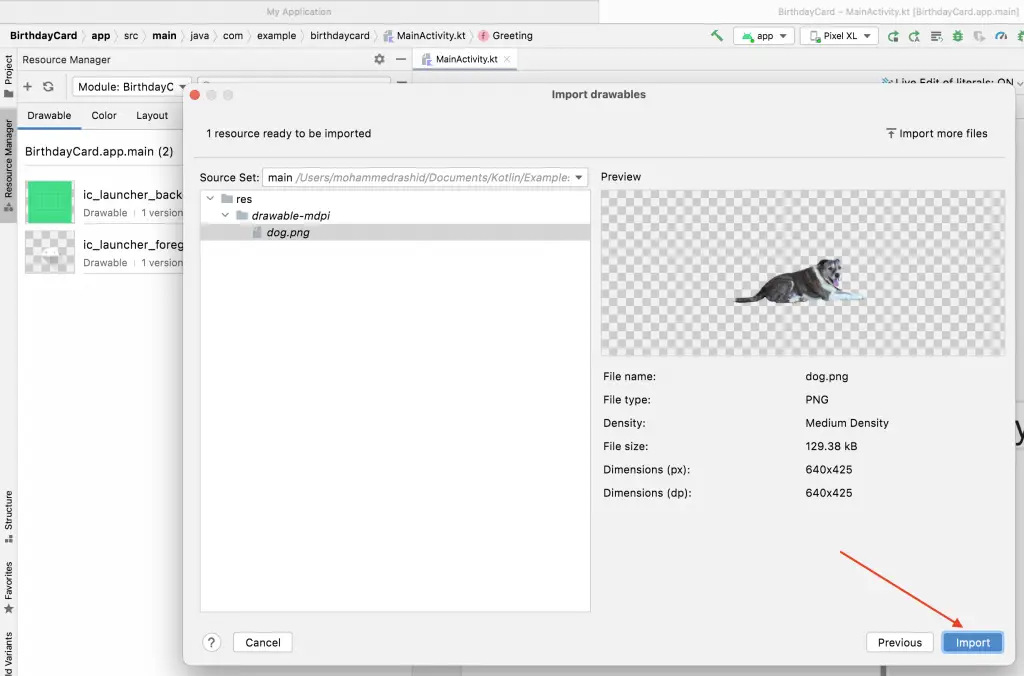
- A new window will be opened. Then choose Density as your QUALIFIER TYPE. Also, select an appropriate VALUE according to your needs.

- Click on Next and then click on Import. The image will be imported into the drawable folder.
That’s how you import images to your Android project using Android Studio. Read this blog post to know how to display images in Jetpack Compose.


5 Comments