How to Change Image Opacity in iOS SwiftUI
In this blog post, we’ll delve into an important aspect of creating immersive user interfaces in SwiftUI – manipulating image opacity. Adjusting the opacity of images can give your app a polished and dynamic look, and SwiftUI makes this process surprisingly straightforward.
Let’s take a closer look at how you can easily adjust image opacity in SwiftUI to create more interactive and visually appealing apps.
Basics: Adjust Image Opacity
SwiftUI makes adjusting image opacity as simple as using the .opacity() modifier. Here’s how you can do it:
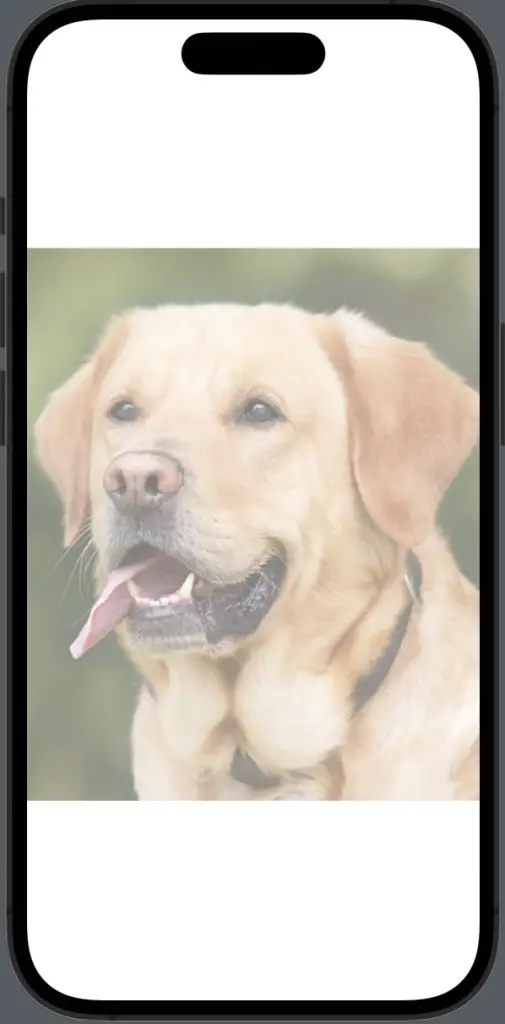
Image("dog")
    .opacity(0.5)
In this example, the image named “dog” is displayed with 50% opacity.
Following is the complete code for reference.
import SwiftUI

struct ContentView: View {

    var body: some View {
        Image("dog")
            .opacity(0.5)
    }
}

struct ContentView_Previews: PreviewProvider {
    static var previews: some View {
        ContentView()
    }
}
Understanding how to manipulate image opacity in SwiftUI is a powerful tool for building visually dynamic user interfaces. Whether you’re looking to subtly enhance your app’s visuals or need to highlight specific UI elements, SwiftUI’s approach to opacity can help you achieve your design goals.