How to add Underlined Text in Android Jetpack Compose
Sometimes, you may want to draw attention to a text by underlining it. In this Android tutorial, let’s learn how to add underlined Text in Jetpack Compose easily.
Here we use the Text composable to display text and the TextDecoration class helps to add underlining below the text.
TextDecoration is a class that can be used to add different styles to text, such as underlining, strikethrough, etc. In this tutorial, we will focus on the underlining text.
See the code snippet given below.
@Composable
fun UnderlinedText() {
Text(text = "This text is underlined",
textDecoration = TextDecoration.Underline)
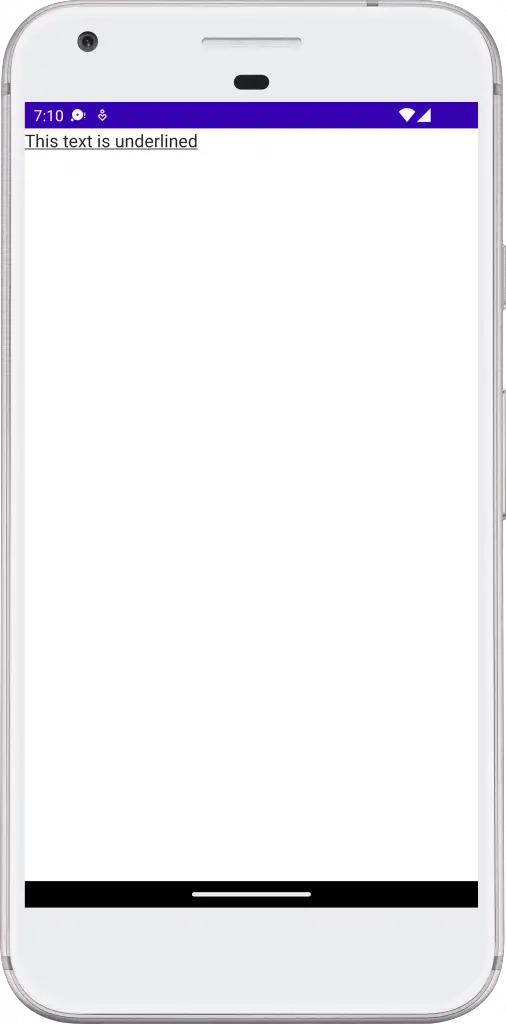
}The code above creates a composable function called UnderlinedText that returns a Text composable with the specified text and underlined decoration.
You will get the following output.
It’s worth noting that the TextDecoration class also provides plus method to combine two properties. For example, you can make a text underlined as well as strikethrough as given below.
@Composable
fun UnderlinedText() {
Text(
text = "This text is underlined",
textDecoration = TextDecoration.Underline.plus(TextDecoration.LineThrough),
)
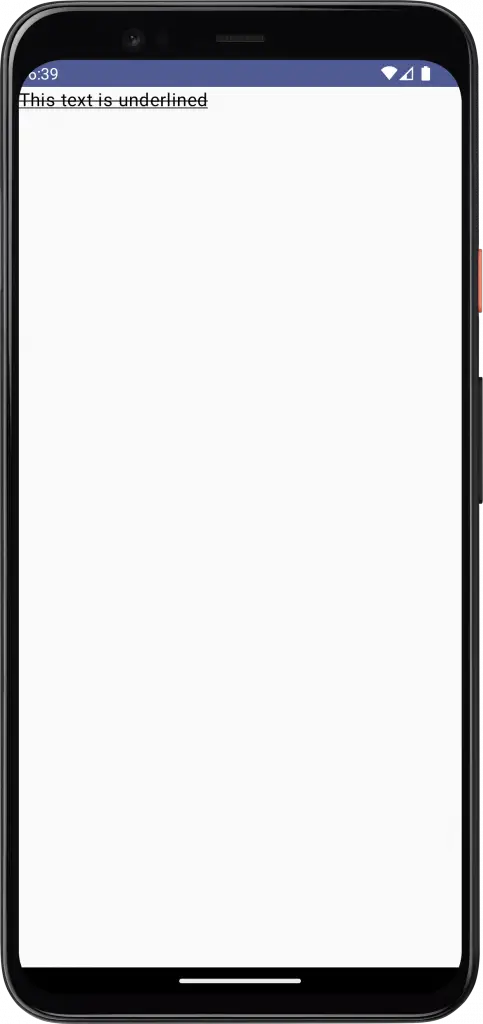
}Then you will get the following output.
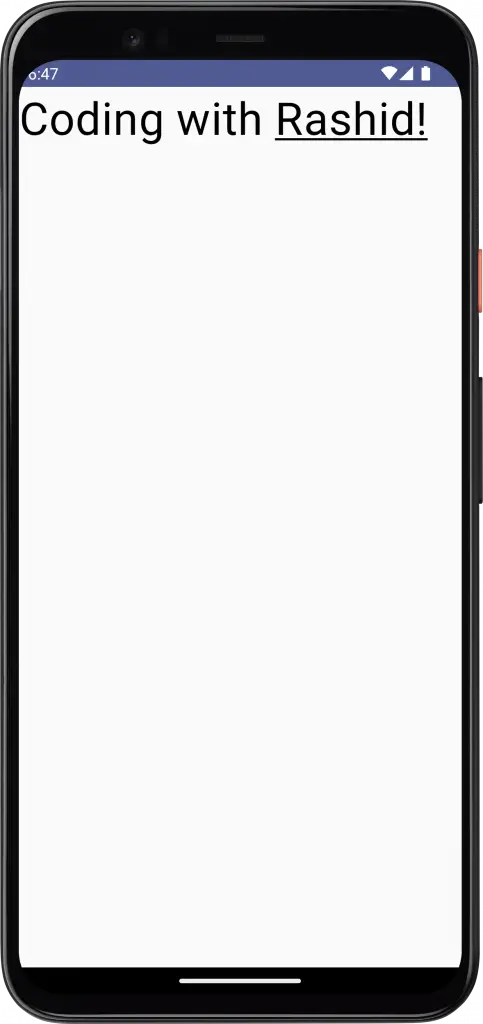
The TextDecoration can be used with other composable functions that display text, such as AnnotatedString. This allows you to apply underline style to specific words.
@Composable
fun UnderlinedText() {
    Text(fontSize = 40.sp,
        text = buildAnnotatedString {
            append("Coding with ")
            withStyle(style = SpanStyle(textDecoration = TextDecoration.Underline)) {
                append("Rashid!")
            }
        })
}
Here, you will get the following output.
The complete example code is given below.
package com.example.myapplication

import android.os.Bundle
import androidx.activity.ComponentActivity
import androidx.activity.compose.setContent
import androidx.compose.foundation.layout.*
import androidx.compose.material3.MaterialTheme
import androidx.compose.material3.Surface
import androidx.compose.material3.Text
import androidx.compose.runtime.*
import androidx.compose.ui.Modifier
import androidx.compose.ui.text.SpanStyle
import androidx.compose.ui.text.buildAnnotatedString
import androidx.compose.ui.text.style.TextDecoration
import androidx.compose.ui.text.withStyle
import androidx.compose.ui.tooling.preview.Preview
import androidx.compose.ui.unit.sp
import com.example.myapplication.ui.theme.MyApplicationTheme

class MainActivity : ComponentActivity() {
    override fun onCreate(savedInstanceState: Bundle?) {
        super.onCreate(savedInstanceState)
        setContent {
            MyApplicationTheme {
                Surface(
                    modifier = Modifier.fillMaxSize(),
                    color = MaterialTheme.colorScheme.background
                ) {
                    UnderlinedText()
                }
            }
        }
    }
}

@Composable
fun UnderlinedText() {
    Text(fontSize = 40.sp,
        text = buildAnnotatedString {
            append("Coding with ")
            withStyle(style = SpanStyle(textDecoration = TextDecoration.Underline)) {
                append("Rashid!")
            }
        })
}

@Preview(showBackground = true)
@Composable
fun DefaultPreview() {
    MyApplicationTheme {
        UnderlinedText()
    }
}
I hope this Jetpack Compose tutorial has helped you. Please let me know if you have any further questions or if there is anything else I can help you with.


One Comment