How to Set Text Line Spacing in iOS SwiftUI
In this blog post, we’re delving into a key typographical feature – setting line spacing in SwiftUI Text. Fine-tuning the vertical space between lines of text, or “leading”, significantly contributes to the legibility and aesthetic appeal of your app’s textual content. Let’s jump into how we can achieve this in SwiftUI.
Basics: Understanding Line Spacing
While SwiftUI does not have a direct modifier to set the exact line height, it offers the .lineSpacing() modifier, allowing you to adjust the space between lines of text:
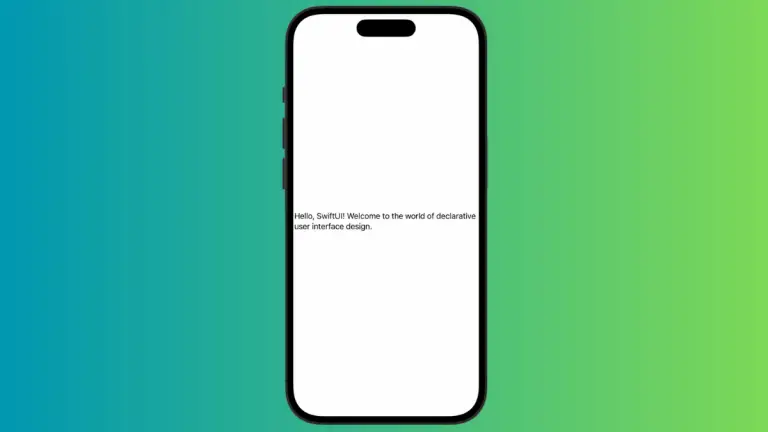
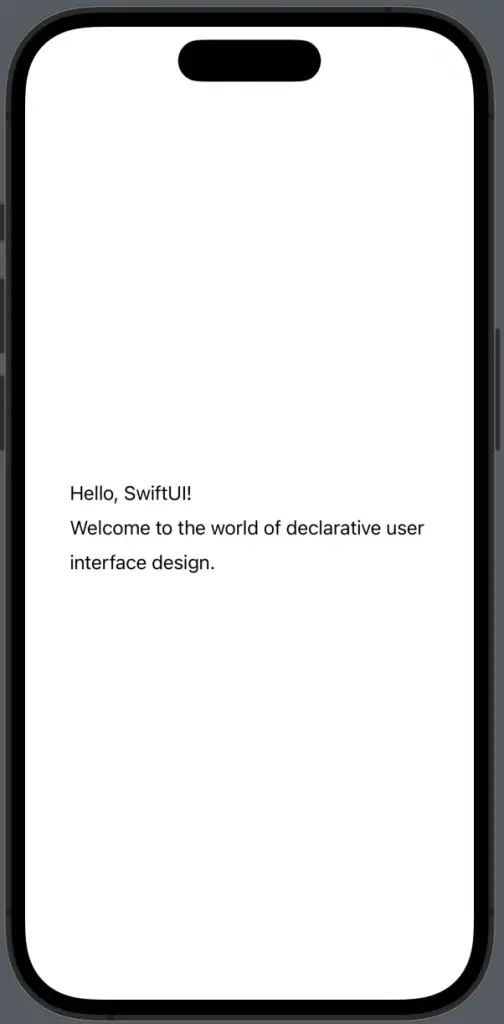
Text("Hello, SwiftUI!\nWelcome to the world of declarative user interface design.")
    .lineSpacing(10)
In this example, “Hello, SwiftUI!” and “Welcome to the world of declarative user interface design.” will have a vertical spacing of 10 points.
Multiline Text and Line Spacing
For line spacing to take effect, your text view needs to be multiline. If your text fits within a single line, SwiftUI ignores the .lineSpacing() modifier. You can create multiline text either by including newline characters (\n) in your text or by allowing text to wrap onto new lines when the content exceeds the view’s width.
Understanding how to control line heights, or leading, is essential in mastering SwiftUI text design. Even though SwiftUI does not directly provide a line height modifier, you can effectively manage vertical spacing between lines using the .lineSpacing() modifier. This ability is critical in creating readable and visually pleasing text in your app.