How to Add Border to LazyVGrid in iOS SwiftUI
When crafting user interfaces with SwiftUI, developers get a rich set of tools and features to create engaging app experiences. The LazyVGrid, a container view that creates a grid layout, is one such tool. This article goes a step further, showing you how to add a border around the entire LazyVGrid.
SwiftUI’s LazyVGrid
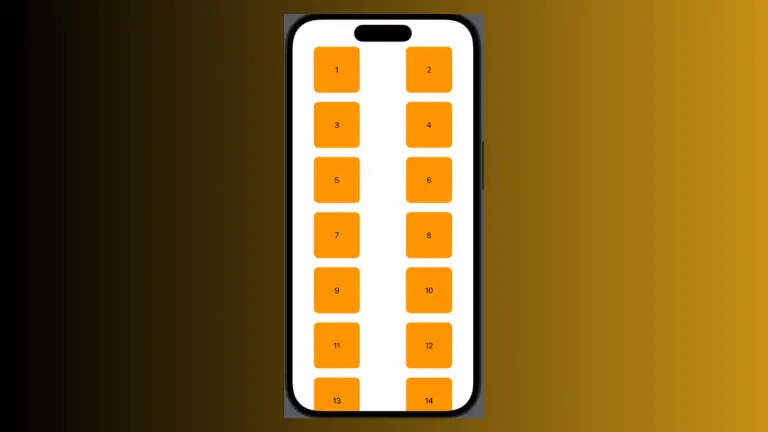
In SwiftUI, a LazyVGrid arranges its child views in a vertical grid. The ‘lazy’ part implies that it only renders those views which are currently visible on the screen, enhancing your app’s performance.
How to Add Border to LazyVGrid
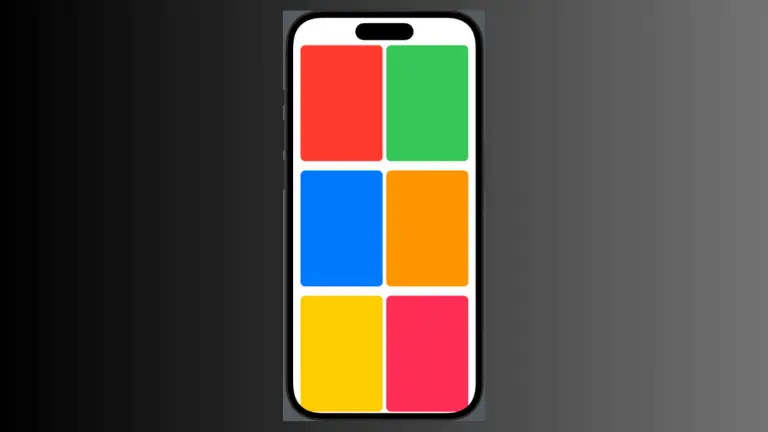
Let’s dive into an example where we add a border around the entire LazyVGrid, not just individual cells.
struct ContentView: View {
    let columns = [
        GridItem(.flexible()),
        GridItem(.flexible()),
    ]
    let colors: [Color] = [.red, .green, .blue, .orange, .yellow, .pink, .purple, .gray]
    var body: some View {
        ScrollView {
            LazyVGrid(columns: columns, spacing: 20) {
                ForEach(colors, id: \.self) { color in
                    Rectangle()
                        .fill(color)
                        .frame(height: 100)
                        .cornerRadius(10)
                }
            }
            .padding()
            .border(Color.black, width: 10)
        }
    }
}
In this example, we’ve placed .border(Color.black, width: 10) outside the ForEach loop and directly applied it to the LazyVGrid. This change results in a black border with a width of 10 points around the entire grid, not individual cells.
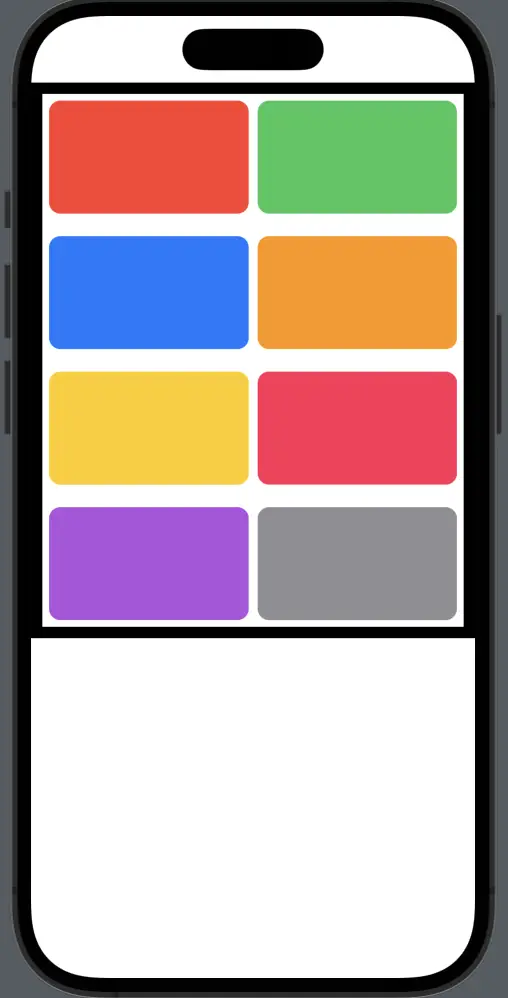
By adding a border around your LazyVGrid, you can further customize and improve your SwiftUI application’s appearance. With this guide, we’ve demonstrated the versatility of SwiftUI’s LazyVGrid.
Meta Description: Delve into SwiftUI’s LazyVGrid and discover how to add a border around the entire grid. This detailed guide uses an engaging, hands-on example to illustrate this SwiftUI customization.