How to Set Image Aspect Ratio in iOS SwiftUI
In this blog post, let’s check how to manage the aspect ratio in SwiftUI images. Handling aspect ratios correctly ensures that your app’s images look their best, regardless of the device’s screen size or orientation. So, let’s learn more about using aspect ratios effectively in SwiftUI.
Basics: Aspect Ratio and Image Sizing
By default, SwiftUI scales your images to fit within their frames while maintaining their aspect ratio. However, you can explicitly control the aspect ratio of an image using the .aspectRatio() modifier:
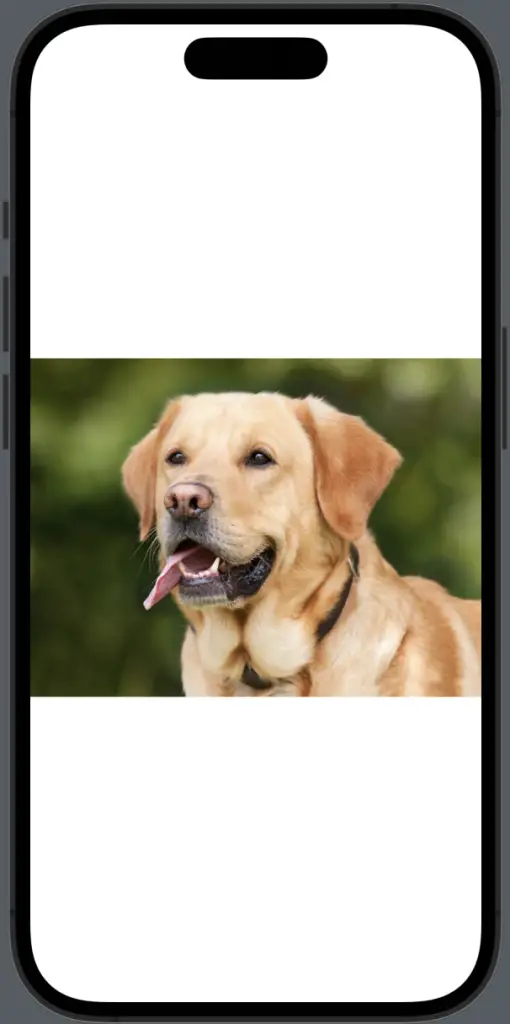
Image("dog")
    .resizable()
    .aspectRatio(contentMode: .fit)
In this example, the image maintains its original aspect ratio and is resized to fit within its frame, ensuring that the entire image is visible.
Content Modes: Fit vs. Fill
The .aspectRatio() modifier takes a contentMode parameter that can be set to .fit or .fill. As seen above, .fit ensures the entire image fits within the containing frame. Alternatively, .fill scales the image to fill the frame while maintaining the image’s aspect ratio, potentially clipping parts of the image:
Image("dog")
    .resizable()
    .aspectRatio(contentMode: .fill)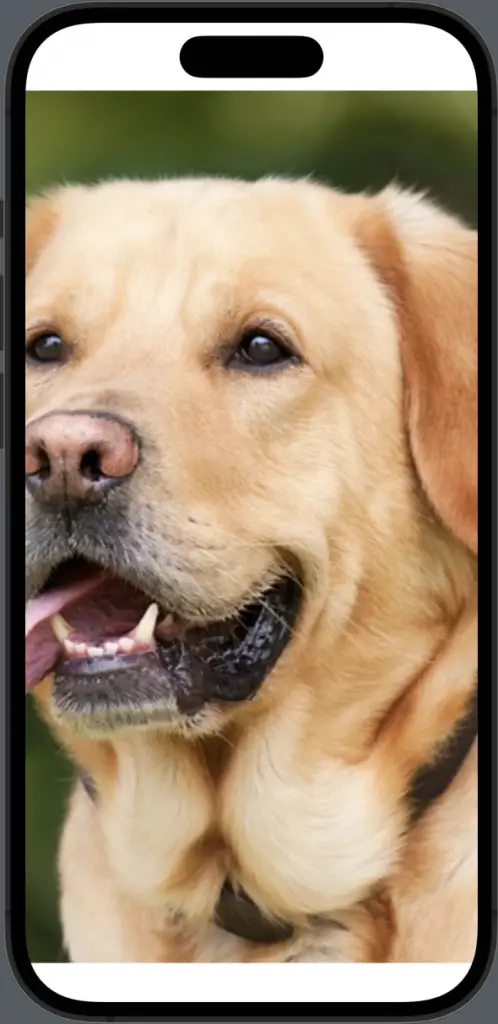
Custom Aspect Ratios
You can also specify a custom aspect ratio for your image. This is especially useful if you know the exact aspect ratio you want your image to maintain:
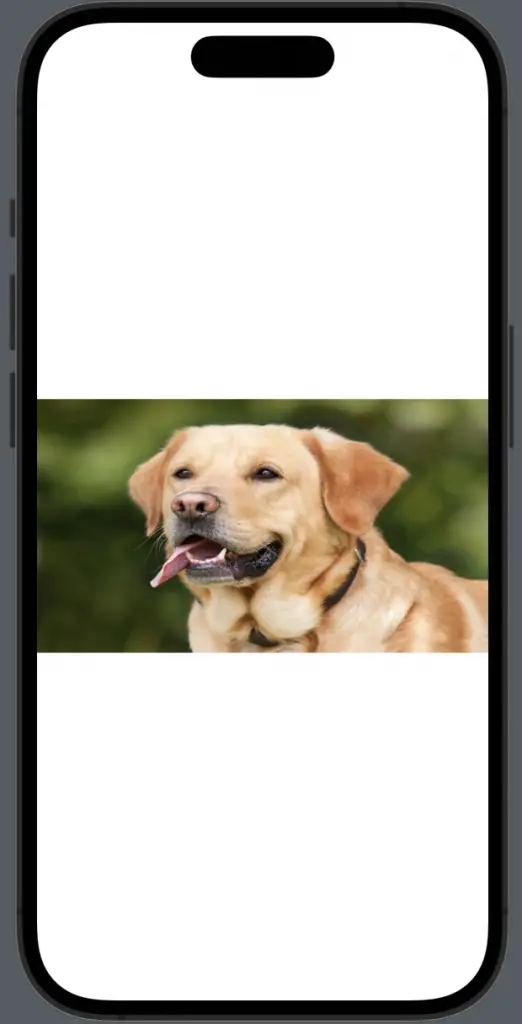
Image("dog")
    .resizable()
    .aspectRatio(16/9, contentMode: .fit)
In this case, the image is displayed with an aspect ratio of 16:9.
Managing aspect ratios in SwiftUI images is crucial for presenting visually appealing and professional-looking graphics. By understanding the different content modes and how to use custom aspect ratios, you can ensure your images look great on all devices and screen orientations.