How to Show an Image in iOS app using SwiftUI
Images are important UI elements of a mobile app. In this beginner iOS app development tutorial, let’s learn how to add an image using Swift.
First of all, create an iOS project using Xcode and open the Assets folder. Drag an image from your Finder app to the Xcode. For example, I added an image named logo.png to the Assets folder.
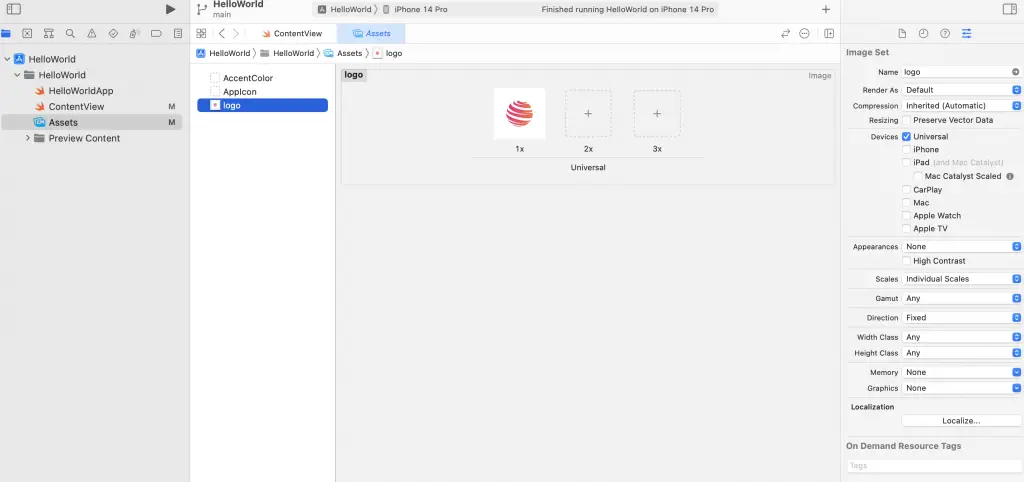
Now, open the ContentView.swift file, clear the existing code and add the following code to show the image which is added to the Assets folder.
import SwiftUI

struct ContentView: View {
    var body: some View {
        Image("logo")
            .resizable()
            .aspectRatio(contentMode: .fit)
    }
}

struct ContentView_Previews: PreviewProvider {
    static var previews: some View {
        ContentView()
    }
}
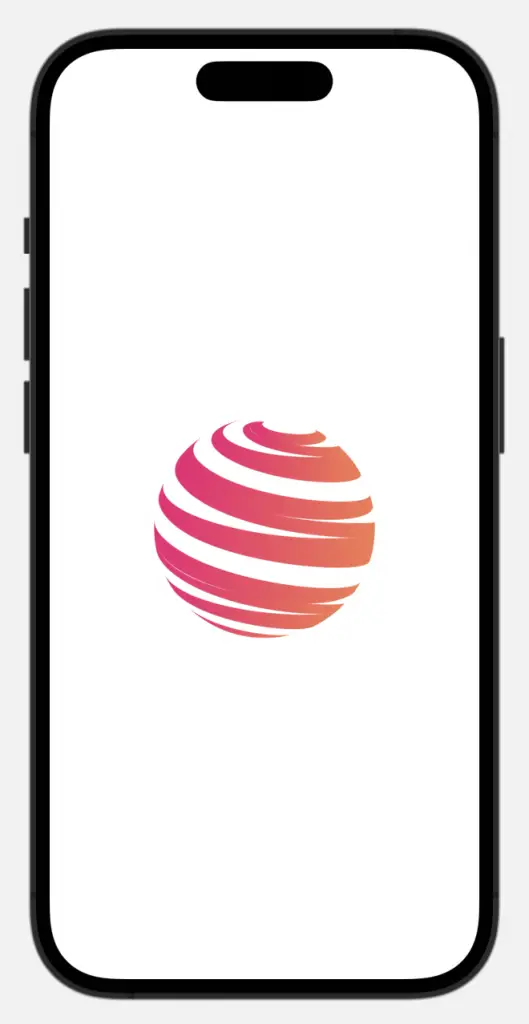
The code is self-explanatory. The ContentView returns a View with an Image named logo. By making the contentMode fit, the image will fit the screen.
See the output given below.
If you want a custom size then you can set image size too.
That’s how you add images to your iOS app using Swift and Xcode.


2 Comments