How to Adjust Image Color in iOS SwiftUI
In this blog post, we’ll unlock the vibrant world of image color manipulation in SwiftUI. Adjusting image colors can add an extra layer of personalization to your applications, allowing you to match images with your app’s theme, emphasize specific parts of an image, or create different moods or feelings.
Basics: Coloring Images
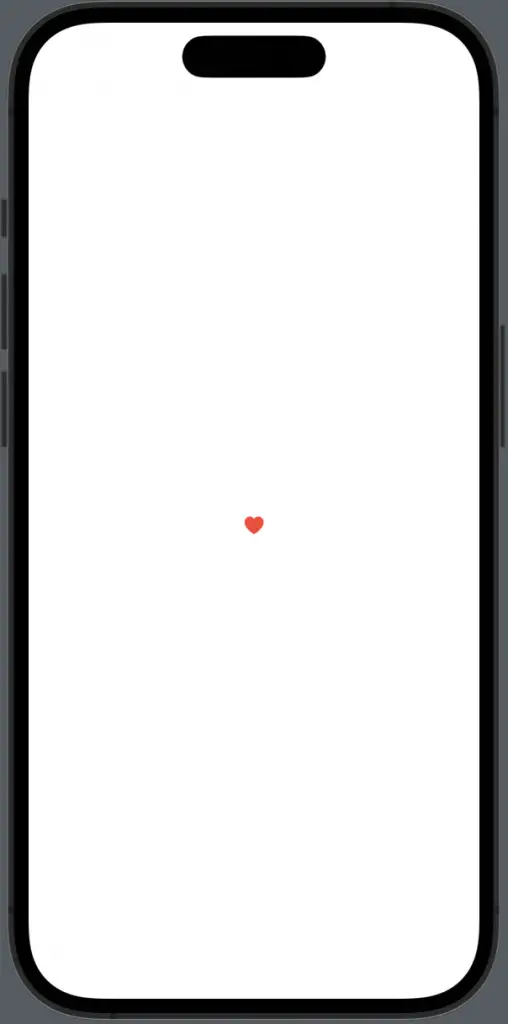
SwiftUI allows you to change the color of an image using the .foregroundColor() modifier:
Image(systemName: "heart.fill")
    .foregroundColor(.red)
In this example, we use a system image named “heart.fill” and set its color to red.
Color Multiplication
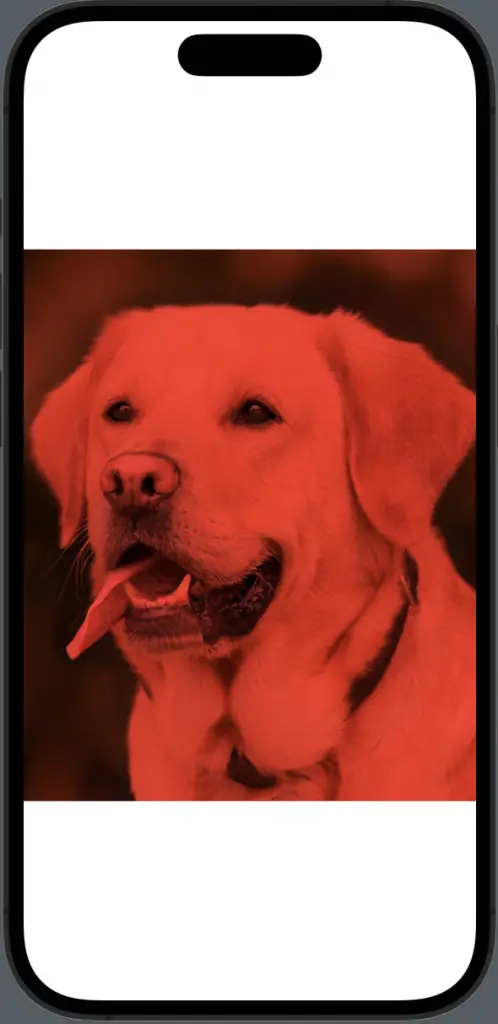
You can also use the .colorMultiply() modifier to change an image’s color. Unlike .foregroundColor(), which overrides the image’s original colors, .colorMultiply() mixes the specified color with the image’s existing colors:
Image("dog")
    .colorMultiply(.red)
In this snippet, the image named “dog” is multiplied with red, creating a dramatic and visually engaging effect.
Applying Color Filters
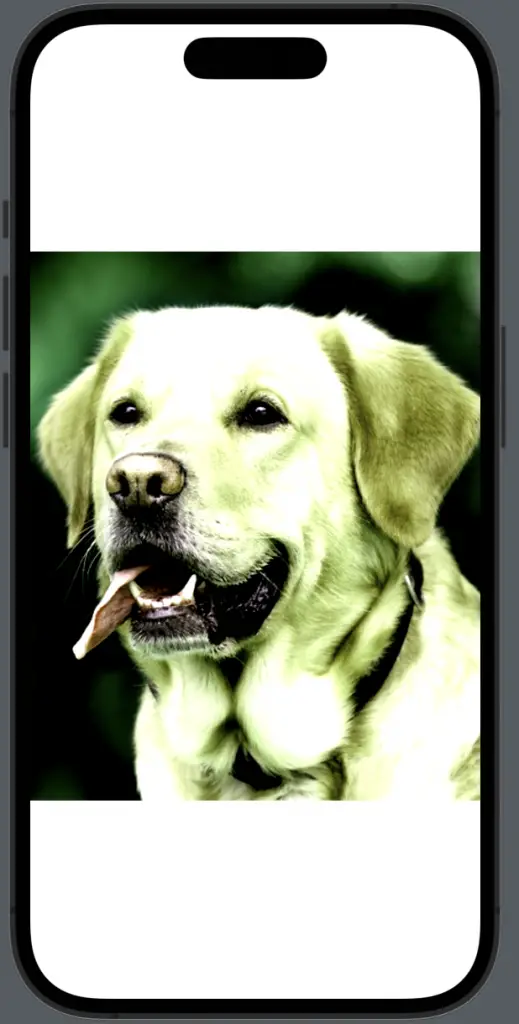
Applying color filters is another great way to manipulate your image’s colors in SwiftUI. You can use the .hueRotation(), .saturation(), and .contrast() modifiers to adjust the hue, saturation, and contrast of an image, respectively:
Image("dog")
    .hueRotation(.degrees(45))
    .saturation(0.5)
    .contrast(2)
In this code, the image named “dog” undergoes a hue rotation of 45 degrees, has its saturation reduced by half, and its contrast doubled.
Color manipulation in SwiftUI images is a powerful way to enhance the aesthetic appeal and user experience of your application. Whether it’s changing an image’s color, applying color multiplication, or adjusting hue, saturation, and contrast, SwiftUI provides a wealth of tools to create captivating visuals.