How to Change Image Border Radius in iOS SwiftUI
In this blog post, we’re focusing on enhancing your SwiftUI app’s visual appeal by adding border radii to images. The rounded corners trend has become a staple of modern UI design, adding a softer, more sophisticated look to your app. SwiftUI makes it easy to apply a border radius to images, contributing to an elegant and friendly user interface.
Basics: Create a Border Radius for Image
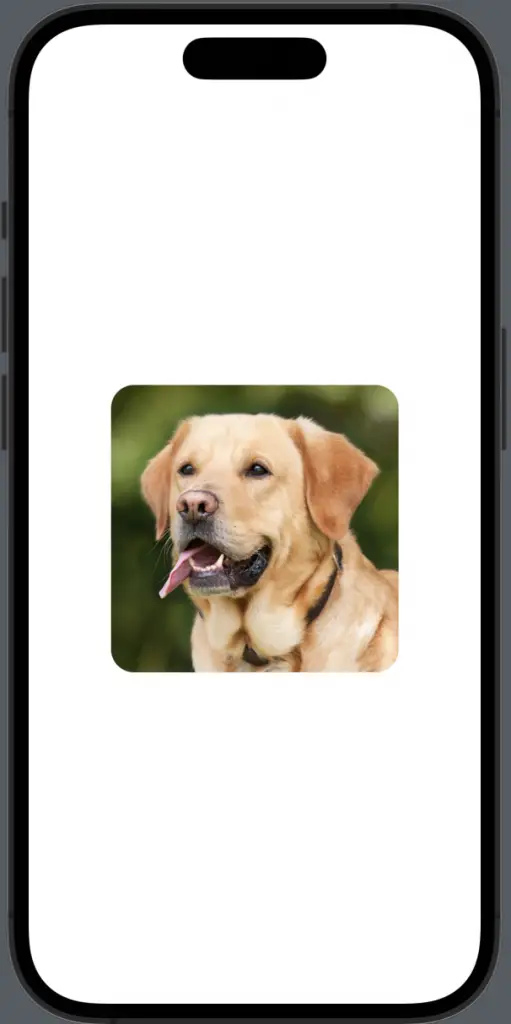
In SwiftUI, the .cornerRadius() modifier is utilized to create rounded corners for an image:
Image("dog")
    .resizable()
    .aspectRatio(contentMode: .fill)
    .frame(width: 250, height: 250)
    .clipped()
    .cornerRadius(20)
In the above example, the image with the name “dog” is resized to fill a frame of 250×250 points, clipped to fit the frame, and then a border radius of 20 points is applied.
Circular Images
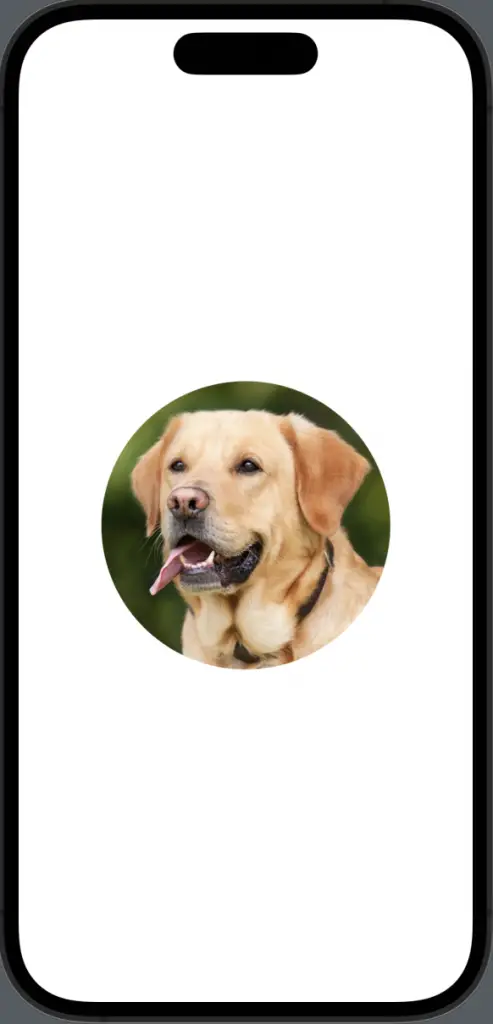
If you want your image to be perfectly circular, you can use the .clipShape() modifier with Circle() as the argument:
Image("dog")
    .resizable()
    .aspectRatio(contentMode: .fill)
    .frame(width: 250, height: 250)
    .clipShape(Circle())
This code will produce a circular image regardless of the original aspect ratio of the source image.
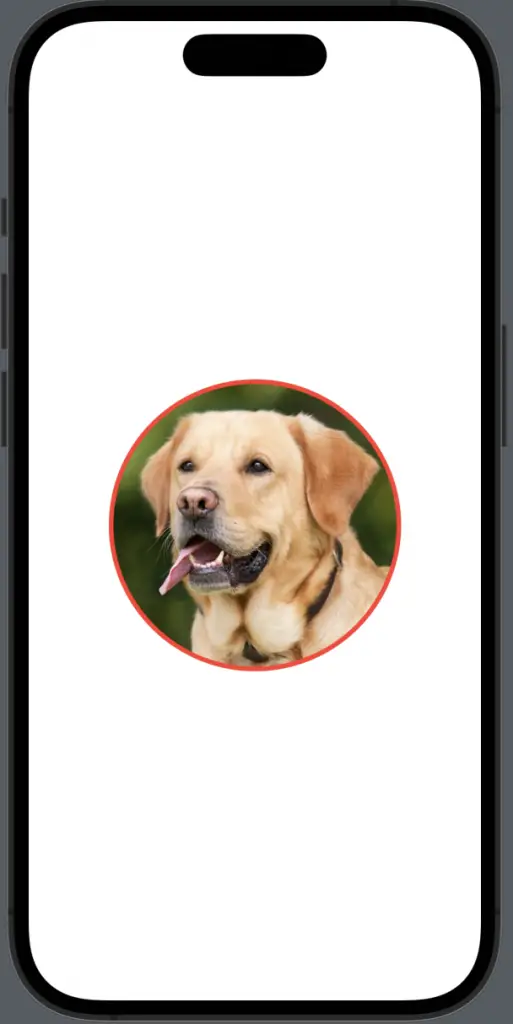
Adding Borders
Adding a border to your rounded image can further enhance its look. Here’s how:
Image("dog")
    .resizable()
    .aspectRatio(contentMode: .fill)
    .frame(width: 250, height: 250)
    .clipShape(Circle())
    .overlay(Circle().stroke(Color.red, lineWidth: 4))
In this snippet, a white border with a width of 4 points is added to the circular image.
By adding border radii to images in your SwiftUI app, you can cultivate a modern and pleasing aesthetic that attracts and retains users. As we have seen, SwiftUI offers an intuitive, flexible approach to creating rounded images, allowing you to customize your app’s visuals with ease.