How to Apply Blur to Images in iOS SwiftUI
In this blog post, we delve into a fantastic feature in SwiftUI that allows us to add depth and artistic flair to our applications – applying blur to images. This technique can be used to create a variety of effects, such as background blurring for emphasis on foreground elements, or to create a frosted glass aesthetic. Let’s explore how SwiftUI makes this effect straightforward to implement.
Basics: Blurring an Image
Applying a blur effect to an image in SwiftUI is as simple as using the .blur() modifier. Here’s an example:
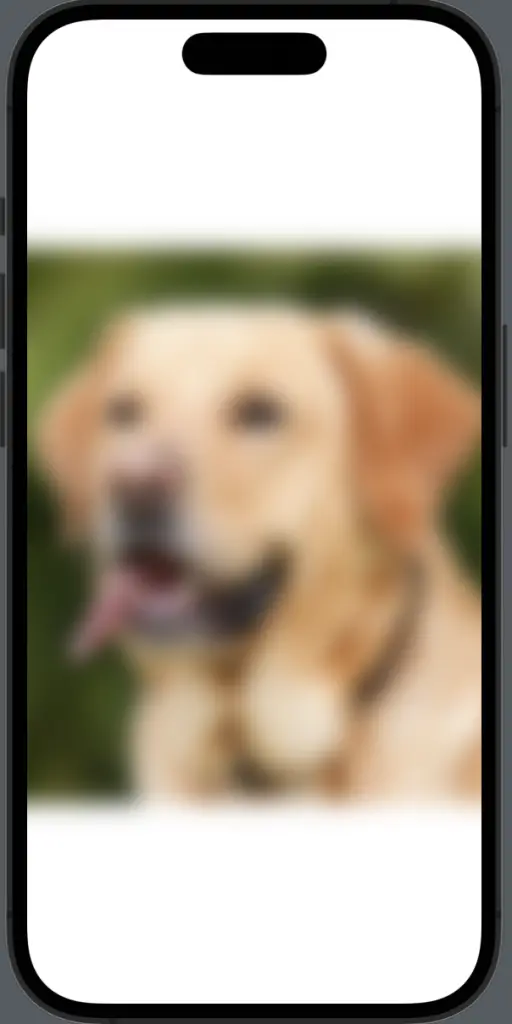
Image("dog")
    .blur(radius: 10)
In the code snippet above, the image with the identifier “dog” is blurred with a radius of 10. The larger the radius value, the greater the blur effect.
Combine Blur with Other Modifiers
The true power of SwiftUI lies in its composability. You can combine the blur effect with other modifiers to create more complex and appealing visual effects:
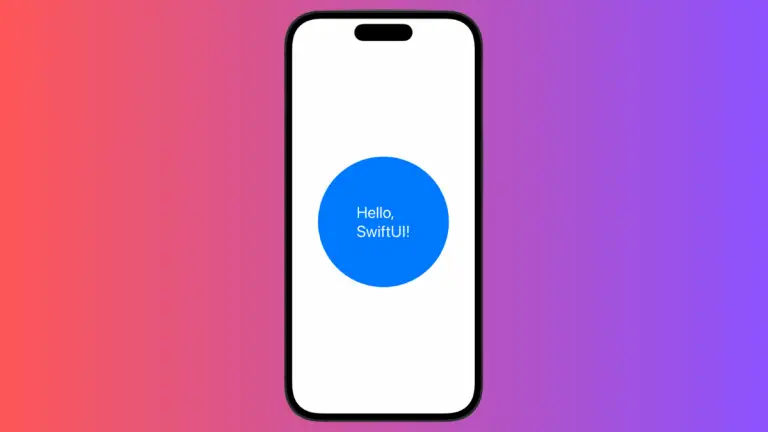
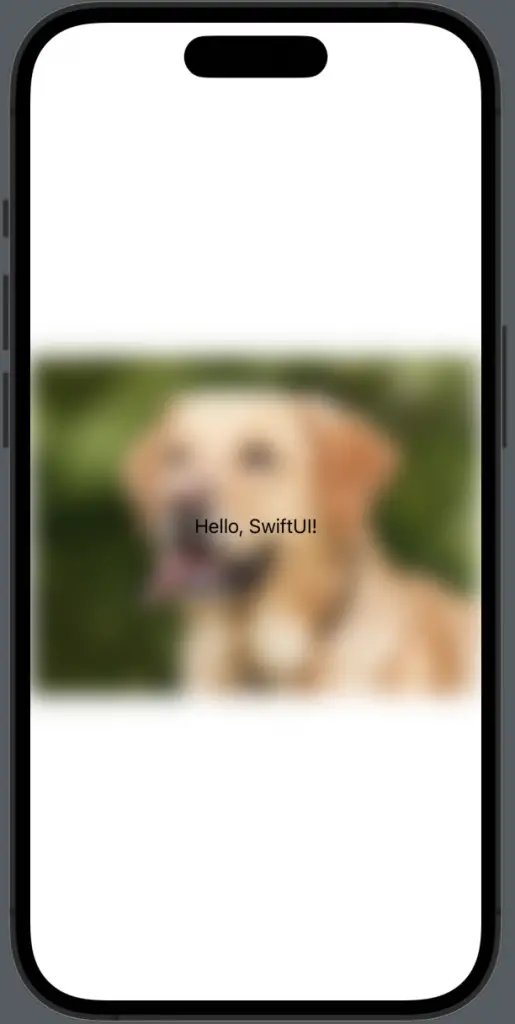
Image("dog")
    .resizable()
    .scaledToFit()
    .blur(radius: 10)
    .overlay(Text("Hello, SwiftUI!"))
In this example, the image is made resizable, scaled to fit its container, blurred, and overlaid with the text “Hello, SwiftUI!”.
Adding a blur effect to images in SwiftUI is a simple, yet powerful way to make your user interface more engaging and visually appealing. Whether you want to emphasize text, create depth, or simply add a touch of artistry to your app, the blur modifier is a valuable tool in your SwiftUI toolbox.