How to Create Image Circle in iOS SwiftUI
In this blog post, we’re focusing on a fantastic way to showcase your images in SwiftUI – displaying them within a circle. This has become a common design pattern in modern apps, giving them a clean, polished look. From profile pictures to icons, circular images are everywhere. Let’s dive into how SwiftUI makes implementing this design pattern effortless and efficient.
Basics: Circular Image View
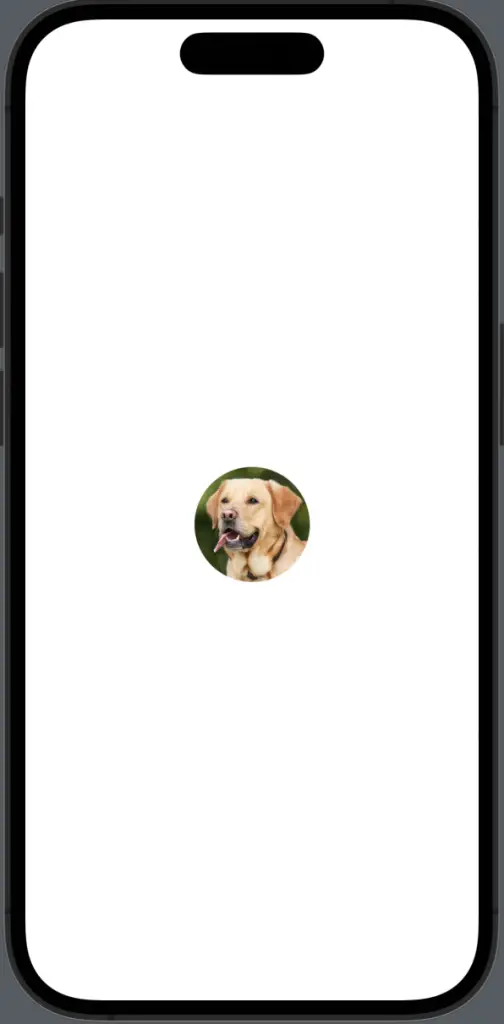
Creating a circular image view in SwiftUI is as simple as it gets. All you need to do is add the .clipShape() modifier to your Image view and pass Circle() as the argument:
Image("dog")
.resizable()
.aspectRatio(contentMode: .fill)
.frame(width: 100, height: 100)
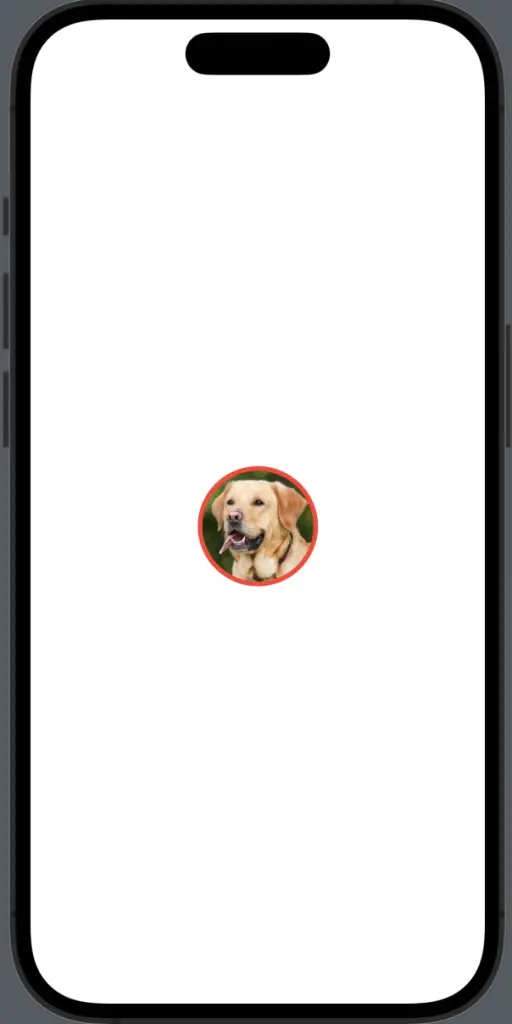
.clipShape(Circle())In the above example, an image with the identifier “dog” is displayed in a circular frame.
Adding a Border
You may also want to add a border around your circular image. SwiftUI offers the .overlay() modifier for this purpose:
Image("dog")
    .resizable()
    .aspectRatio(contentMode: .fill)
    .frame(width: 100, height: 100)
    .clipShape(Circle())
    .overlay(Circle().stroke(Color.red, lineWidth: 4))
Here, a white border of 4 points in width is added to the circular image.
Incorporating Shadows
To add more depth and dimension to your images, SwiftUI allows you to easily incorporate shadows using the .shadow() modifier:
Image("dog")
.resizable()
.aspectRatio(contentMode: .fill)
.frame(width: 100, height: 100)
.clipShape(Circle())
.overlay(Circle().stroke(Color.red, lineWidth: 4))
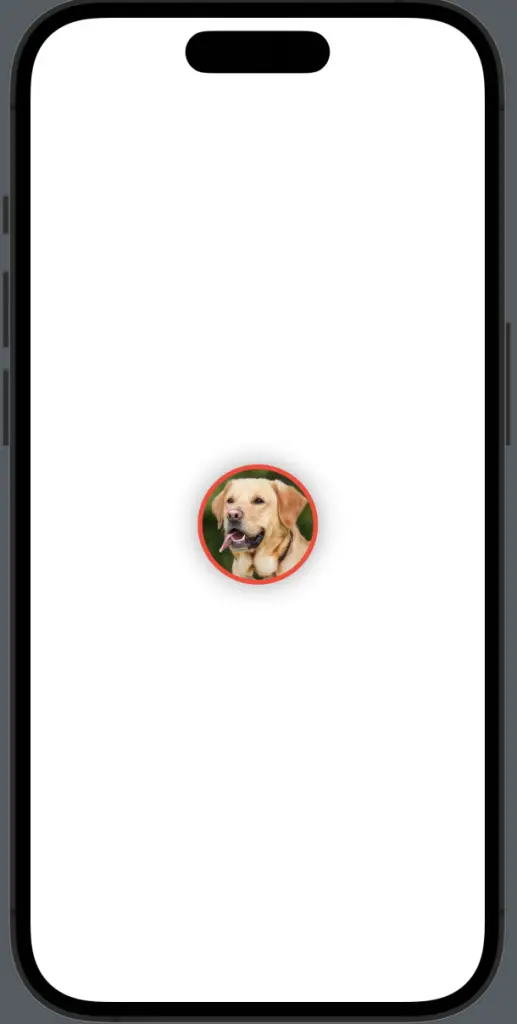
.shadow(radius: 10)In this code snippet, a shadow with a radius of 10 points is added, creating a more pronounced and dimensional image.
Circular images in SwiftUI are a simple yet effective way to give your app a modern, polished appearance. With just a few modifiers, you can create a circular image view, add a border, and even incorporate a shadow for added depth.