SwiftUI VStack: Controlling Spacing Between Elements
In SwiftUI, VStack provides a streamlined method to arrange UI elements vertically. But to make an elegant UI, managing the spacing between these elements is key. In this guide, we’ll learn how to control the spacing in SwiftUI’s VStack.
Understanding VStack Spacing
VStack in SwiftUI offers an integrated way to manage spacing. By default, SwiftUI provides standard spacing between elements. But sometimes, you need more control over the space between your views. This is where the ‘spacing’ parameter of VStack comes into play.
Controlling VStack Element Spacing
Controlling the spacing in VStack is straightforward. You just need to use the ‘spacing’ parameter. Let’s see how it’s done.
Step 1: Create a VStack
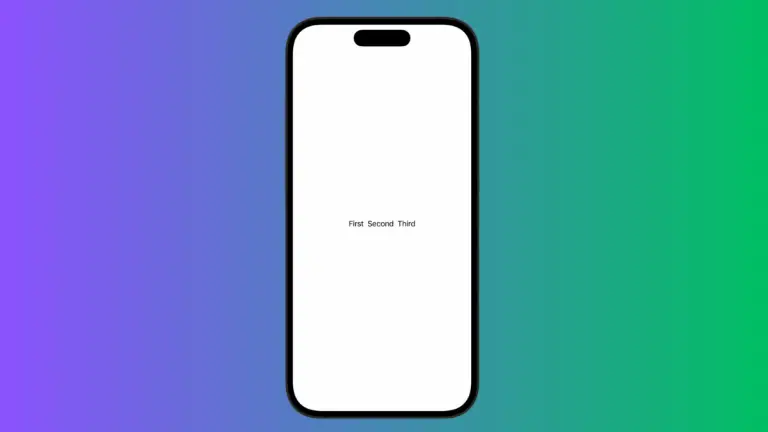
First, you need a VStack. For simplicity, let’s use Text views.
VStack {
  Text("This is VStack")
  Text("With controlled spacing")
}
Step 2: Specify Spacing
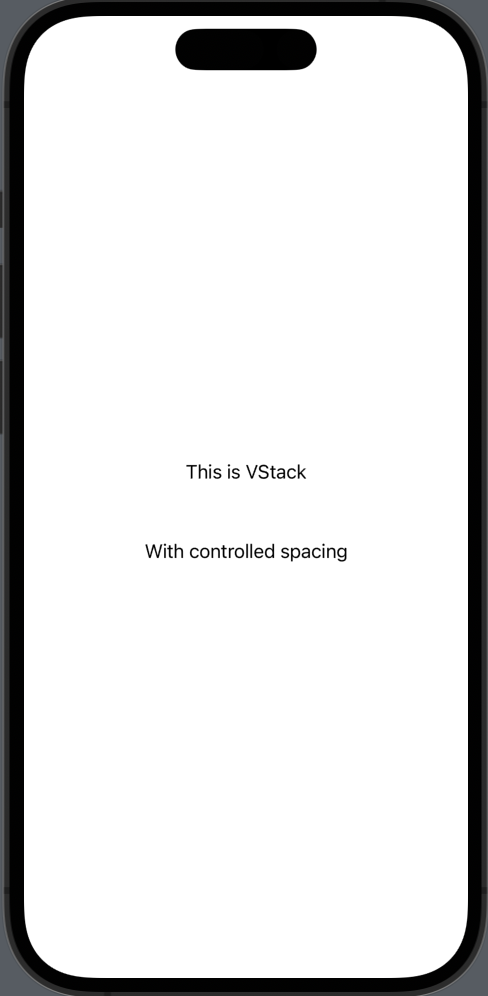
Specify the spacing you want in the VStack initialization. In this example, we’ll set the spacing to 50.
VStack(spacing: 50) {
  Text("This is VStack")
  Text("With controlled spacing")
}
This will ensure a space of 50 points between each element inside the VStack.
Following is the complete code for reference.
import SwiftUI

struct ContentView: View {
    var body: some View {
        VStack(spacing: 50) {
          Text("This is VStack")
          Text("With controlled spacing")
        }
    }
}


struct ContentView_Previews: PreviewProvider {
    static var previews: some View {
        ContentView()
    }
}
In SwiftUI, VStack makes arranging UI elements vertically easy, and managing spacing between elements even easier. By using the ‘spacing’ parameter, you gain fine control over your UI’s look and feel. With this knowledge, you can further refine your SwiftUI applications for a more polished user interface.