How to Set Number of Columns for LazyVGrid in iOS SwiftUI
When it comes to designing compelling user interfaces, SwiftUI’s LazyVGrid is a powerful tool. This vertical grid dynamically arranges views in an efficient grid that grows in the vertical direction.
An important aspect of LazyVGrid is its adaptability, particularly with the number of columns. This blog post is all about managing the number of columns in a SwiftUI LazyVGrid.
LazyVGrid Overview
In SwiftUI, LazyVGrid is a container that arranges its child views in a grid that grows vertically, creating as many rows as needed. It’s ‘lazy’ because it only renders the items currently on the screen, making it highly efficient for displaying large collections.
Here’s a basic LazyVGrid example:
struct ContentView: View {
let columns = [
GridItem(.flexible()),
GridItem(.flexible()),
]
let colors: [Color] = [.red, .green, .blue, .orange, .yellow, .pink, .purple, .gray]
var body: some View {
ScrollView {
LazyVGrid(columns: columns, spacing: 20) {
ForEach(colors, id: \.self) { color in
Rectangle()
.fill(color)
.frame(height: 100)
.cornerRadius(10)
}
}
.padding()
}
}
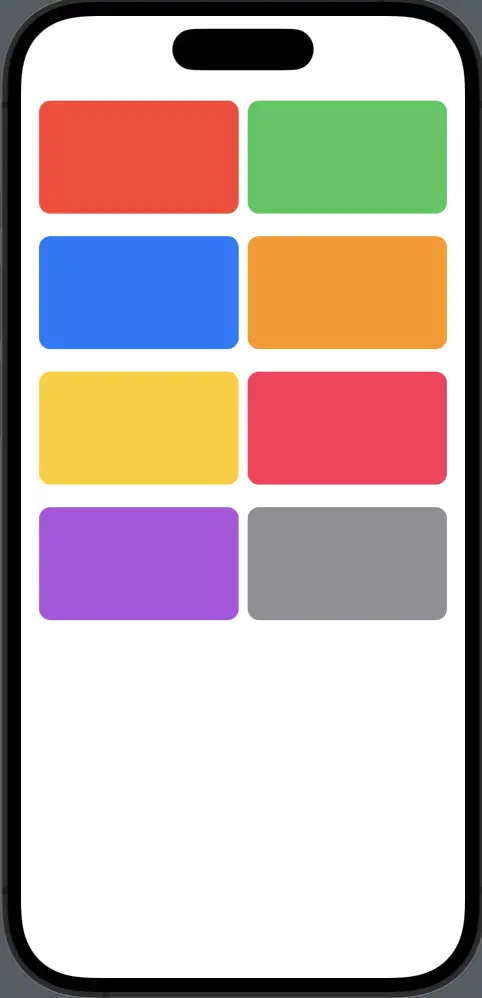
}In this example, our LazyVGrid is defined by two columns, resulting in a two-column grid of colored rectangles.
Adjust the Number of LazyVGrid Columns
The number of columns in a LazyVGrid is defined by an array of GridItem objects passed to the LazyVGrid initializer. Each GridItem represents a column track and its properties. If you want to change the number of columns, you can add or remove GridItem objects.
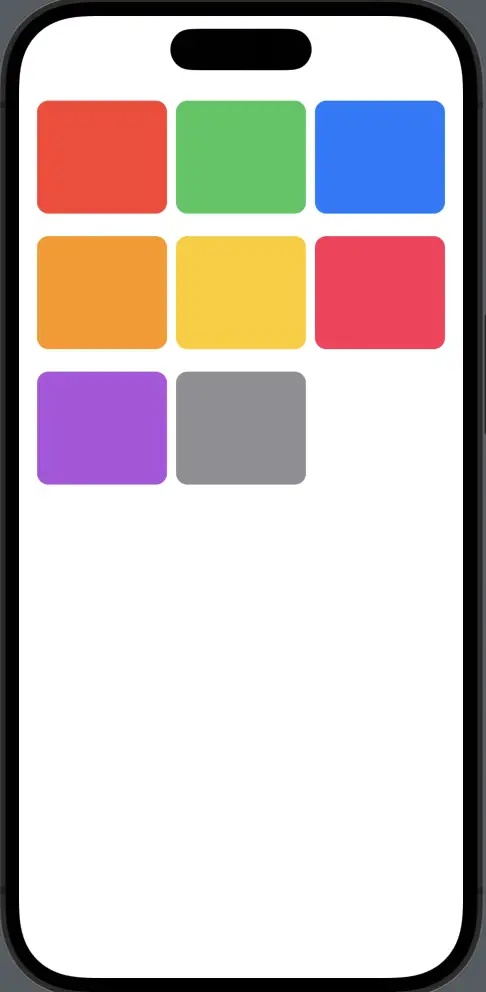
For instance, if you want a grid with three columns, modify the columns array like so:
let columns = [
    GridItem(.flexible()),
    GridItem(.flexible()),
    GridItem(.flexible())
]
Varying Column Sizes
The sizing of each column can be customized using three sizing options provided by GridItem: .flexible(), .fixed(), and .adaptive().
.flexible()allows the column to grow and shrink within the available space..fixed()sets the column width to a specific value..adaptive()allows the system to fit as many items along the axis as possible, taking the minimum and maximum size into account.
Here’s how you could define three columns with different sizes:
let columns = [
    GridItem(.fixed(100)),
    GridItem(.flexible()),
    GridItem(.adaptive(minimum: 50))
]
SwiftUI’s LazyVGrid is more than just a container for arranging views. It’s a versatile tool that, with the right understanding, can create responsive, efficient, and beautiful user interfaces. By adjusting the number of columns and playing around with column sizes, you can create grids that perfectly suit your app’s design.