How to Set Full Width for Images in iOS SwiftUI
In this blog post, we’re going to delve into a crucial aspect of image management in SwiftUI – making an image span the full width of the device screen. Proper utilization of screen space is pivotal in creating compelling user interfaces, and images often play a significant role in this process.
Ensuring your images adapt to different screen widths enhances the responsiveness and aesthetic appeal of your app. Let’s dive in!
Basics: Display an Image
To begin with, let’s display an image using SwiftUI:
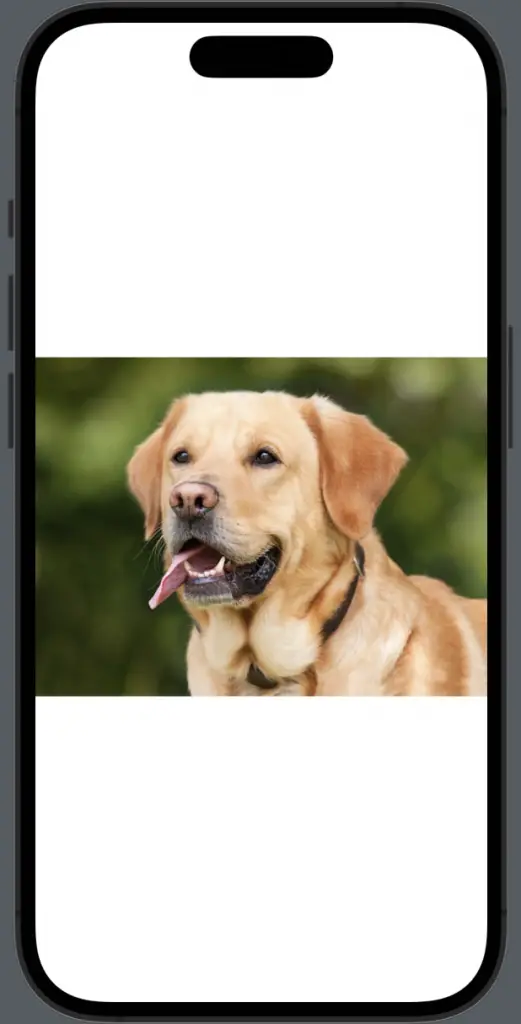
Image("dog")In this example, the image named “dog” is displayed in its original size.
Stretch an Image to Full Width
If we want this image to occupy the full width of the device screen, we can use the .resizable() modifier, which makes the image resizable, and the .scaledToFit() modifier, which scales the image to fit within its bounding box while maintaining its aspect ratio:
Image("dog")
    .resizable()
    .scaledToFit()
Now, the image will scale up or down to fit the width of the device screen.
Control Image Height
While the .scaledToFit() modifier ensures that the image will take up the full width of the screen, it could potentially result in the image becoming too tall for the desired design. To restrict the height of the image, we can use the .frame() modifier:
Image("dog")
    .resizable()
    .scaledToFit()
    .frame(height: 200)
In this case, the image will still stretch to fill the width of the screen, but its height will be limited to 200 points.
Understanding how to manipulate images to take the full width of the screen is essential in crafting responsive and visually appealing SwiftUI applications. By mastering the various SwiftUI image modifiers, you can ensure your images adapt beautifully to different device screen sizes.