How to Change ZStack Order in iOS SwiftUI
SwiftUI makes designing interfaces easy and intuitive, largely due to its variety of stack views. In this post, we’ll focus on ZStack and its ordering feature. It’s crucial for managing your application’s layering.
Unpacking ZStack
ZStack is a fundamental SwiftUI view. It stacks its children along the z-axis, meaning they’re layered on top of each other. This stacking allows for creative user interface designs, with overlays, backgrounds, and intricate details.
The Order of ZStack
By default, the order of views in a ZStack follows the order they’re declared in, with the first view at the bottom and the last view at the top.
Example of ZStack Ordering
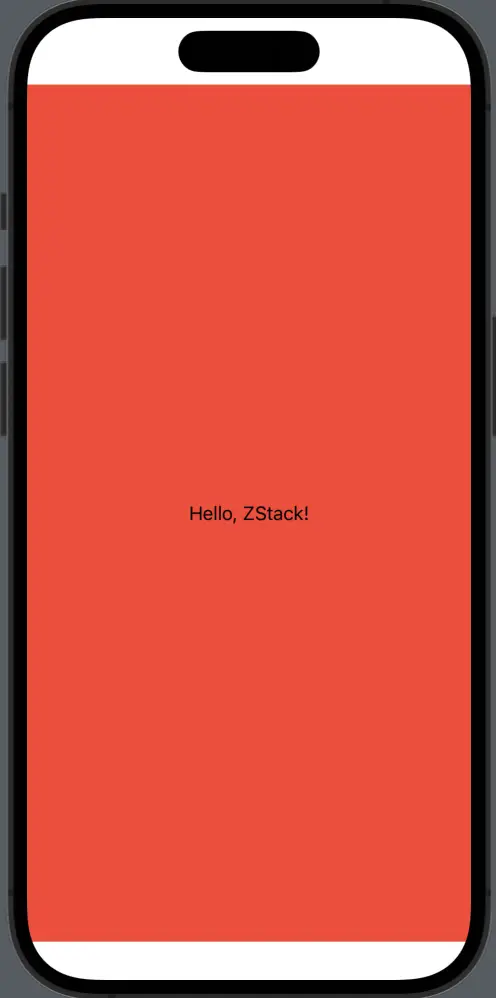
Here’s a simple example:
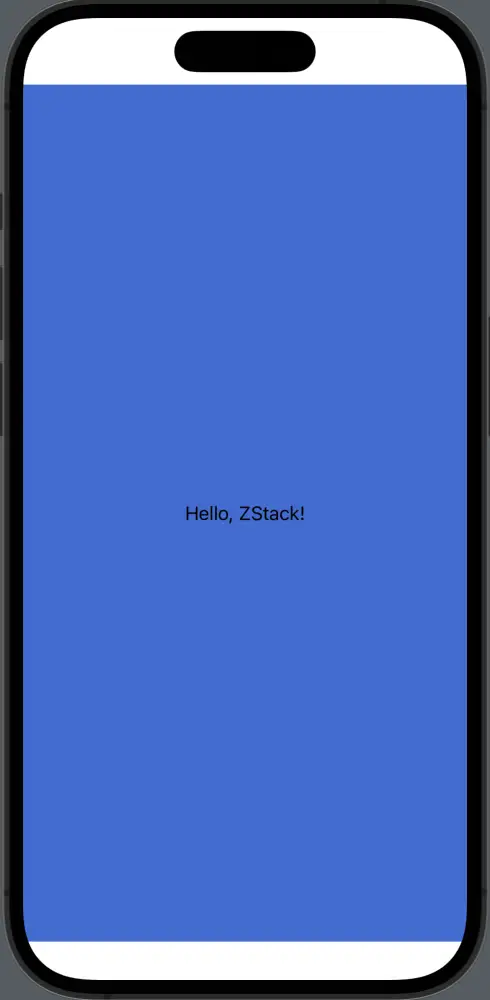
ZStack {
    Color.red
    Color.blue.opacity(0.8)
    Text("Hello, ZStack!")
}
In this ZStack, the red color view is added first, so it sits at the bottom. The blue color view, with an opacity of 0.8, is added next, and it overlays the red. The Text view, “Hello, ZStack!”, is at the top.
Modify ZStack Order using zIndex
The .zIndex modifier provides a way to change the order of views in a ZStack without rearranging them in the code. A view with a higher zIndex will appear in front of views with lower zIndices.
ZStack {
    Color.red.zIndex(2)
    Color.blue.zIndex(1)
    Text("Hello, ZStack!").zIndex(3)
}
The Text view with a zIndex of 3 is at the top, the red color view with a zIndex of 2 is in the middle, and the blue color view with a zIndex of 1 is at the bottom.
Understanding SwiftUI’s ZStack and its order can significantly impact your app’s look and feel. Remember, by default, the order of views is determined by the sequence they’re declared. We can use the zIndex modifier to change the order of items in zIndex.