How to Change Tappable Area of Button in iOS SwiftUI
In this blog post, we’re going to delve into an essential aspect of creating user-friendly applications in SwiftUI – managing the tappable area of buttons. Buttons are pivotal elements in most apps, and their usability directly influences the user experience.
By manipulating the tappable area of a button, you can make your app more accessible, intuitive, and responsive. Let’s explore how SwiftUI enables us to achieve this with ease and efficiency.
The Default Button Behavior
In SwiftUI, a button’s tappable area by default is confined to the size of the content it displays. For example:
Button(action: {
    // Handle button tap
}) {
    Text("Tap Me!")
}
In this case, only the area occupied by the “Tap Me!” text is tappable.
Use Padding
You can increase the tappable area of a button by applying the .padding() modifier to it:
Button(action: {
    // Handle button tap
}) {
    Text("Tap Me!")
        .padding()
}
Adding padding increases the button’s overall size, thereby expanding its tappable area. The amount of padding can be customized by passing a value to the .padding() modifier.
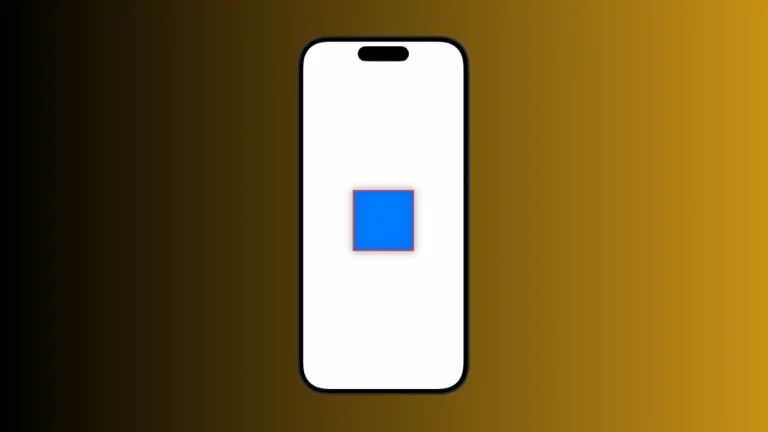
Use Background and ContentShape
Another technique involves using the .background() modifier in combination with the .contentShape() modifier:
Button(action: {
    // Handle button tap
}) {
    Text("Tap Me!")
}
.background(Color.clear)
.contentShape(Rectangle())
Here, .background(Color.clear) sets a transparent background for the button, while .contentShape(Rectangle()) makes the entire rectangular area of the button (including the transparent background) tappable.
Manipulating the tappable area of buttons in SwiftUI is a valuable tool for crafting intuitive and accessible user interfaces. By skillfully using padding and the combination of background and content shape, you can make your app more user-friendly and accessible.