How to Show Alerts in iOS SwiftUI
Alerts are essential in iOS apps for notifying users or capturing their decisions. SwiftUI simplifies the process of creating alerts. In this blog post, we’ll go step-by-step to understand how to create and customize alerts in SwiftUI, explaining each code snippet.
What is a SwiftUI Alert?
A SwiftUI Alert is a pop-up message that appears on the screen. It generally contains a title, a message, and one or more buttons. Alerts serve various purposes, like providing information or capturing user input.
Basic Alert Creation
Create a State Variable
First, let’s create a state variable to control the alert’s visibility.
@State private var showAlert = falseThe @State variable showAlert will control whether the alert is visible or not. When showAlert is true, the alert will show up.
Trigger the Alert
Now, let’s create a button to trigger the alert.
Button("Show Alert") {
    showAlert = true
}
Here, we create a button with the title “Show Alert”. When this button is tapped, showAlert becomes true, triggering the alert to display.
Display the Alert
Finally, let’s display the alert.
.alert(isPresented: $showAlert) {
    Alert(title: Text("Hello, SwiftUI!"))
}
We use the .alert modifier and bind it to the showAlert state variable. When showAlert is true, the alert with the title “Hello, SwiftUI!” will appear.
Complete Code
Following is the complete code to show basic alerts in SwiftUI.
import SwiftUI

struct ContentView: View {
    @State private var showAlert = false

    var body: some View {
        Button("Show Alert") {
            showAlert = true
        }.alert(isPresented: $showAlert) {
            Alert(title: Text("Hello, SwiftUI!"))
        }
    }
}
Customize Alerts
Add Multiple Buttons
You can make your alert more interactive by adding multiple buttons.
import SwiftUI
struct ContentView: View {
@State private var showAlert = false
var body: some View {
Button("Show Alert") {
showAlert = true
}.alert(isPresented: $showAlert) {
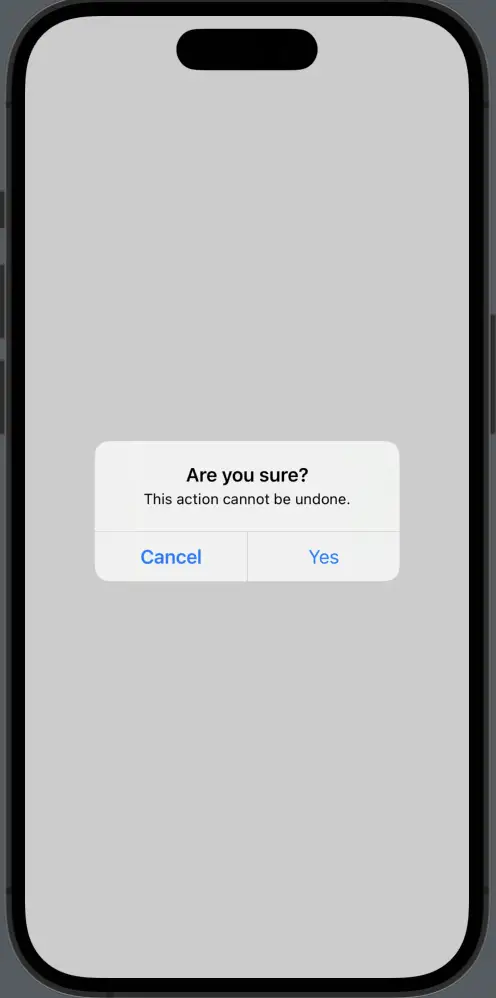
Alert(title: Text("Are you sure?"),
message: Text("This action cannot be undone."),
primaryButton: .default(Text("Yes")),
secondaryButton: .cancel())
}
}
}This alert has a title, a message, and two buttons. The primary button is labeled “Yes,” and the secondary button is a cancel button.
Use Actions with Buttons
You can also perform specific actions when buttons are tapped.
Alert(title: Text("Are you sure?"),
      message: Text("This action cannot be undone."),
      primaryButton: .default(Text("Yes"), action: {
          // Your action here
      }),
      secondaryButton: .cancel())
Similar to the previous example, but now the “Yes” button has an associated action. When tapped, it will execute the code inside the action block.
SwiftUI makes it straightforward to create and customize alerts, offering a range of options to make them as simple or complex as you need. Understanding the code behind these alerts will help you implement them more effectively in your apps.


One Comment