How to Rotate Images in 3D in iOS SwiftUI
In this blog post, we’ll embark on a fascinating journey into the world of 3D transformations in SwiftUI. Specifically, we’ll focus on how to rotate images in 3D – an interactive technique that can significantly enhance your app’s visual appeal and user engagement.
Basics: 3D Rotation
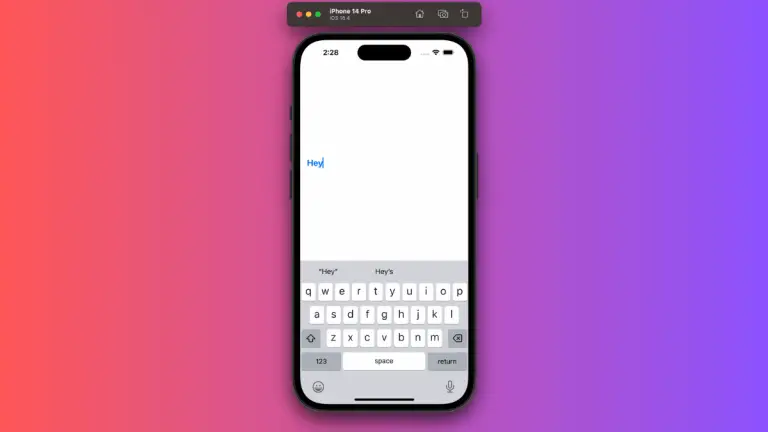
SwiftUI provides an intuitive, easy-to-use modifier for applying 3D rotation to your images (or any other views): the .rotation3DEffect() modifier. Here’s an example:
struct ContentView: View {
var body: some View {
Image("dog")
.resizable()
.scaledToFit()
.frame(width: 300, height: 200)
.rotation3DEffect(.degrees(45), axis: (x: 1.0, y: 0.0, z: 0.0))
}
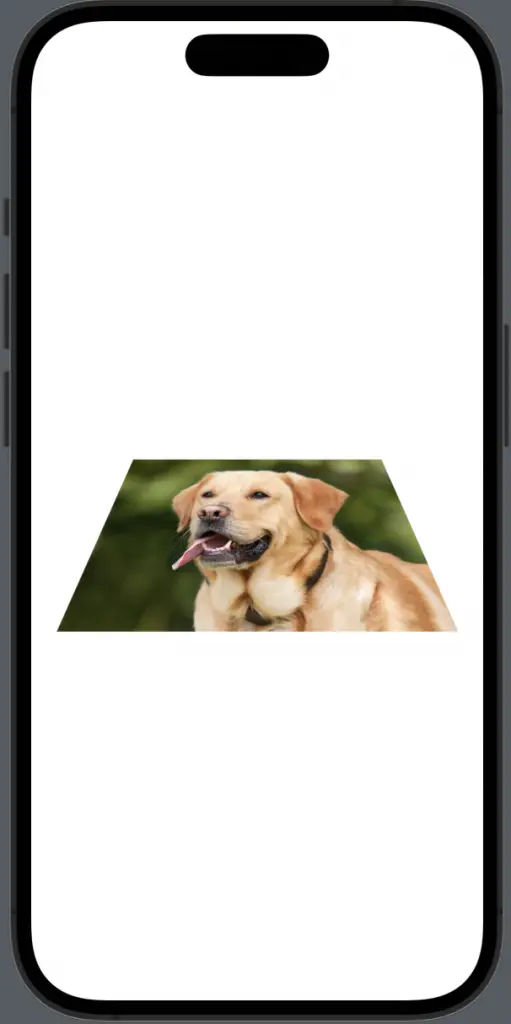
}In the above snippet, we’re applying a 3D rotation of 45 degrees to an image named “dog”. The rotation is applied around the x-axis, as specified by the axis argument.
Explore the Rotation Axis
The axis argument in the .rotation3DEffect() modifier is a 3D vector that determines around which axis (or axes) the rotation will occur. It’s defined by three components: x, y, and z. By modifying these values, you can control the direction of the 3D rotation.
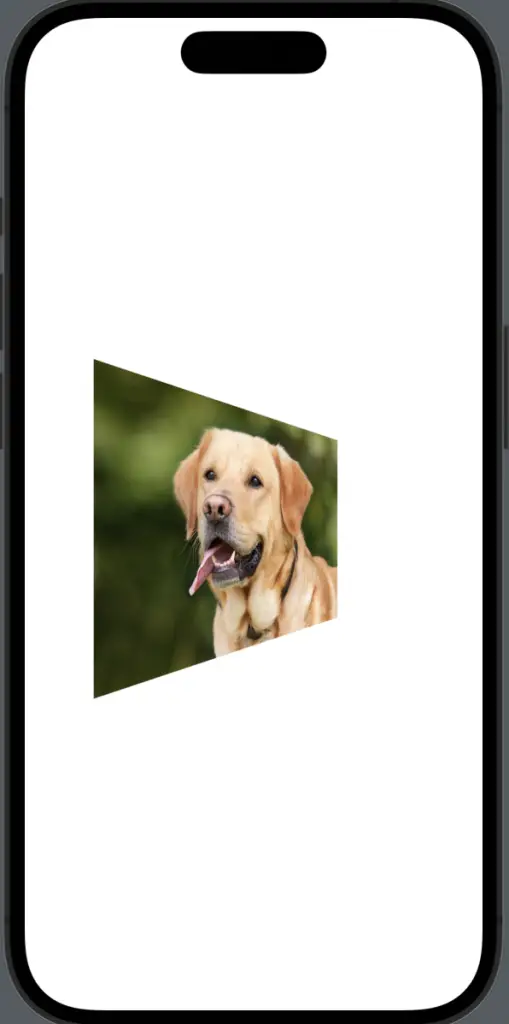
For example, to rotate the image around the y-axis, you would use:
struct ContentView: View {
    var body: some View {
        Image("dog")
            .resizable()
            .scaledToFit()
            .frame(width: 300, height: 200)
            .rotation3DEffect(.degrees(45), axis: (x: 0.0, y: 1.0, z: 0.0))
    }
}
Add Interactivity
3D image rotation can be made interactive, thereby creating a more engaging user experience. For instance, you could tie the rotation angle to a @State variable and update it based on a slider:
struct ContentView: View {
    @State private var rotationAngle: Double = 0.0

    var body: some View {
        VStack {
            Slider(value: $rotationAngle, in: 0...360, step: 1)
            Image("dog")
                .resizable()
                .scaledToFit()
                .frame(width: 300, height: 200)
                .rotation3DEffect(.degrees(rotationAngle), axis: (x: 0.0, y: 1.0, z: 0.0))
        }
    }
}
Now, the image’s rotation changes as the user moves the slider.
3D rotation of images in SwiftUI provides an exciting way to add depth and interactivity to your app’s user interface. By understanding the use of the .rotation3DEffect() modifier and learning how to manipulate the rotation axis and angle, you can create visually stunning and interactive elements in your SwiftUI apps.