How to Implement Selection in SwiftUI LazyVStack
When it comes to SwiftUI, one of the most widely used views is the LazyVStack. It provides an efficient way to lay out data vertically while optimizing the rendering of subviews. In this blog post, we’ll explore how to implement selection within a LazyVStack, enhancing the interactivity of your app.
What is LazyVStack?
A LazyVStack in SwiftUI is a view that arranges its children in a vertical line. As the name suggests, it does this “lazily,” meaning it only renders the items currently visible on the screen. This is especially useful when dealing with a large amount of data, as it leads to improved performance.
Implement Selection in LazyVStack
When it comes to adding selection functionality to a LazyVStack, there isn’t a built-in solution as there is with a List view. However, this doesn’t mean that we can’t devise our own method. Here’s an example of how you can add selection to a LazyVStack:
struct ContentView: View {
    @State private var selectedNumber: Int?

    var body: some View {
        ScrollView {
            LazyVStack {
                ForEach(1...100, id: \.self) { number in
                    Text("Row \(number)")
                        .padding()
                        .background(self.selectedNumber == number ? Color.blue : Color.clear)
                        .onTapGesture {
                            self.selectedNumber = number
                        }
                }
            }
        }
    }
}
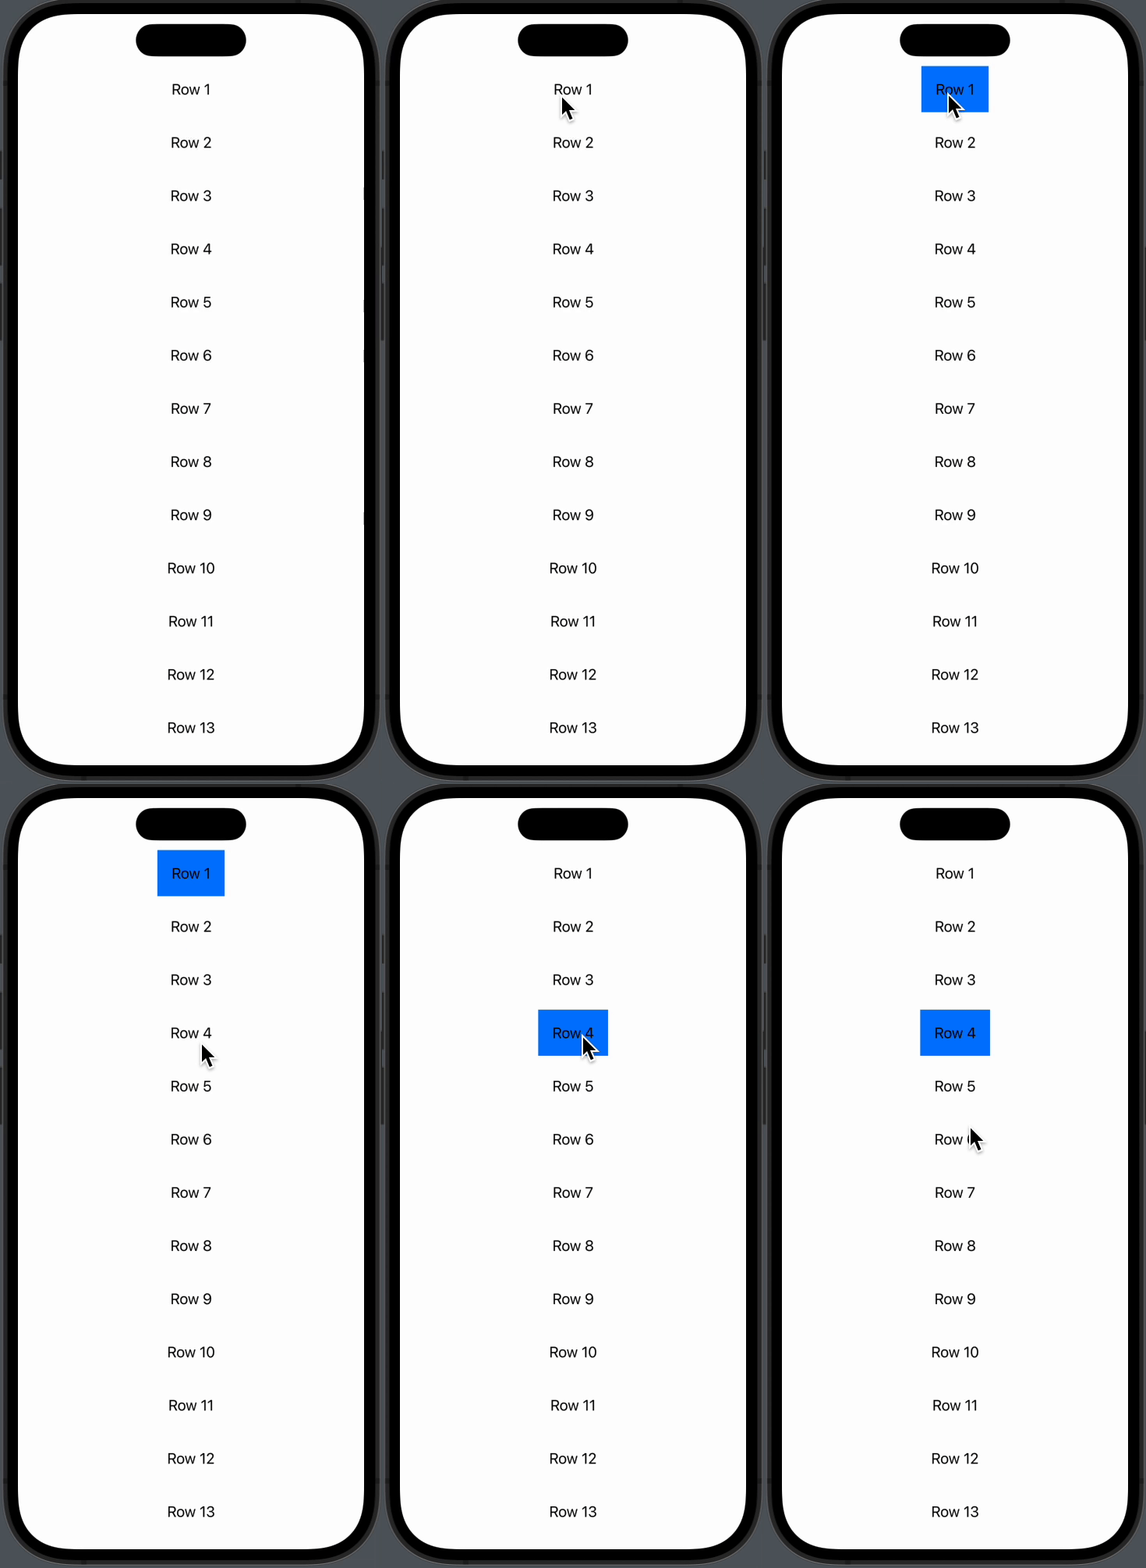
In this example, we display a list of numbers from 1 to 100. We use a state variable, selectedNumber, to keep track of the selected row. When a row is tapped, its number is assigned to selectedNumber. We then use a conditional modifier to change the background color of the selected row to blue.

The key to this implementation is the use of the @State property wrapper. This allows us to create a mutable state for the selectedNumber variable. Every time a user taps a row, we set selectedNumber to that row’s number.
The .background() modifier then checks whether the selectedNumber matches the number of the current row. If they match, it changes the background color of the row to blue, indicating that it is selected.
Adding selection functionality to a LazyVStack in SwiftUI might not be as straightforward as with a List, but it can be achieved with a little bit of extra coding. By cleverly using state variables and SwiftUI’s powerful view modifiers, you can provide an interactive and dynamic experience to your users.


