How to Create Circle Shape in SwiftUI
SwiftUI makes drawing shapes incredibly straightforward, and among those, the circle is a fundamental geometric shape used widely in interface design. Whether it’s to create buttons, profile images, or simply as decorative elements, knowing how to work with circles in SwiftUI is a must.
This post will cover everything you need to know to create and customize circles.
Basic Circle
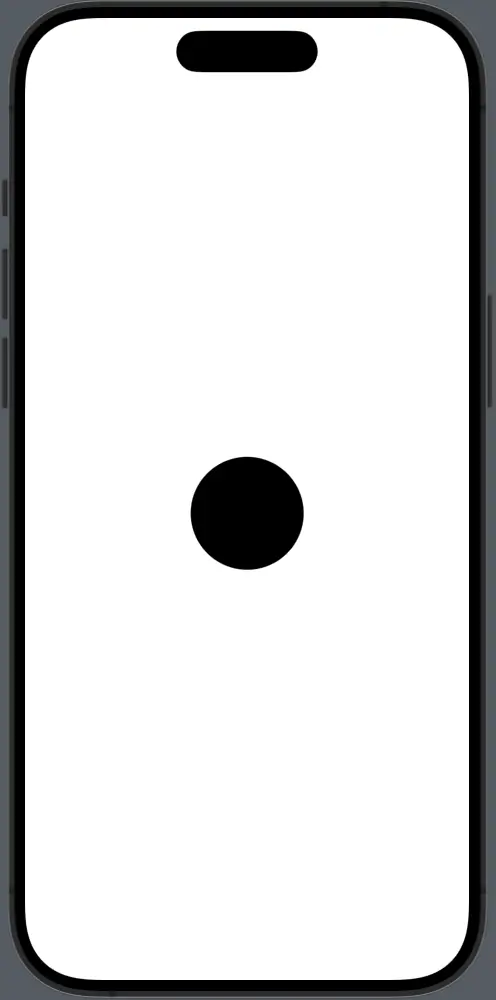
To draw a circle in SwiftUI, you use the Circle() structure. Here’s how you can create a simple circle:
import SwiftUI

struct ContentView: View {
    var body: some View {
        Circle()
            .frame(width: 100, height: 100)
    }
}
This piece of code creates a circle with a width and height of 100 points. It’s important to maintain equal width and height to ensure it’s a perfect circle and not an ellipse.
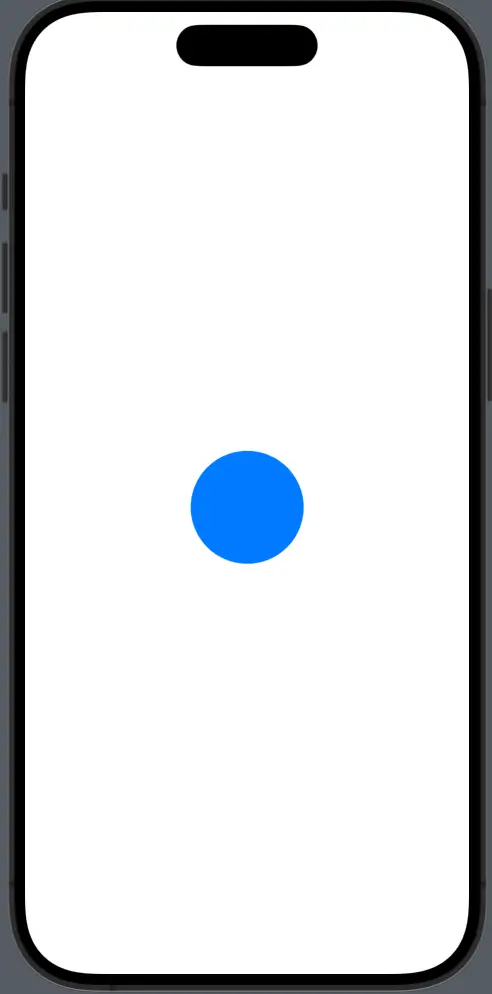
Fill Circle with Color
You can fill a circle with any color using the fill modifier.
Circle()
    .fill(Color.blue)
    .frame(width: 100, height: 100)
The fill(Color.blue) modifier gives the circle a solid blue color.
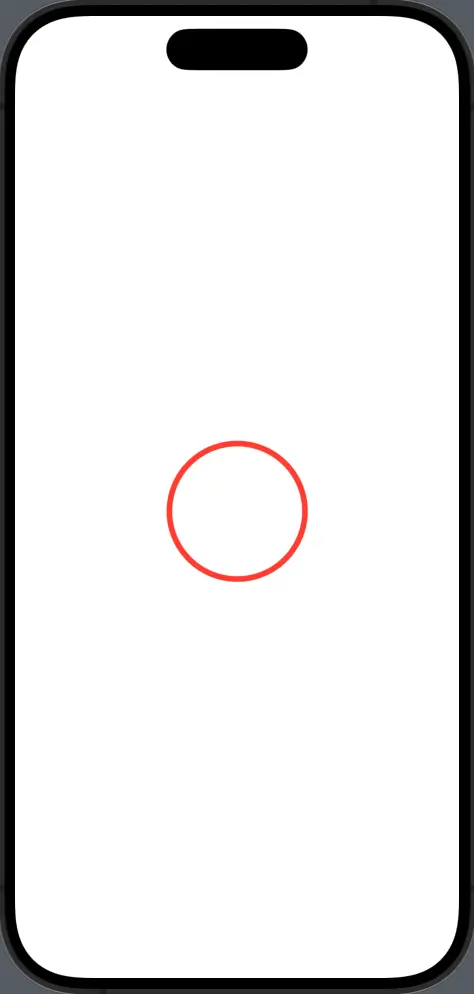
Circle with Border
Often, you might want your circle to have a border. This is achieved with the stroke modifier.
Circle()
    .stroke(Color.red, lineWidth: 5)
    .frame(width: 120, height: 120)
The circle now has a 5-point red border. Notice how the frame size is increased to accommodate the stroke width.
Circle with Shadow
To add depth to a circle, you can use the shadow modifier.
Circle()
    .fill(Color.green)
    .shadow(radius: 10)
    .frame(width: 100, height: 100)
The shadow modifier adds a shadow with a radius of 10 points around the circle.

Create Circles as Buttons
Circles are commonly used as buttons. Here’s how you can create a tappable circle:
Button(action: {
    // action to perform on tap
}) {
    Circle()
        .fill(Color.blue)
        .frame(width: 50, height: 50)
}
The Button initializer takes a trailing closure that defines the appearance of the button — in this case, a blue circle.
Clipping Other Views
You can also use circles to clip other views to create circular elements, such as profile pictures.
Image("profile_picture")
    .clipShape(Circle())
    .frame(width: 100, height: 100)
The clipShape(Circle()) modifier clips an image into a circle shape, perfect for user avatars.
The Circle shape in SwiftUI is a versatile tool that you can use to create a variety of designs and UI elements. Whether you’re simply changing its color, adding borders, implementing gradients, or using it as a clipping mask, circles are an integral part of SwiftUI design.
With the examples provided, you should have a strong foundation to start incorporating circles into your next SwiftUI project.