How to Add Button Borders in iOS SwiftUI
In this blog post, we delve into one of the simplest yet most impactful ways to make your app’s buttons stand out – adding borders to SwiftUI buttons. Button borders provide a visual boundary, enhance accessibility, and contribute to the overall aesthetic appeal of your application.
We’ll explore how to create button borders using the .border() and .overlay() modifiers.
Basics: Add a Border
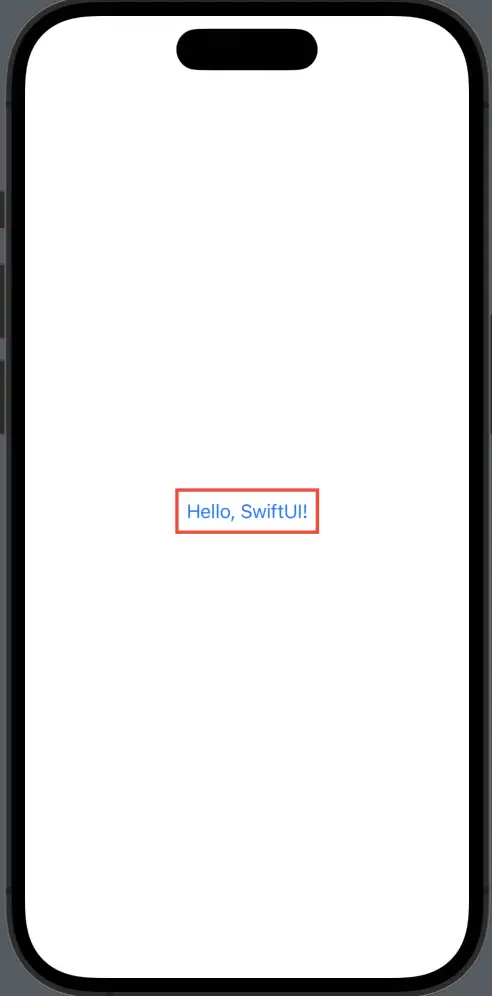
SwiftUI makes it extremely easy to add a border to a button. You can accomplish this by using the .border() modifier as shown below:
Button(action: {
    // action code here
}) {
    Text("Hello, SwiftUI!").padding(10)
}
.border(Color.red, width: 3)
In the above code snippet, the button displays the text “Hello, SwiftUI!” and has a red border with a width of 3 points.
Use Overlay for Custom Borders
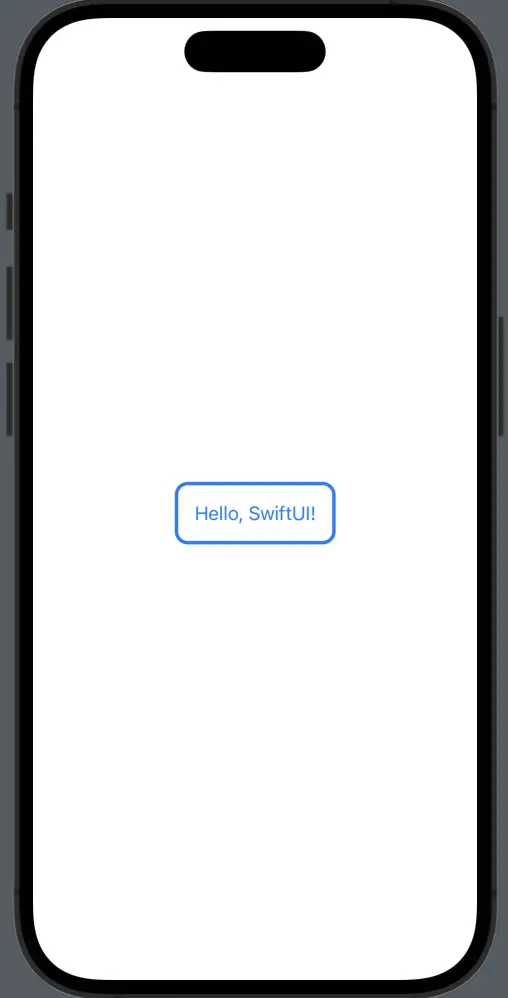
While the .border() modifier provides a rectangular border by default, SwiftUI’s .overlay() modifier allows for more customization. Here’s an example:
Button(action: {
    // action code here
}) {
    Text("Hello, SwiftUI!")
    .padding()
    .overlay(
        RoundedRectangle(cornerRadius: 10)
            .stroke(Color.blue, lineWidth: 3)
    )
}
In this example, the button text is displayed with a blue border of a rounded rectangle shape. The RoundedRectangle(cornerRadius: 10) provides the shape of the border, and .stroke(Color.blue, lineWidth: 3) determines the color and width of the border.
SwiftUI offers a host of modifiers like .border() and .overlay() to add borders to your buttons, allowing you to significantly enhance your app’s user interface with just a few lines of code. With such tools at your disposal, you can create a variety of appealing and accessible button styles. So don’t hesitate to explore and experiment.