How to Create Button with Loading Indicator in iOS SwiftUI
It’s often the case that a task in your mobile app may take some time to process. It could be a network request, a heavy computation, or any other task that’s not instant. In these situations, it’s crucial to provide feedback to the user about what’s happening in your app. This is where SwiftUI button loading indicators come into play.
Create a Button with Loading Indicator
In SwiftUI, it’s straightforward to create a button with a loading indicator. This approach will help enhance user experience and interface clarity in your apps.
First, we need to create a button. SwiftUI makes this incredibly simple.
Button(action: {
    print("Button pressed")
}) {
    Text("Press me")
}
In this code, we create a button with the title “Press me.” When the button is pressed, it prints “Button pressed” to the console.
To show a loading indicator, we need a way to track whether our task is loading or not. We can use a @State variable for this.
@State private var isLoading = false

Button(action: {
    self.isLoading = true
    // Your long-running task here
}) {
    Text(isLoading ? "Loading..." : "Press me")
}
In this code, when the button is pressed, we set isLoading to true. The button’s title changes based on whether isLoading is true or false.
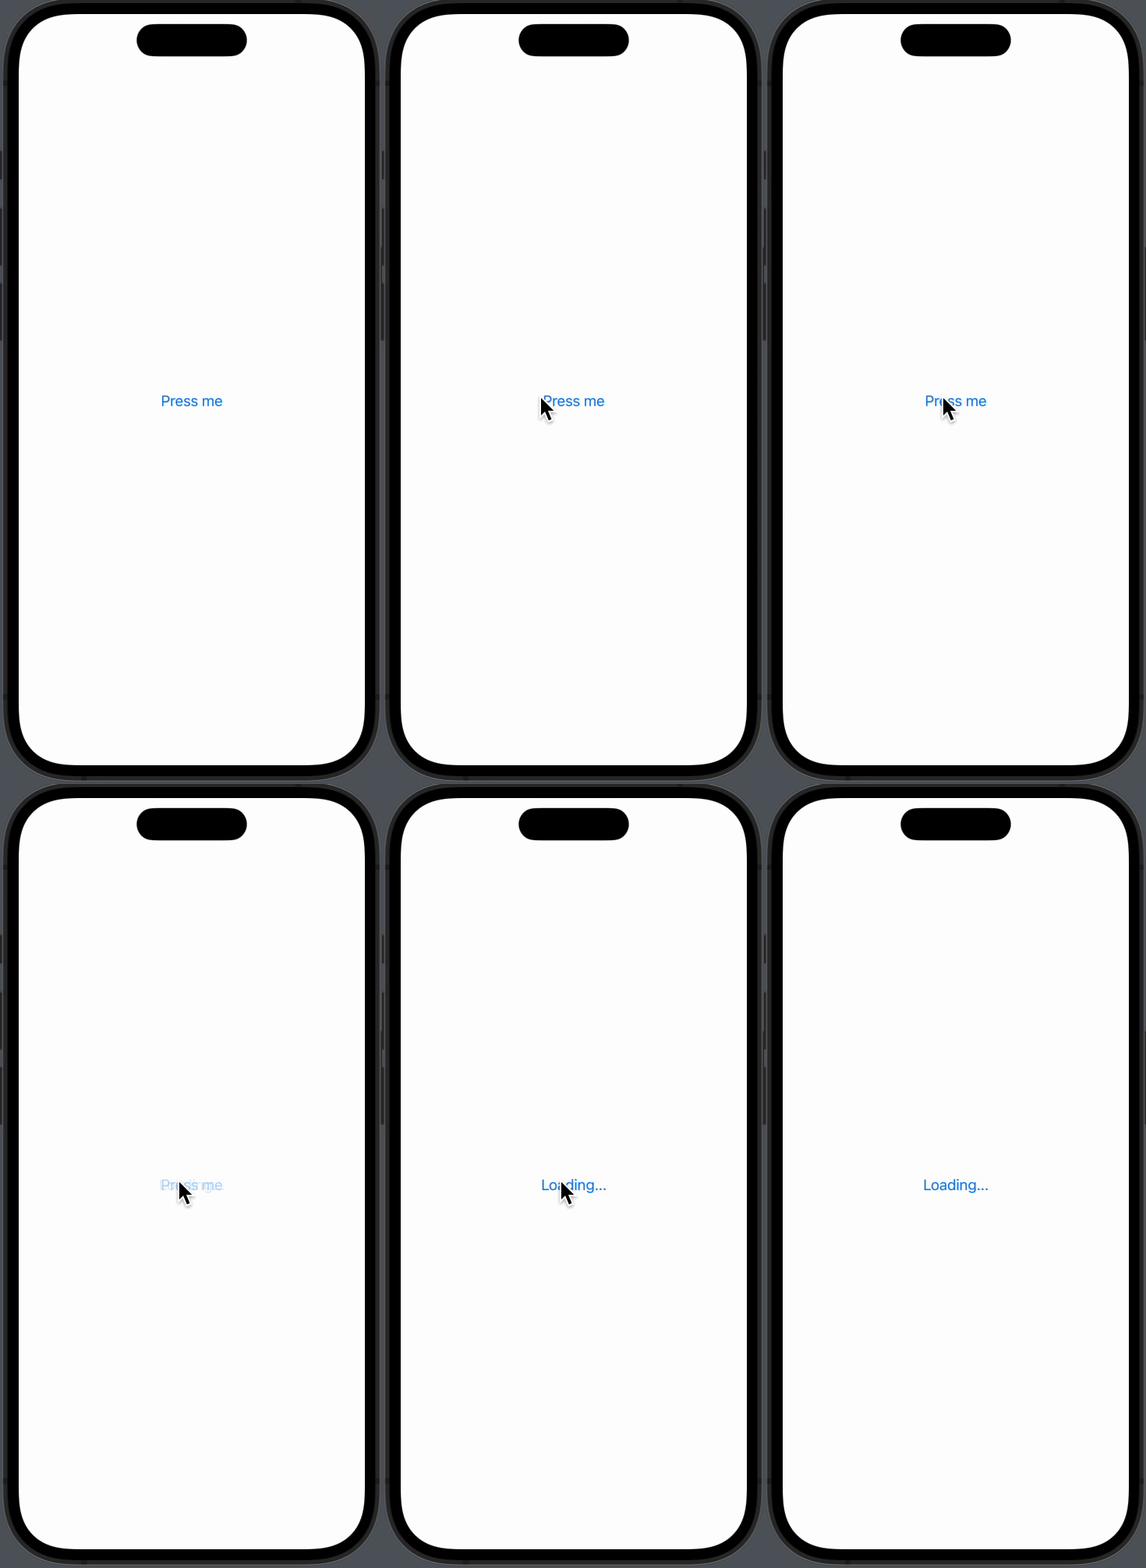
The final step is to show a loading indicator when isLoading is true. We’ll use a ProgressView for this.
struct ContentView: View {
    @State private var isLoading = false

    var body: some View {
        Button(action: {
            self.isLoading = true
            // Your long-running task here
        }) {
            if isLoading {
                ProgressView()
            } else {
                Text("Press me")
            }
        }
    }
}
In this code, when isLoading is true, a ProgressView is shown. Otherwise, the button displays “Press me.”
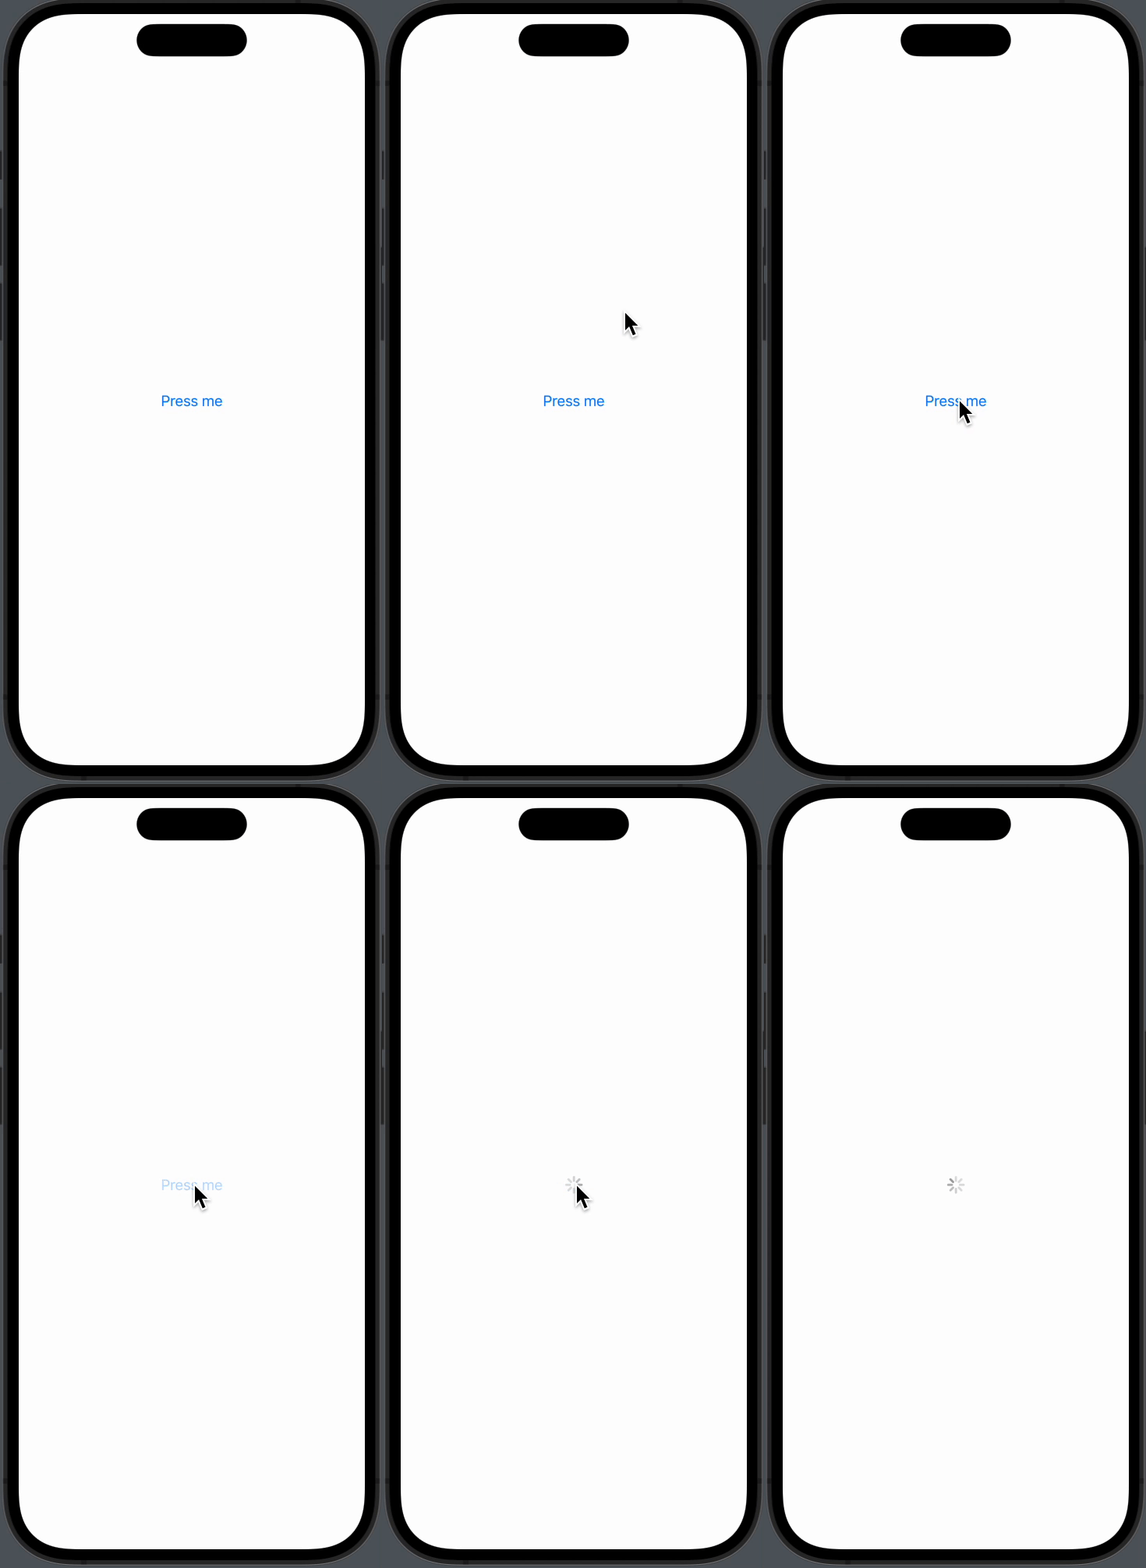
Implementing a SwiftUI button with a loading indicator significantly improves your app’s user experience. It gives users clear feedback about what’s happening in the app, especially during long-running tasks. SwiftUI’s declarative syntax makes this process clean and straightforward.


