How to Create SwiftUI Button with Gradient Background
In this blog post, we’ll delve into how to create a SwiftUI button with a gradient background. By the end, you’ll have a beautiful, functional button that will add flair to your mobile app interfaces. Let’s get started!
Defining a Button in SwiftUI
To define a button in SwiftUI, you need to provide two main components: an action and a label. The action is a closure that gets executed when the button is tapped, while the label defines what is displayed on the button.
Here is a basic example:
Button(action: {
    print("Button tapped!")
}) {
    Text("Tap me")
}
This will create a basic button with the text “Tap me”. When the button is tapped, it will print “Button tapped!” in the console.
Add a Gradient Background to Button
Now, let’s add a gradient background to our button. SwiftUI provides a LinearGradient view that we can use. You’ll need to define the gradient’s start and end points, as well as its colors.
Here’s an example:
Button(action: {
print("Gradient Button tapped!")
}) {
Text("Tap me")
.padding()
.background(LinearGradient(gradient: Gradient(colors: [.red, .blue]), startPoint: .leading, endPoint: .trailing))
.foregroundColor(.white)
.cornerRadius(10)
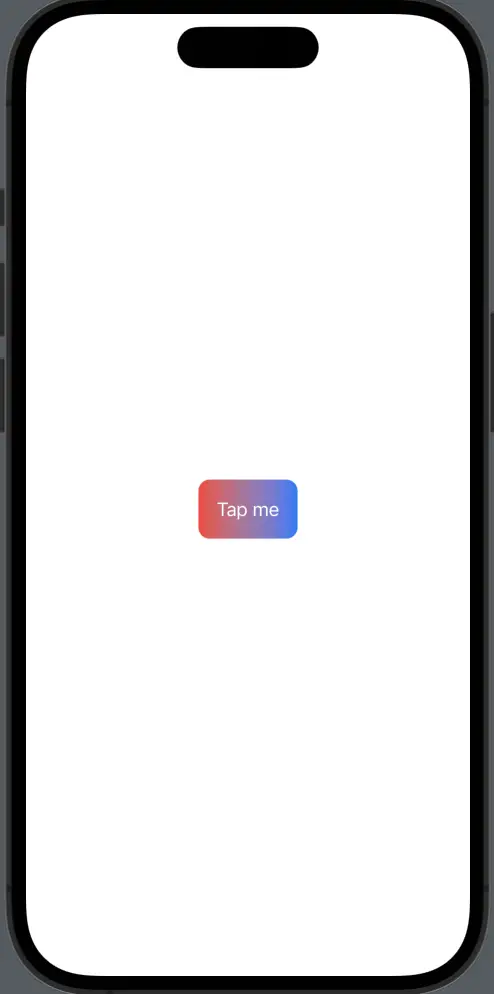
}In this example, we’ve added padding to the text and set the background as a linear gradient from red to blue. We’ve also changed the text color to white and rounded the corners of the button.
In SwiftUI, the leading and trailing terms are used instead of left and right. This allows the interface to adapt to both left-to-right and right-to-left languages.
Creating a SwiftUI button with a gradient background is a simple and efficient way to enhance your app’s aesthetics and user experience. Remember, a well-designed UI is not just about looks—it can also greatly affect your app’s usability and the satisfaction of your users.
Meta description: Discover how to create a SwiftUI button with a gradient background. This blog post offers a step-by-step guide for enhancing your app’s aesthetics and improving user experience.