How to Add a Done Button to iOS SwiftUI TextField
Handling user input effectively is vital for a smooth user experience. When dealing with text input in SwiftUI, you may want to add a “Done” button to help users complete their entry.
This guide will demonstrate how to add a “Done” button to a SwiftUI TextField using the submitLabel and onSubmit modifiers.
Add the Done Button to Keyboard
Starting from iOS 15, SwiftUI made it easier to add a “Done” button to the keyboard of a TextField. Below is an example to illustrate how to achieve this:
struct ContentView: View {
    @State private var text = ""

    var body: some View {
        TextField("Enter text", text: $text)
            .onSubmit {
                print("Text was submitted: \(text)")
            }
            .submitLabel(.done)
            .padding()
    }
}
The @State property wrapper is used to declare a private variable called text. It stores the user’s input and triggers the view to update when the text changes.
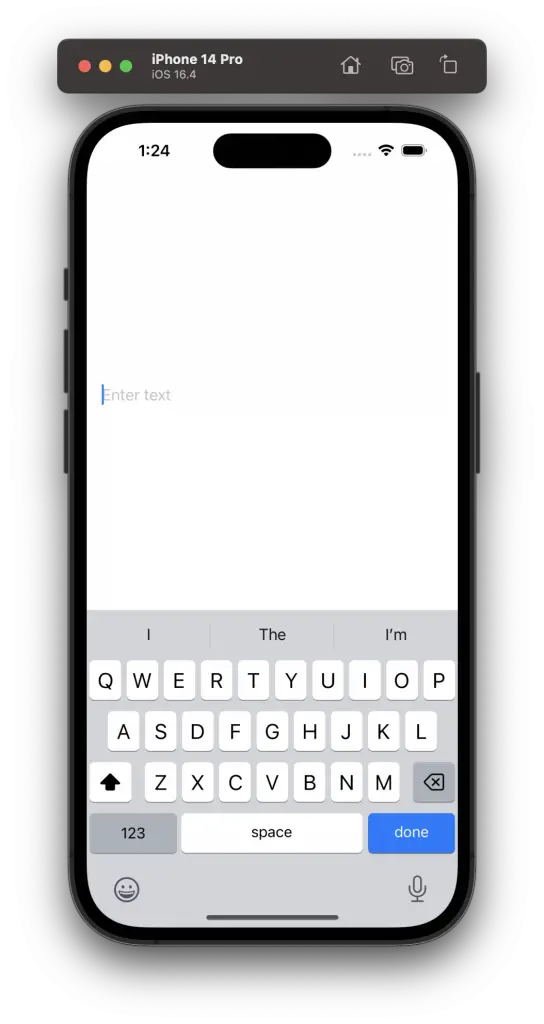
The TextField is the core element for text input. It is created with a placeholder "Enter text" and is bound to the text state variable.
The onSubmit modifier allows you to define an action when the user presses the “Done” button. In this example, it prints the submitted text.
The submitLabel modifier is used to define the label of the submit button on the keyboard. By setting it to .done, it creates a “Done” button. Padding is added to provide space around the TextField, enhancing the appearance.
The addition of a Done button to a TextField in SwiftUI provides a clear pathway for the user to submit their text. Using the submitLabel and onSubmit modifiers, you can not only add this functionality but also customize the action performed when the “Done” button is pressed.
Whether for form submission or search functionality, these tools offer a robust solution for handling text input in your SwiftUI apps.