How to Add Borders to Text in iOS SwiftUI
In this blog post, we’ll unlock another dimension of enhancing text aesthetics in SwiftUI by adding borders to text views. Implementing text borders not only makes your app visually striking but also allows you to emphasize key information effectively.
Basics: Creating a Text Border
SwiftUI enables you to quickly add borders to your text views using the .overlay() modifier along with a shape like Rectangle() or RoundedRectangle(). Here’s an example:
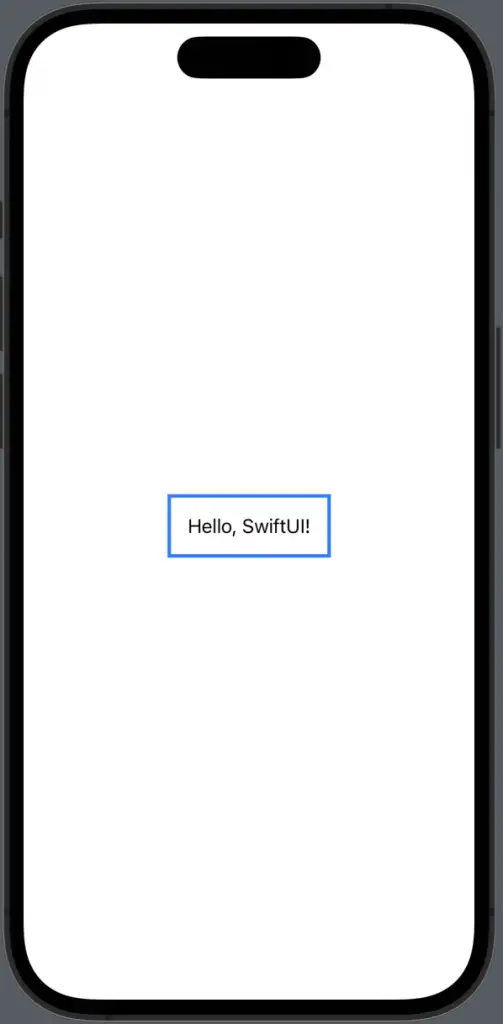
Text("Hello, SwiftUI!")
    .padding()
    .overlay(
        Rectangle()
            .stroke(Color.blue, lineWidth: 3)
    )
In the above example, the text “Hello, SwiftUI!” is displayed with a rectangular border of blue color and a width of 3 points.
Rounded Borders
If you prefer rounded corners for your text border, SwiftUI has you covered. You can use RoundedRectangle() instead of Rectangle():
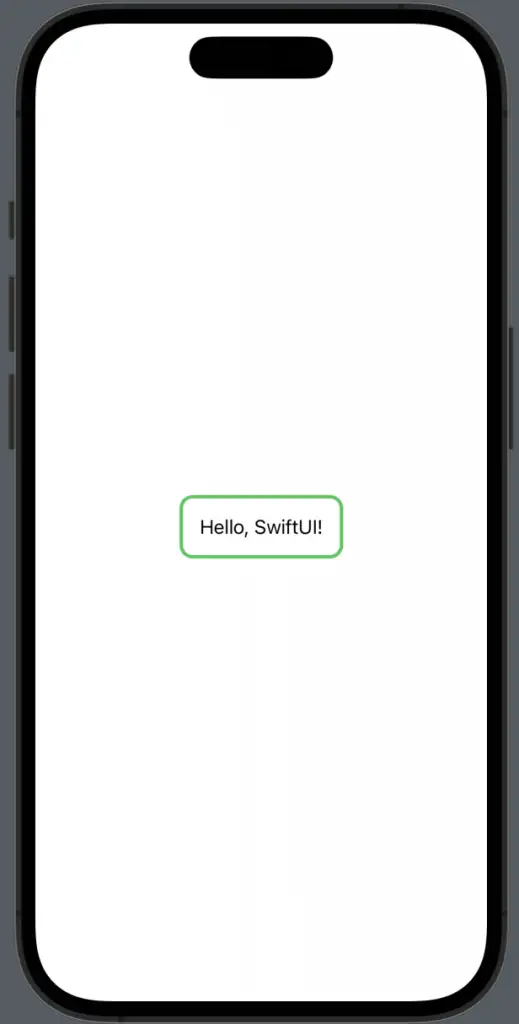
Text("Hello, SwiftUI!")
    .padding()
    .overlay(
        RoundedRectangle(cornerRadius: 10)
            .stroke(Color.green, lineWidth: 3)
    )
Here, the RoundedRectangle shape gives our text border a rounded look with a corner radius of 10.
Adding Padding
In the previous examples, we’ve included the .padding() modifier. Without this padding, the border will tightly hug the text, which may not be the desired effect. Adding padding ensures a uniform gap between the text and the border.
Adding borders to text in SwiftUI is a simple and powerful way to make your app’s text stand out and direct your users’ focus to key information. With SwiftUI’s composable nature and the use of overlay modifiers, adding and customizing text borders can be achieved with just a few lines of code.