How to Use ZStack Offset in iOS SwiftUI
SwiftUI ZStack provides a great way to build rich and interactive user interfaces by stacking views along the z-axis. In this guide, we’ll delve deeper into the power of offset with ZStack to help you achieve precision in view positioning.
ZStack Overview
ZStack in SwiftUI is a container that overlays its child views, aligning them along the z-axis. It’s perfect for designing layered components, such as placing text on images or creating an overlapping view effect.
Offset in ZStack
When it comes to customizing view positions within a ZStack, offset is your go-to tool. It allows for shifting the position of a view by a certain distance along the x and y axes. Let’s explore how to apply offset in ZStack with a couple of practical examples.
Example 1: Adjusting Text Views
First, we create a ZStack with two Text views.
ZStack {
  Text("Behind Text")
  Text("Front Text")
}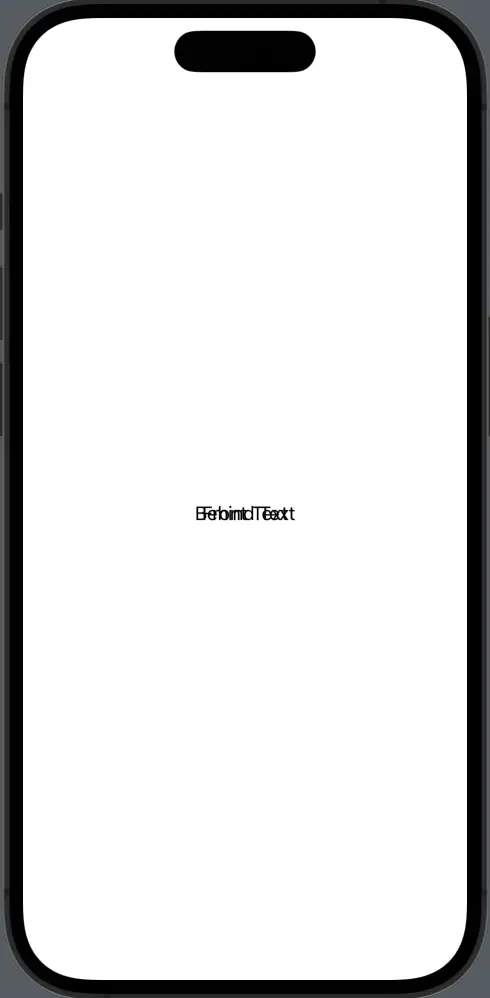
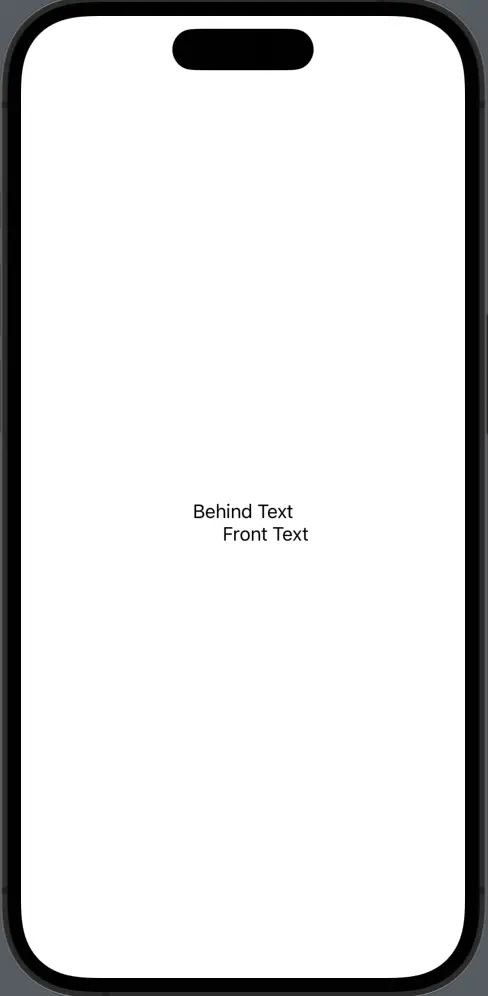
In this scenario, “Front Text” will appear on top of “Behind Text”. Now, let’s use the .offset modifier to adjust the “Front Text” position.
ZStack {
  Text("Behind Text")
  Text("Front Text").offset(x: 20, y: 20)
}
We’ve successfully moved “Front Text” 20 points to the right and 20 points down from its original position.
Example 2: Layering Image and Text
Now, let’s take a look at a more advanced example where we layer an Image and a Text view.
ZStack {
  Image("clouds")
  Text("Nature").font(.largeTitle)
}
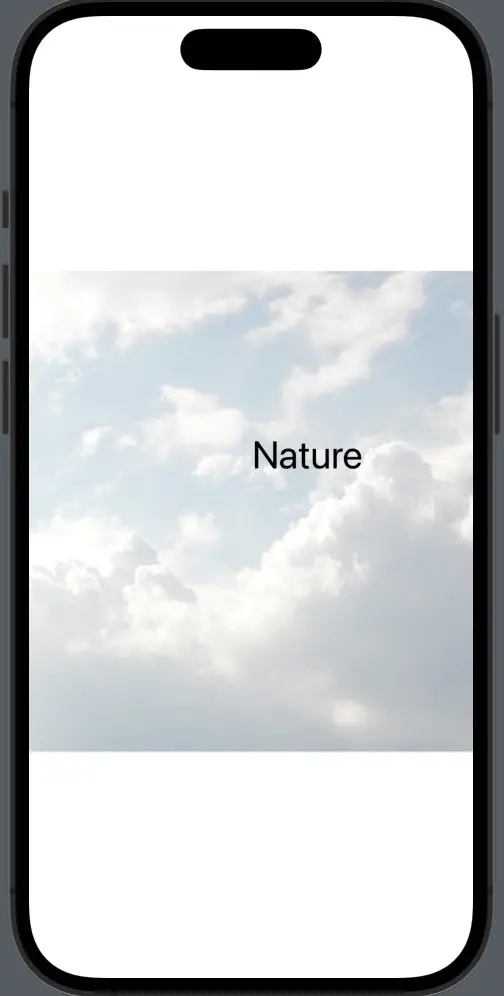
In this setup, the Text view “Nature” will appear over the image. To place the text at a specific location, we can use the .offset modifier.
ZStack {
  Image("clouds")
  Text("Nature").font(.largeTitle).offset(x: 50, y: -50)
}
Here, we’ve moved the Text view 50 points to the right and 50 points up, giving a distinct style to our design.
The power of SwiftUI’s ZStack and offset modifier enables developers to create dynamic and flexible layouts with relative ease. With the knowledge gained from these examples, you’re now equipped to experiment and build innovative design solutions.
