How to Implement SwiftUI HStack Left Alignment
When developing apps with SwiftUI, managing your UI layout effectively is crucial. HStack, a vital SwiftUI component, aids in horizontally aligning views. In this post, we’ll discuss achieving left alignment with HStack.
Understanding HStack
HStack is a simple, yet powerful, SwiftUI component that horizontally stacks its child views. However, by default, the views within an HStack are centered. For more tailored designs, we sometimes need to align these views to the left.
Left Alignment in HStack
To get the child views within an HStack to align left, you need to leverage the power of SwiftUI’s Spacer component.
Step 1: Creating an HStack
Let’s start by creating a simple HStack with a few text views:
HStack {
  Text("This is HStack")
  Text("Left aligned")
}
By default, SwiftUI centers these two Text views within the HStack.
Step 2: Using Spacer for Alignment
To achieve left alignment, insert a Spacer after your views:
HStack {
Text("This is HStack")
Text("Left aligned")
Spacer()
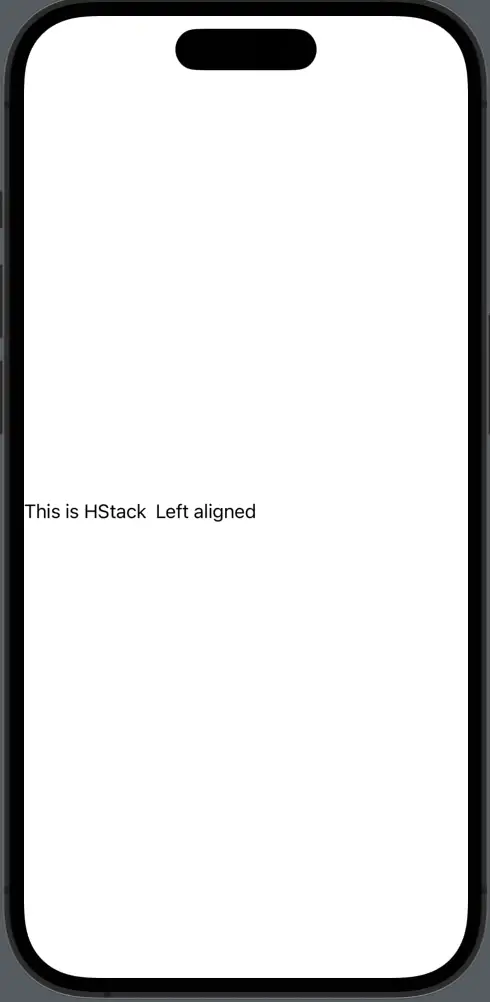
}The Spacer pushes all preceding views to the left, achieving the left alignment in your HStack.
Using Frame for Alignment
Apart from using a Spacer, another technique to align views within an HStack is using the .frame modifier. This gives you an additional level of flexibility when controlling alignments.
Now, use the .frame modifier on the HStack, setting the alignment parameter to .leading:
HStack(alignment: .top) {
  Text("This is HStack")
  Text("Left aligned")
}.frame(maxWidth: .infinity, alignment: .leading)
The alignment parameter in the .frame modifier directs SwiftUI to align the views within the HStack to the leading edge, effectively aligning them to the left.
Between using a Spacer and manipulating the .frame modifier, SwiftUI offers flexible solutions for aligning child views within an HStack. Understanding these techniques allows you to design more sophisticated user interfaces.