How to Implement Button Action in iOS SwiftUI
In this blog post, we will dig into a crucial component of SwiftUI – creating buttons and attaching actions to them. Buttons are interactive elements of an application that trigger a particular function or action when tapped by the user. In SwiftUI, creating a button and defining its functionality is quite straightforward. Let’s dive in to learn more.
Basics: Create a Button with Action
Creating a button in SwiftUI is as simple as initializing a Button view. Here’s a simple button:
Button("Tap me!") {
    print("Button tapped!")
}
This button will display the text “Tap me!”, and when tapped, it will print “Button tapped!” to the console.
Advanced: Customize Button Appearance
SwiftUI also allows you to customize the look of your button by providing a custom view:
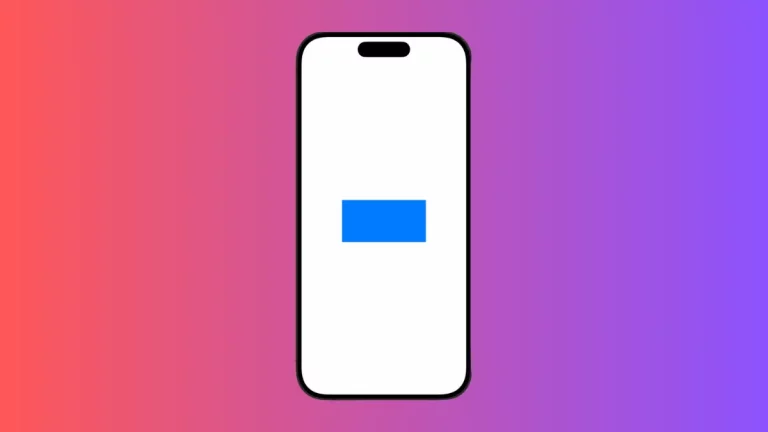
Button(action: {
    print("Button tapped!")
}) {
    Text("Tap me!")
        .font(.largeTitle)
        .foregroundColor(.white)
        .padding()
        .background(Color.blue)
        .cornerRadius(10)
}
In this example, we have a button with large, white text on a blue background, and the button has rounded corners.
Button Styles
SwiftUI provides predefined button styles that you can use to change the look of your buttons. Some of the button styles include PlainButtonStyle, BorderlessButtonStyle, etc.
Button("Tap me!") {
    print("Button tapped!")
}
.buttonStyle(PlainButtonStyle())
In the above example, we applied PlainButtonStyle to our button.
Understanding how to create and customize buttons, as well as how to trigger actions with buttons in SwiftUI, is a fundamental part of creating interactive and engaging applications. By combining buttons with other SwiftUI views and state variables, you can create a wide variety of interactive elements to satisfy your app’s needs.