How to Display DataTable with Border in Flutter
A well-designed data table can help users understand complex information and make informed decisions. This is why adding borders to your data table is an important design element to consider.
In this blog post, let’s learn how to add borders to a DataTable in Flutter.
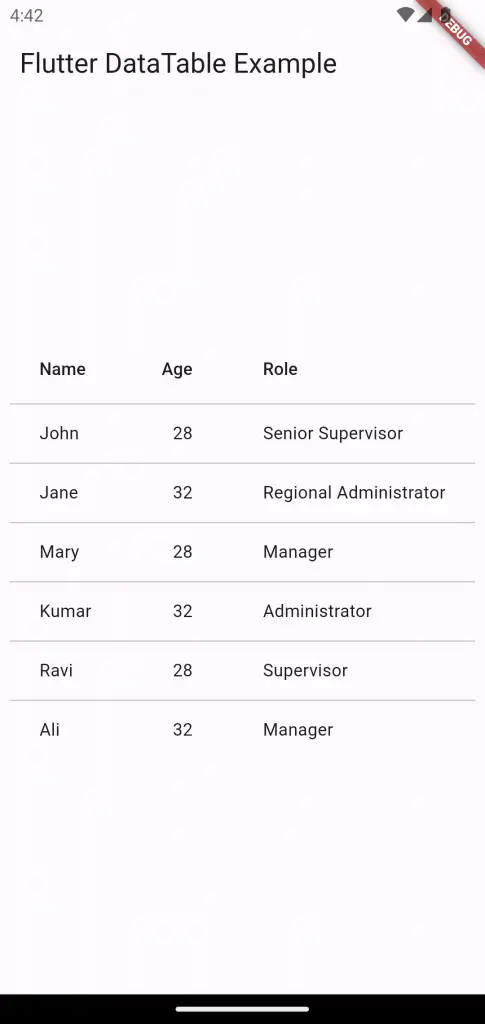
Following is a DataTable without borders.
DataTable(
          columns: const <DataColumn>[
            DataColumn(
              label: Text('Name'),
            ),
            DataColumn(
              label: Text('Age'),
              numeric: true,
            ),
            DataColumn(
              label: Text('Role'),
            ),
          ],
          rows: List.generate(data.length, (index) {
            final item = data[index];
            return DataRow(
              cells: [
                DataCell(Text(item['Name'])),
                DataCell(Text(item['Age'].toString())),
                DataCell(Text(item['Role'])),
              ],
            );
          }),
        )
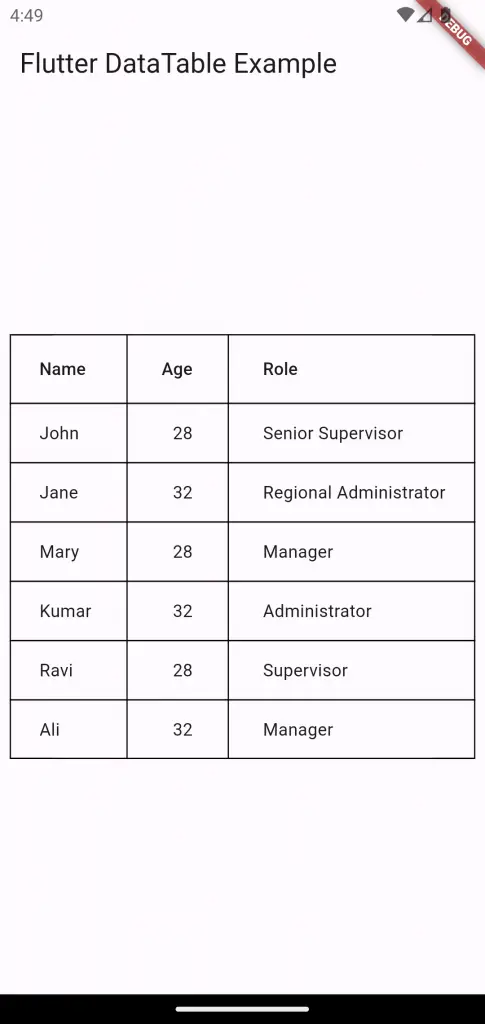
The DataTable has border property and we can use TableBorder class with it to draw borders. The TableBorder.all constructor draws all borders. See the code snippet given below.
DataTable(
          border: TableBorder.all(width: 1, style: BorderStyle.solid),
          columns: const <DataColumn>[
            DataColumn(
              label: Text('Name'),
            ),
            DataColumn(
              label: Text('Age'),
              numeric: true,
            ),
            DataColumn(
              label: Text('Role'),
            ),
          ],
          rows: List.generate(data.length, (index) {
            final item = data[index];
            return DataRow(
              cells: [
                DataCell(Text(item['Name'])),
                DataCell(Text(item['Age'].toString())),
                DataCell(Text(item['Role'])),
              ],
            );
          }),
        )
This will give you the following output with borders.
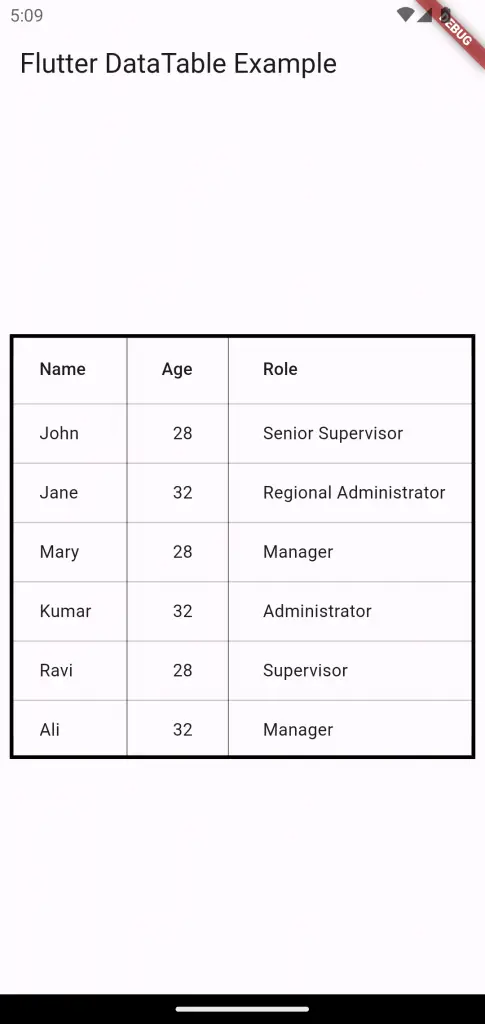
Sometimes you may want to customize each border. You can adjust and customize the borders of each side using TableBorder class and BorderSide class.
See the code snippet given below.
DataTable(
          border: const TableBorder(
              top: BorderSide(width: 3),
              right: BorderSide(width: 3),
              bottom: BorderSide(width: 3),
              left: BorderSide(width: 3),
              verticalInside: BorderSide(width: 0.5)),
          columns: const <DataColumn>[
            DataColumn(
              label: Text('Name'),
            ),
            DataColumn(
              label: Text('Age'),
              numeric: true,
            ),
            DataColumn(
              label: Text('Role'),
            ),
          ],
          rows: List.generate(data.length, (index) {
            final item = data[index];
            return DataRow(
              cells: [
                DataCell(Text(item['Name'])),
                DataCell(Text(item['Age'].toString())),
                DataCell(Text(item['Role'])),
              ],
            );
          }),
        ),
Then you will get the following output.
Following is the complete code for reference.
import 'package:flutter/material.dart';

void main() {
  runApp(const MyApp());
}

List<dynamic> data = [
  {"Name": "John", "Age": 28, "Role": "Senior Supervisor"},
  {"Name": "Jane", "Age": 32, "Role": "Regional Administrator"},
  {"Name": "Mary", "Age": 28, "Role": "Manager"},
  {"Name": "Kumar", "Age": 32, "Role": "Administrator"},
];

class MyApp extends StatelessWidget {
  const MyApp({super.key});

  // This widget is the root of your application.
  @override
  Widget build(BuildContext context) {
    return MaterialApp(
      title: 'Flutter Demo',
      theme: ThemeData(
        useMaterial3: true,
      ),
      home: const MyHomePage(),
    );
  }
}

class MyHomePage extends StatelessWidget {
  const MyHomePage({super.key});

  @override
  Widget build(BuildContext context) {
    return Scaffold(
      appBar: AppBar(
        title: const Text('Flutter DataTable Example'),
      ),
      body: Center(
        child: DataTable(
          border: const TableBorder(
              top: BorderSide(width: 3),
              right: BorderSide(width: 3),
              bottom: BorderSide(width: 3),
              left: BorderSide(width: 3),
              verticalInside: BorderSide(width: 0.5)),
          columns: const <DataColumn>[
            DataColumn(
              label: Text('Name'),
            ),
            DataColumn(
              label: Text('Age'),
              numeric: true,
            ),
            DataColumn(
              label: Text('Role'),
            ),
          ],
          rows: List.generate(data.length, (index) {
            final item = data[index];
            return DataRow(
              cells: [
                DataCell(Text(item['Name'])),
                DataCell(Text(item['Age'].toString())),
                DataCell(Text(item['Role'])),
              ],
            );
          }),
        ),
      ),
    );
  }
}
That’s how you add borders to DataTable in Flutter.