How to Create Triangle Shape in SwiftUI
SwiftUI offers a versatile set of tools to create custom shapes that can be used throughout your iOS app’s UI. While SwiftUI does not provide a built-in triangle shape, creating one is a straightforward process. In this blog post, we’ll walk through how to create a triangle shape, customize it, and integrate it into your SwiftUI views.
In SwiftUI, custom shapes are defined by creating structs that conform to the Shape protocol. This protocol requires implementing a method called path(in:) where you construct the shape using a Path.
Create a Triangle Shape
Let’s begin by defining our triangle shape. We’ll create a struct named Triangle and implement the required path(in:) method.
struct Triangle: Shape {
    func path(in rect: CGRect) -> Path {
        var path = Path()

        // Start from the bottom left
        path.move(to: CGPoint(x: rect.minX, y: rect.maxY))
        // Add line to the top middle
        path.addLine(to: CGPoint(x: rect.midX, y: rect.minY))
        // Add line to the bottom right
        path.addLine(to: CGPoint(x: rect.maxX, y: rect.maxY))
        // Close the path to create the third side of the triangle
        path.closeSubpath()

        return path
    }
}
In the path(in:) method, we start by moving to the bottom-left corner of the rectangle that frames our shape. We draw lines to the midpoint of the top edge and then to the bottom-right corner, thus forming a triangle. The closeSubpath() call completes the shape by connecting the last point back to the first.
Use the Triangle Shape in Your UI
Now that we have our Triangle shape, we can use it like any other shape in SwiftUI.
struct ContentView: View {
    var body: some View {
        Triangle()
            .fill(Color.red)
            .frame(width: 200, height: 200)
            .shadow(radius: 5)
    }
}
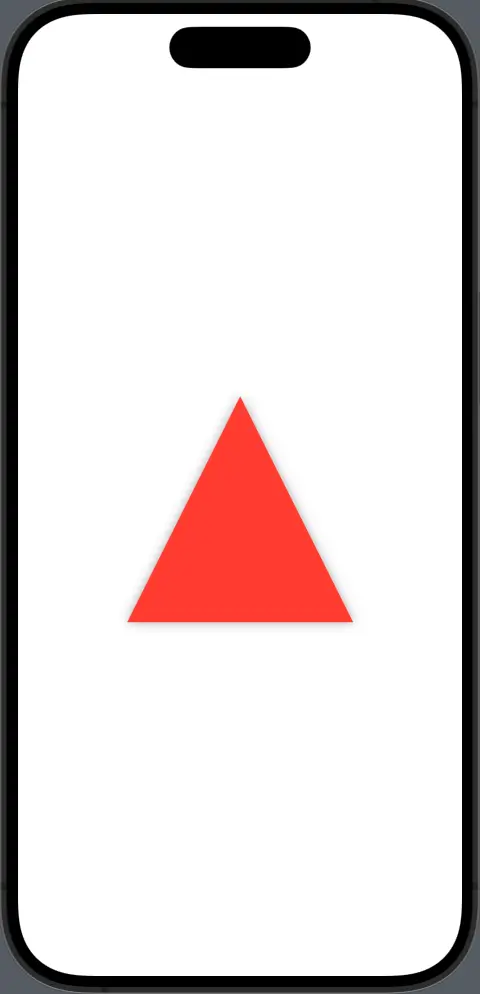
In the above ContentView, we add the Triangle to our view hierarchy, fill it with a red color, and define its frame to be 200×200 points. The shadow modifier adds a nice drop shadow for some depth.
Following is the complete code for reference.
import SwiftUI

struct ContentView: View {
    var body: some View {
        Triangle()
            .fill(Color.red)
            .frame(width: 200, height: 200)
            .shadow(radius: 5)
    }
}

struct Triangle: Shape {
    func path(in rect: CGRect) -> Path {
        var path = Path()

        // Start from the bottom left
        path.move(to: CGPoint(x: rect.minX, y: rect.maxY))
        // Add line to the top middle
        path.addLine(to: CGPoint(x: rect.midX, y: rect.minY))
        // Add line to the bottom right
        path.addLine(to: CGPoint(x: rect.maxX, y: rect.maxY))
        // Close the path to create the third side of the triangle
        path.closeSubpath()

        return path
    }
}

struct ContentView_Previews: PreviewProvider {
    static var previews: some View {
        ContentView()
    }
}
Rotate the Triangle
To rotate the triangle, you can use the .rotationEffect modifier. This modifier requires an Angle, which you can provide in degrees.
Triangle()
    .fill(Color.green)
    .frame(width: 100, height: 100)
    .rotationEffect(.degrees(180))
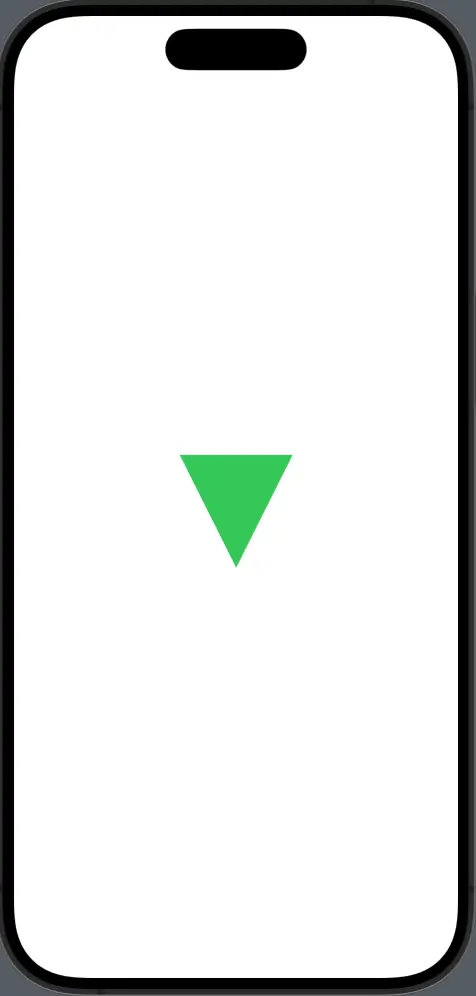
In this example, the triangle is rotated 180 degrees to point downwards.
Creating a custom triangle shape in SwiftUI is a simple and effective way to add geometric customization to your app’s design. Whether used as a directional indicator, a decorative element, or an interactive component, triangles can provide visual interest and guide user interaction.
SwiftUI’s composability makes it easy to integrate the triangle shape with other views, animate it, or apply various styles to fit the design language of your app. With a basic understanding of the Path and Shape protocols, you can begin to explore even more complex shapes and patterns.
