How to Create Custom Shapes in SwiftUI
SwiftUI simplifies the creation of custom shapes, enabling designers and developers to bring a unique flair to their applications. In this blog post, I will take you through the process of creating a custom shape in SwiftUI, explaining each code snippet along the way.
A custom shape in SwiftUI is a graphical element that you can draw to fit your specific design needs. SwiftUI makes this process straightforward by providing the Shape protocol.
Conform to the Shape Protocol
To start, you’ll create a new struct that conforms to the Shape protocol. This requires an implementation of the path(in:) method, where you’ll define the drawing instructions for your shape.
struct Triangle: Shape {
    func path(in rect: CGRect) -> Path {
        var path = Path()
        // Drawing code will go here.
        return path
    }
}
Here, Triangle is our custom shape. The path(in:) method gives us a CGRect that defines the area the shape will fill. We create a Path object to set out the drawing instructions.
Draw the Shape
Inside the path(in:) method, you’ll use the Path struct to define the shape’s geometry. Let’s draw a simple triangle.
func path(in rect: CGRect) -> Path {
    var path = Path()

    path.move(to: CGPoint(x: rect.midX, y: rect.minY))
    path.addLine(to: CGPoint(x: rect.maxX, y: rect.maxY))
    path.addLine(to: CGPoint(x: rect.minX, y: rect.maxY))
    path.closeSubpath()

    return path
}
In this snippet, we start by moving to the starting point of the triangle, which is the middle of the top edge of the rectangle (rect.midX, rect.minY). We then add lines to the bottom right and bottom left corners of the rectangle, and close the path to complete the triangle.
Use the Custom Shape in a View
With the custom shape defined, you can now use it within a SwiftUI view like any other shape.
struct ContentView: View {
    var body: some View {
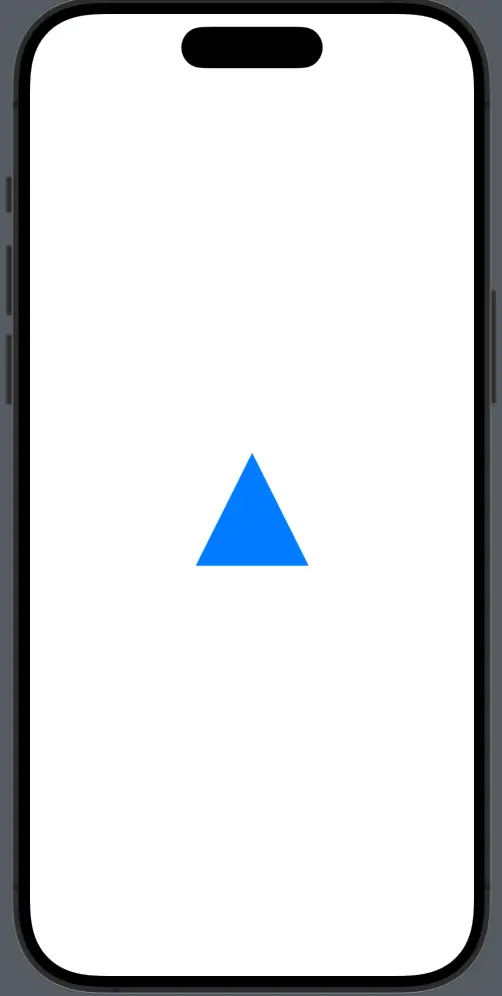
        Triangle()
            .fill(Color.blue)
            .frame(width: 100, height: 100)
    }
}
Here, we add a Triangle to the content view, fill it with blue color, and set a frame of 100×100 points. The fill modifier colors the inside of the triangle, and the frame defines its size on the screen.
Style the Custom Shape
Custom shapes can be styled using SwiftUI’s modifiers. You can apply a stroke, adjust the line width, and add a shadow.
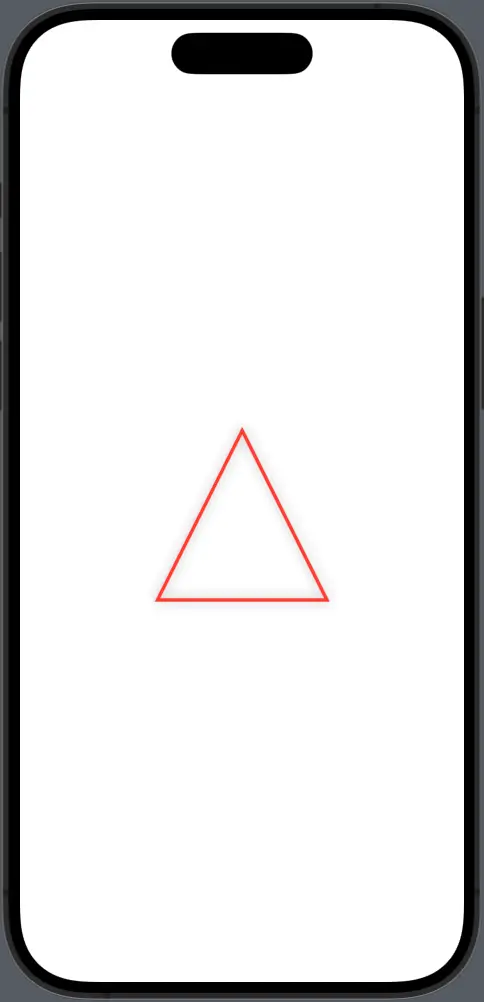
Triangle()
    .stroke(Color.red, lineWidth: 3)
    .shadow(radius: 5)
    .frame(width: 150, height: 150)
This code outlines the Triangle with a red border 3 points wide and applies a shadow with a 5-point radius. The stroke modifier creates the border, and shadow adds the shadow effect.
Following is the complete code for reference.
import SwiftUI

struct ContentView: View {
    var body: some View {
        Triangle()
            .stroke(Color.red, lineWidth: 3)
            .shadow(radius: 5)
            .frame(width: 150, height: 150)

    }
}

struct Triangle: Shape {
    func path(in rect: CGRect) -> Path {
        var path = Path()
        path.move(to: CGPoint(x: rect.midX, y: rect.minY))
            path.addLine(to: CGPoint(x: rect.maxX, y: rect.maxY))
            path.addLine(to: CGPoint(x: rect.minX, y: rect.maxY))
            path.closeSubpath()
        return path
    }
}

struct ContentView_Previews: PreviewProvider {
    static var previews: some View {
        ContentView()
    }
}
Designing custom shapes in SwiftUI can bring a new level of personalization to your app’s design. By understanding the Shape protocol and the Path struct, and by utilizing SwiftUI’s powerful modifiers and animations, you can create dynamic, custom graphics that make your app stand out.
Use these custom shapes to create icons, buttons, or any other graphical element that needs a unique touch, and enjoy the seamless integration that SwiftUI offers for your custom designs.



One Comment