How to Apply Gradient to ProgressView in iOS SwiftUI
Progress indicators are essential for providing feedback on ongoing tasks in modern apps. While SwiftUI’s ProgressView is quite versatile, you might want to add some custom styling to make it fit better with your app’s design. One such customization is adding a gradient.
In this blog post, we’ll explore how to apply gradients to ProgressView in SwiftUI, using both linear and angular gradients.
What is a ProgressView?
A ProgressView in SwiftUI is a UI element that displays the progress of an ongoing task. It can be either determinate, showing a specific percentage of completion, or indeterminate, displaying a general waiting indicator.
Apply a Linear Gradient
Example: Linear Gradient on Determinate ProgressView
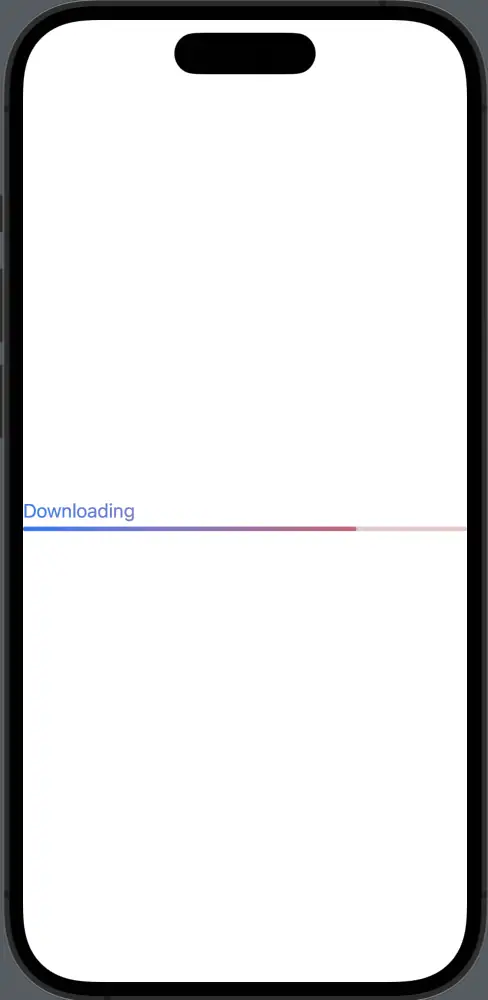
Here’s how you can apply a linear gradient to a determinate ProgressView.
import SwiftUI

struct ContentView: View {
    var body: some View {
        ProgressView("Downloading", value: 0.75, total: 1)
            .overlay(
                LinearGradient(gradient: Gradient(colors: [.blue, .red]), startPoint: .leading, endPoint: .trailing)
                    .mask(ProgressView("Downloading", value: 0.75, total: 1))
            )
    }
}
In this example, we use the overlay and mask modifiers to apply a linear gradient to the ProgressView. The gradient transitions from blue to red, starting from the leading edge and ending at the trailing edge.
Apply an Angular Gradient
Example: Angular Gradient on Indeterminate ProgressView
You can also apply an angular gradient to an indeterminate ProgressView.
import SwiftUI

struct ContentView: View {
    var body: some View {
        ProgressView().controlSize(.large)
            .overlay(
                AngularGradient(gradient: Gradient(colors: [.red, .blue]), center: .center)
                    .mask(ProgressView().controlSize(.large))
            )
    }
}
Here, we use an indeterminate ProgressView with a large control size. We then apply an angular gradient that transitions from red to blue using the overlay and mask modifiers.

Considerations
- Visibility: Make sure the gradient colors don’t compromise the visibility of the progress indicator.
- Consistency: Ensure that the gradient aligns with your app’s overall design and color scheme.
- Performance: While gradients are visually appealing, excessive use can impact performance. Use them judiciously.
Applying a gradient to a ProgressView in SwiftUI can be achieved using the overlay and mask modifiers. Whether you’re using a linear gradient for a determinate progress bar or an angular gradient for an indeterminate indicator, this technique offers a flexible way to add more visual flair to your progress indicators.