How to Add Material 3 Support to Flutter App
Material Design, created by Google, is a design system that ensures consistency across all platforms and devices. Material 3 is the newest version of this system and it includes various new features and improvements.
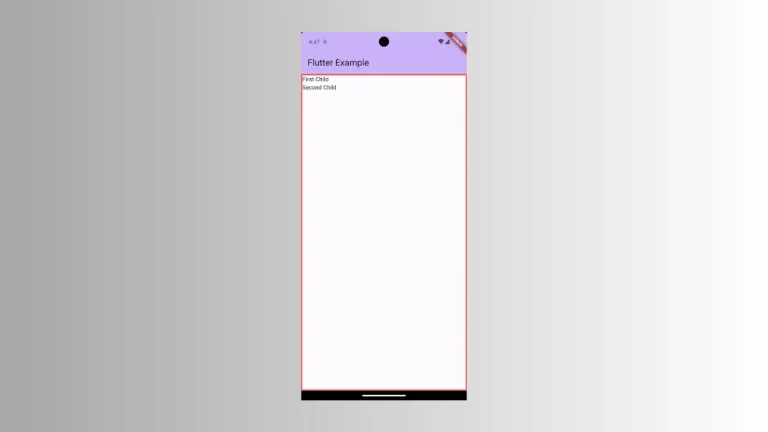
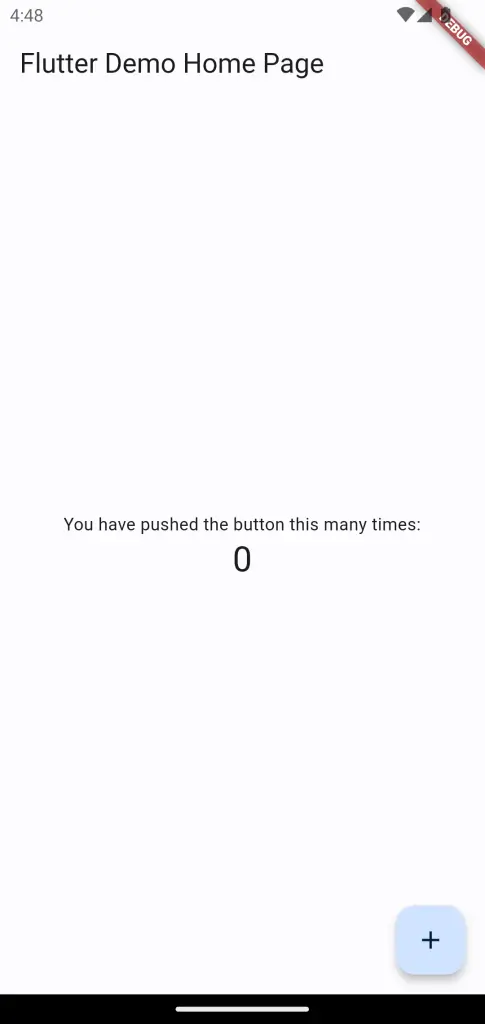
In this Flutter tutorial, let’s learn how to easily add Material 3 support to your Flutter project. Before proceeding, let’s look at the default project Flutter template in the material 2 design.
You can opt into Material 3 design by setting the useMaterial3 property true inside ThemeData. See the following code snippet.
void main() {
  runApp(
    MaterialApp(
      title: 'Flutter Demo',
      theme: ThemeData(
        useMaterial3: true
      ),
    ),
  );
}
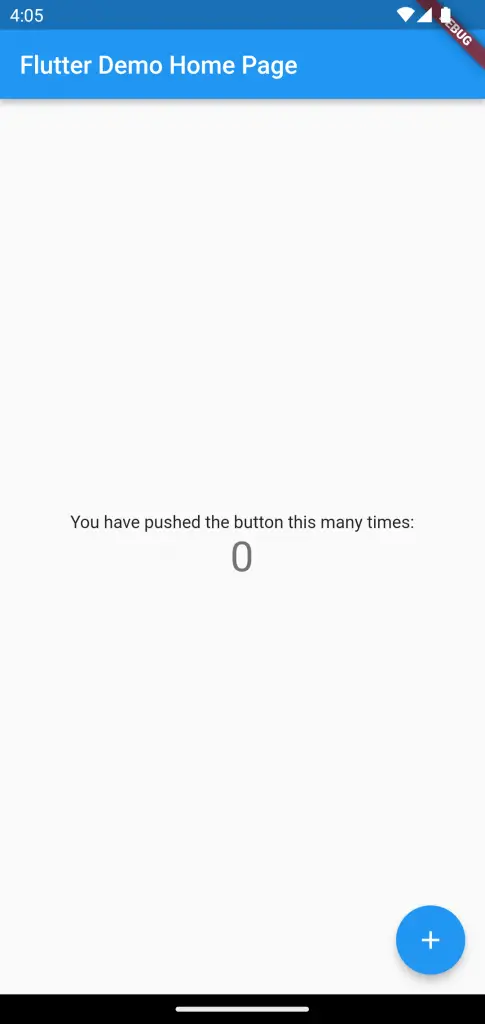
Then you will get the following output.
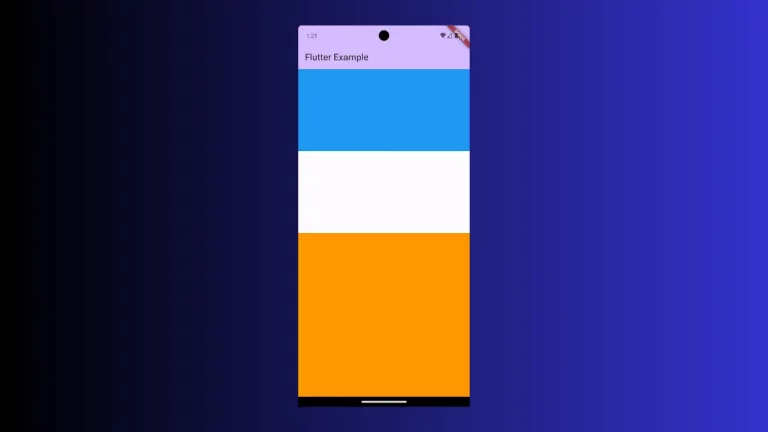
You can notice several changes starting from appbar, elevation, typography, FAB, etc. If you want to change the default color scheme then you should use the colorSchemeSeed property.
void main() {
runApp(
MaterialApp(
title: 'Flutter Demo',
theme: ThemeData(
useMaterial3: true,
colorSchemeSeed: Colors.blue,
),
),
);
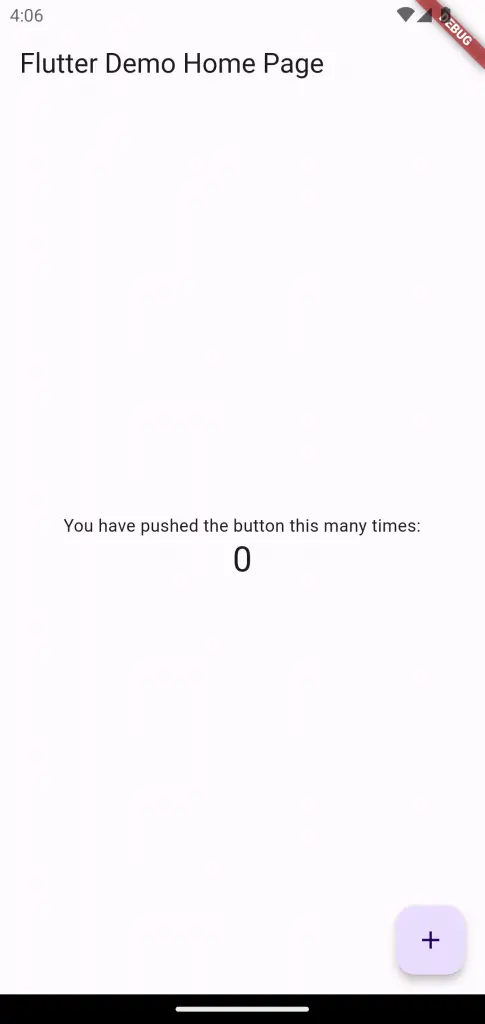
}Then the whole color scheme changes as given below.
Learn more about Material 3 color system here.
Following is the complete code for reference.
import 'package:flutter/material.dart';

void main() {
  runApp(const MyApp());
}

class MyApp extends StatelessWidget {
  const MyApp({super.key});

  // This widget is the root of your application.
  @override
  Widget build(BuildContext context) {
    return MaterialApp(
      title: 'Flutter Demo',
      theme: ThemeData(
        useMaterial3: true,
        colorSchemeSeed: Colors.blue,
      ),
      home: const MyHomePage(title: 'Flutter Demo Home Page'),
    );
  }
}

class MyHomePage extends StatefulWidget {
  const MyHomePage({super.key, required this.title});
  final String title;

  @override
  State<MyHomePage> createState() => _MyHomePageState();
}

class _MyHomePageState extends State<MyHomePage> {
  int _counter = 0;

  void _incrementCounter() {
    setState(() {
      _counter++;
    });
  }

  @override
  Widget build(BuildContext context) {
    return Scaffold(
      appBar: AppBar(
        title: Text(widget.title),
      ),
      body: Center(
        child: Column(
          mainAxisAlignment: MainAxisAlignment.center,
          children: <Widget>[
            const Text(
              'You have pushed the button this many times:',
            ),
            Text(
              '$_counter',
              style: Theme.of(context).textTheme.headlineMedium,
            ),
          ],
        ),
      ),
      floatingActionButton: FloatingActionButton(
        onPressed: _incrementCounter,
        tooltip: 'Increment',
        child: const Icon(Icons.add),
      ),
    );
  }
}
In short, adding Material 3 support to your Flutter app is a great way to enhance the user experience and stay up-to-date with the latest design trends. Material Design 3 brings a number of new features and improvements, such as new typography, updated components, and more.
By incorporating Material 3 into your app, you can ensure a consistent look and feel across all platforms, making it easier for users to navigate and interact with your app.