How to Add Borders to Shapes in SwiftUI
Borders in SwiftUI can transform a simple shape into something more complex and visually interesting. In this blog post, we’re going to explore the different ways you can add borders to shapes in SwiftUI, providing that extra detail to your UI elements.
Basic Borders with Stroke
Let’s start with the basics of adding a border to a shape using the stroke modifier.
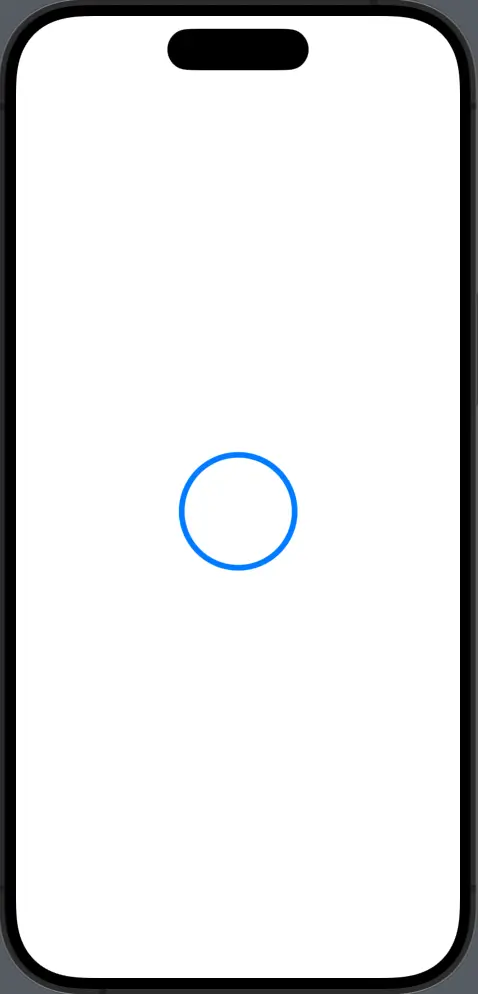
Circle()
    .stroke(Color.blue, lineWidth: 5)
    .frame(width: 100, height: 100)
In this example, a Circle is created with a border that is 5 points thick and colored blue. The stroke modifier is perfect for simple outlines, applying the specified color and thickness to the shape’s edge.
Advanced Borders with StrokeBorder
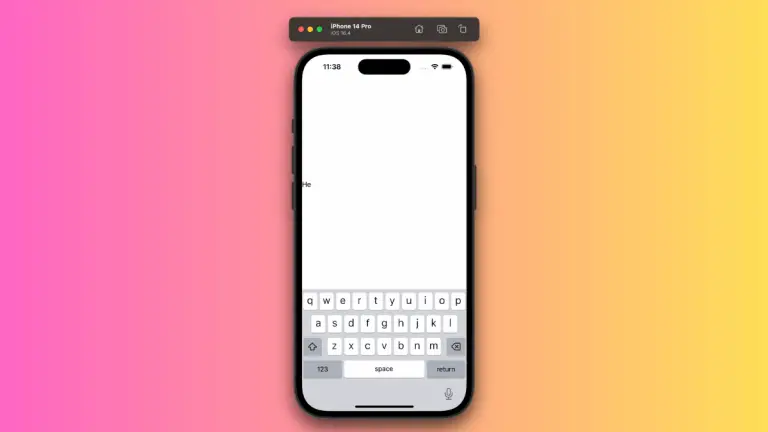
SwiftUI also offers the strokeBorder modifier, which is designed to add a stroke inside the shape, maintaining the shape’s original dimensions.
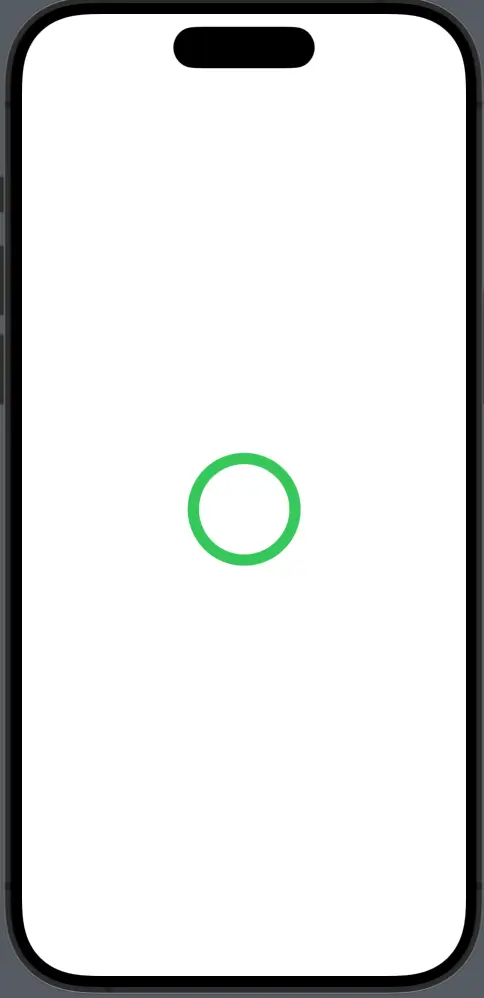
Circle()
    .strokeBorder(Color.green, lineWidth: 10)
    .frame(width: 100, height: 100)
By using strokeBorder, the border is drawn inward, ensuring the overall shape stays the same size, which is particularly useful when you need precise control over the shape’s dimensions.
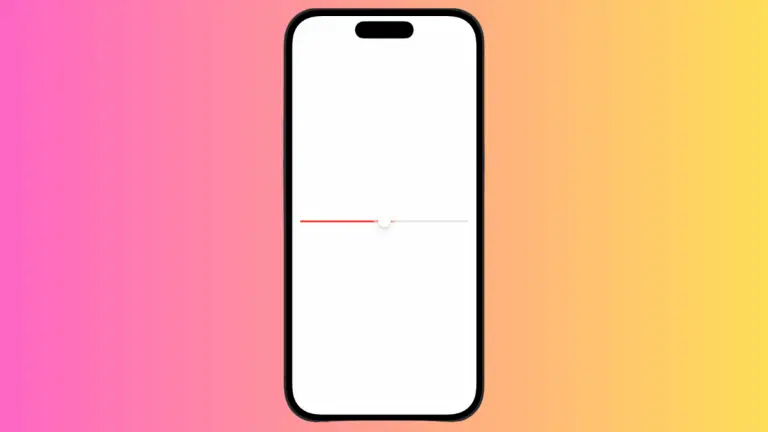
Dashed Border
For a more decorative border, you can add a dash pattern to the stroke.
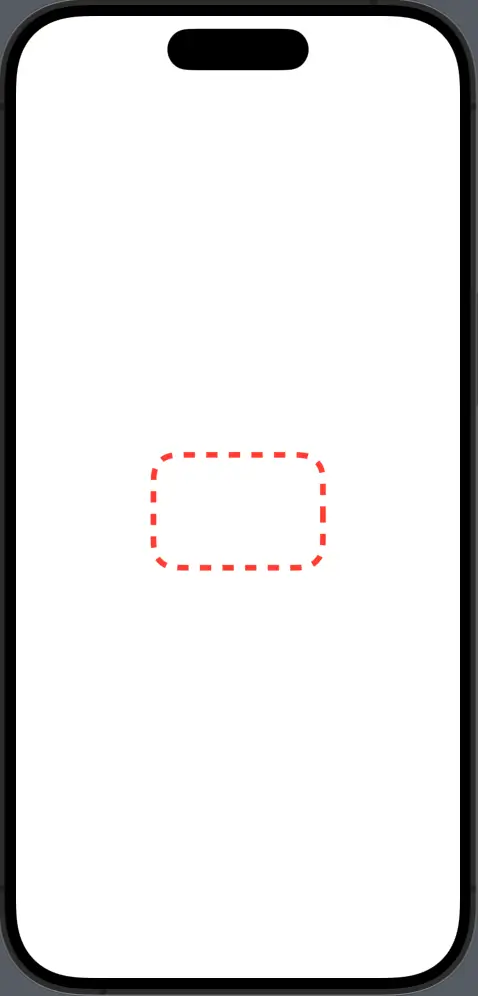
RoundedRectangle(cornerRadius: 20)
    .stroke(Color.red, style: StrokeStyle(lineWidth: 5, dash: [10]))
    .frame(width: 150, height: 100)
This code snippet applies a dashed border to a RoundedRectangle. The StrokeStyle is customized with a dash array that specifies the pattern of the dashes.
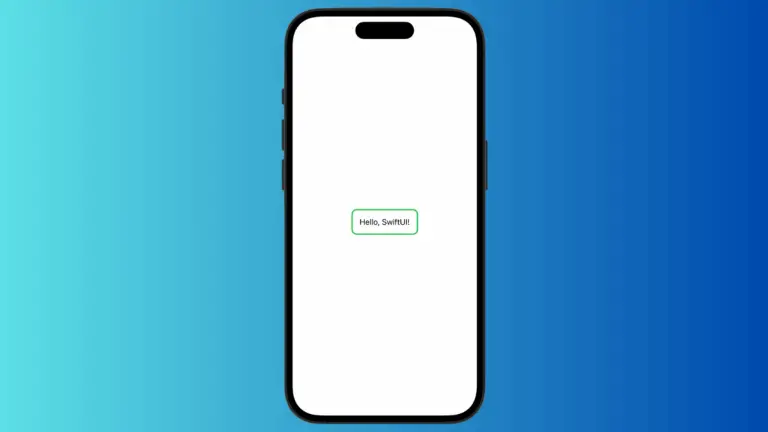
Compound Borders
Sometimes you may want to have multiple borders of varying colors and widths. This can be achieved by layering strokes.
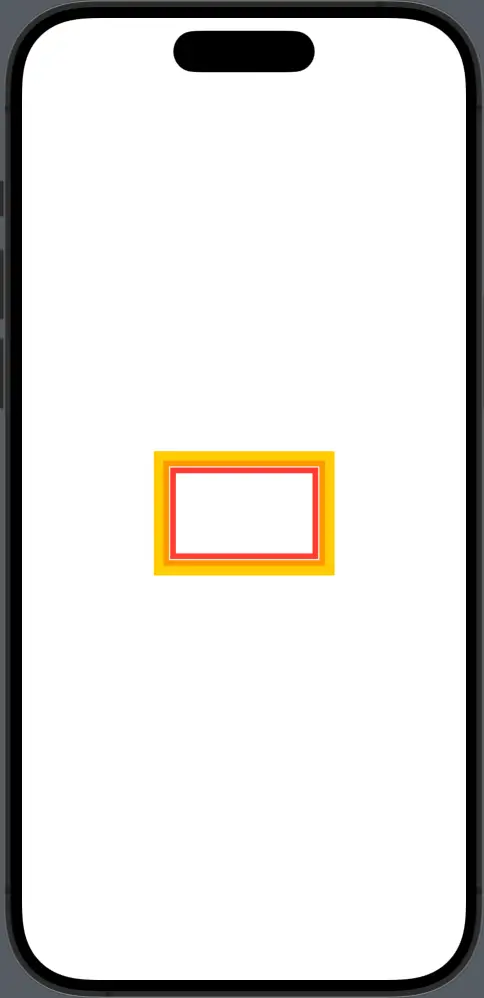
Rectangle()
    .stroke(Color.yellow, lineWidth: 10)
    .frame(width: 150, height: 100)
    .overlay(
        Rectangle()
            .stroke(Color.orange, lineWidth: 5)
            .padding(6)
    )
    .overlay(
        Rectangle()
            .stroke(Color.red, lineWidth: 5)
            .padding(12)
    )
Here, we have a Rectangle with three borders. By using overlay combined with padding, we create a layered border effect, each with a different color and width.
Gradient Border
SwiftUI allows borders to be more than just solid colors. With ShapeStyle, you can use gradients, images, or other complex styles as borders.
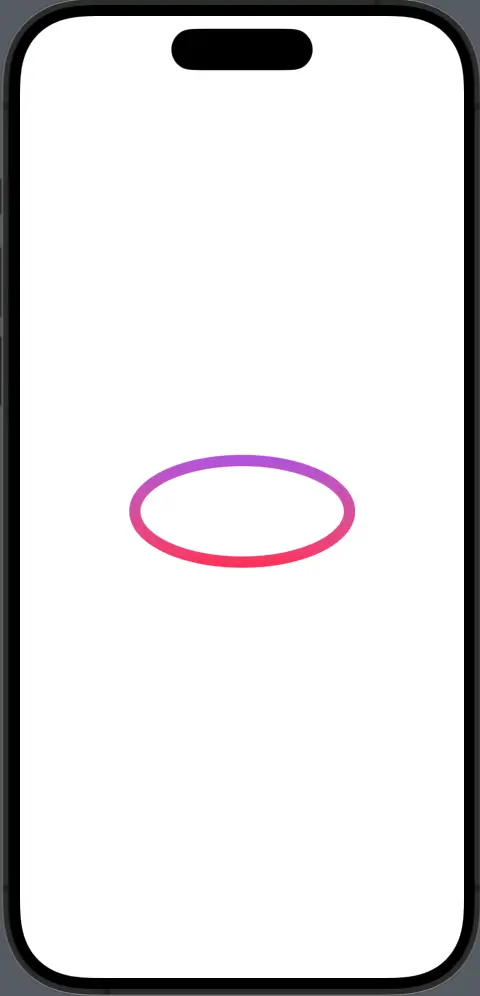
Ellipse()
    .strokeBorder(LinearGradient(gradient: Gradient(colors: [.purple, .pink]), startPoint: .top, endPoint: .bottom), lineWidth: 10)
    .frame(width: 200, height: 100)
An Ellipse here is outlined with a gradient border that transitions from purple to pink, adding a vibrant look to the shape.
Borders are a versatile tool in SwiftUI that help define and enhance the visual hierarchy of your app’s design. Whether you opt for a simple stroke, a decorative dash pattern, a compound border, or a stylish gradient edge, the border modifiers in SwiftUI make it easy to customize the look and feel of shapes to fit your design needs.
Remember, the key to using borders effectively is to complement the content and functionality of your app without overwhelming it.