How to Use ZStack to Set Background Image in iOS SwiftUI
In the realm of SwiftUI, ZStack plays a pivotal role. It allows you to overlay multiple views, creating a layering effect that can be a game-changer in your UI design. In this blog post, we’ll dive deep into using ZStack to set a background image.
ZStack Overview
ZStack, a powerful layout in SwiftUI, stacks its children views along the z-axis. This arrangement leads to a layered effect with views layered one upon the other. This makes it a breeze to set a background image for your view.
Add ZStack with Background Image
Next, we’ll implement ZStack. Here’s how it’s done:
ZStack {
Image("clouds")
.resizable()
.aspectRatio(contentMode: .fill)
.edgesIgnoringSafeArea(.all)
Text("Hello, World!")
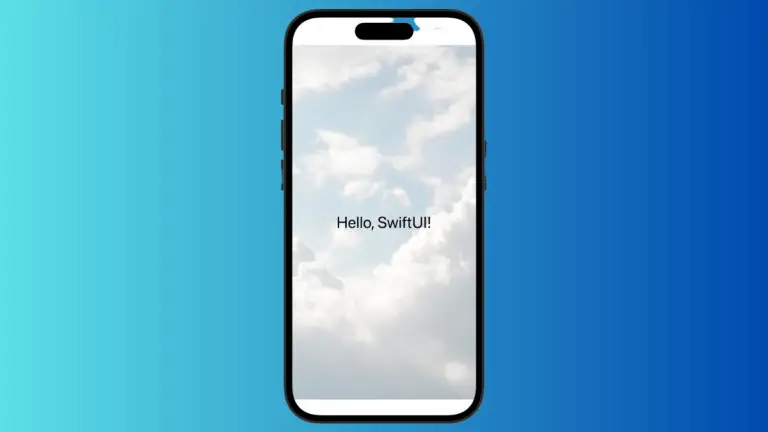
}In the code snippet above, we placed an Image view and a Text view inside the ZStack. The image is set to be resizable and fill the entire screen, while ignoring safe area edges. Thus, it acts as the background image.
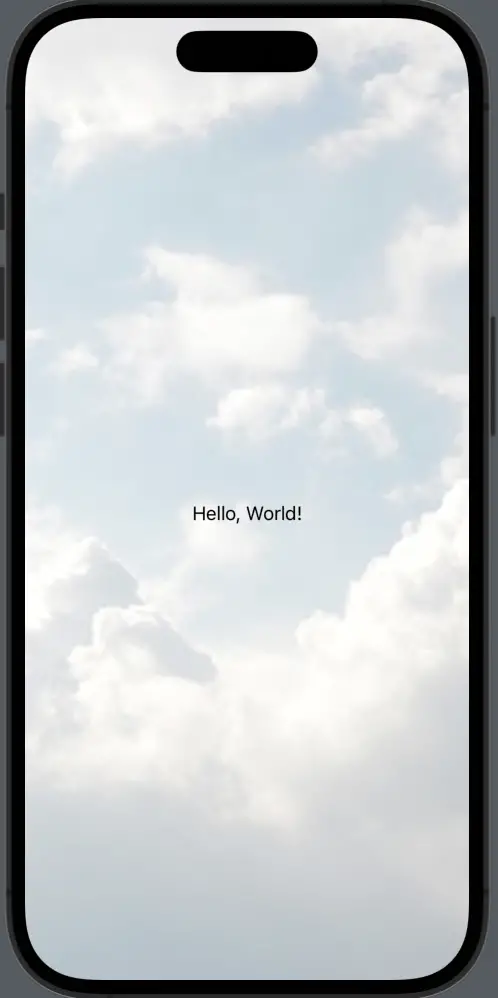
Following is the complete code for reference.
import SwiftUI

struct ContentView: View {
    var body: some View {
        ZStack {
            Image("clouds")
                .resizable()
                .aspectRatio(contentMode: .fill)
                .edgesIgnoringSafeArea(.all)

            Text("Hello, World!")
        }
    }
}

struct ContentView_Previews: PreviewProvider {
    static var previews: some View {
        ContentView()
    }
}
That’s how simple it is to use ZStack to set a background image in SwiftUI. It not only boosts the aesthetic appeal of your app but also enhances its functionality. By utilizing SwiftUI’s ZStack, you can easily layer views and create impressive UI designs.