How to Style Shapes in SwiftUI
Styling shapes in SwiftUI is an essential skill for creating attractive user interfaces. This blog post will guide you through different techniques to make your shapes look great and stand out.
In SwiftUI, shapes can be much more than just simple geometric figures. You can apply various styles to them such as gradients, shadows, and borders. Let’s see how each of these can be implemented.
Color and Gradients
A fundamental style is the fill color. It’s easy to apply, but if you want to add a vibrant look to your shapes, gradients are the way to go.
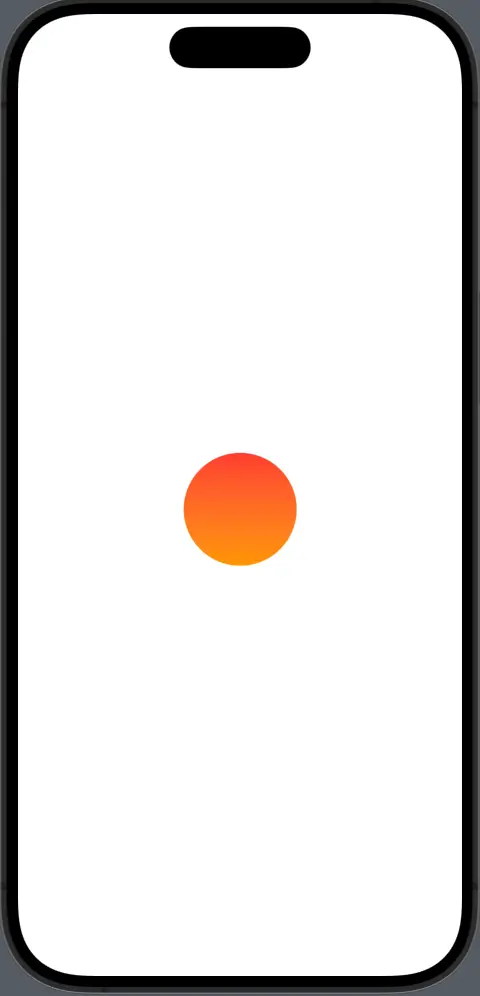
Circle()
    .fill(LinearGradient(gradient: Gradient(colors: [.red, .orange]), startPoint: .top, endPoint: .bottom))
    .frame(width: 100, height: 100)
In this snippet, a Circle is created and filled with a LinearGradient. The gradient starts with red at the top and fades to orange at the bottom, creating a warm and dynamic effect.
Apply Borders and Strokes
Adding borders or strokes can enhance the visibility of your shapes. SwiftUI allows you to add these with great flexibility.
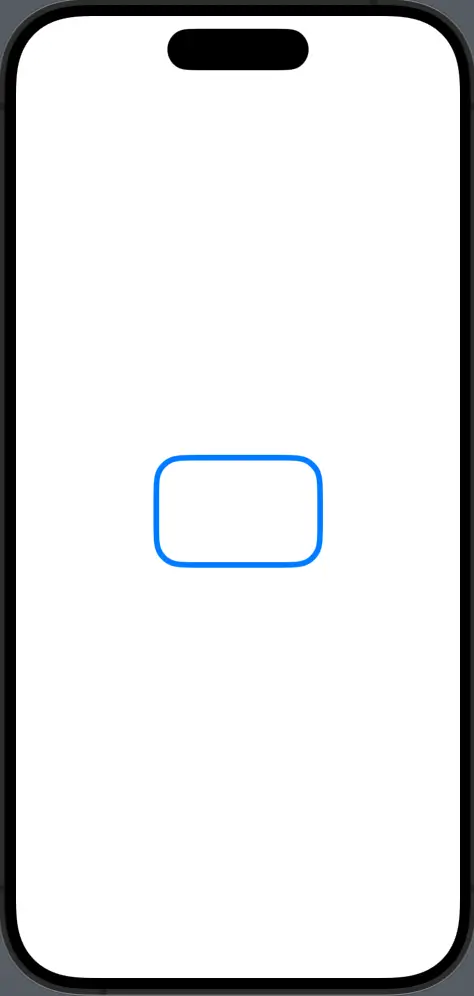
RoundedRectangle(cornerRadius: 25)
    .strokeBorder(Color.blue, lineWidth: 5)
    .frame(width: 150, height: 100)
Here, a RoundedRectangle is defined with rounded corners. Using strokeBorder, a blue border with a 5-point line width is applied, giving it a strong outline.
Shadows for Depth
Shadows give a sense of depth, making your shapes appear three-dimensional.
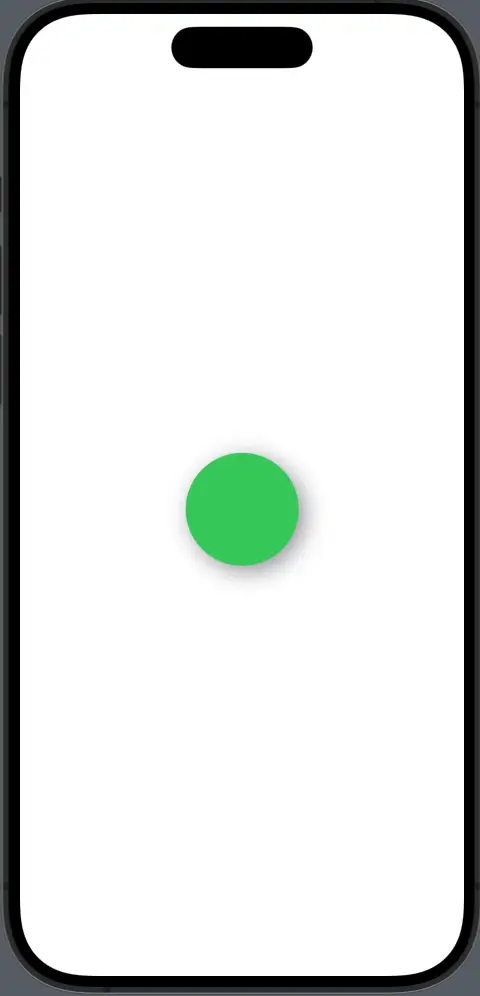
Circle()
    .fill(Color.green)
    .shadow(color: .gray, radius: 10, x: 5, y: 5)
    .frame(width: 100, height: 100)
In the above code, a green Circle is given a gray shadow with a blur radius of 10 points and slightly offset to the bottom right. This subtle effect can make the shape stand out.
Styling shapes in SwiftUI is all about creativity and experimentation. By using gradients, strokes, shadows, etc you can craft unique visuals for your iOS applications. The techniques discussed here are just the beginning.
