How to Position Text Over Image in iOS SwiftUI
In this blog post, we delve into a common but essential UI design pattern – overlaying text on images in SwiftUI. This technique, frequently seen in image captions, banners, and multimedia presentations, helps communicate layered information in a compact and visually appealing manner.
The Basics: Overlay Modifier
SwiftUI provides a convenient modifier named .overlay() for placing one view on top of another, making it ideal for placing text over images. Here’s an example:
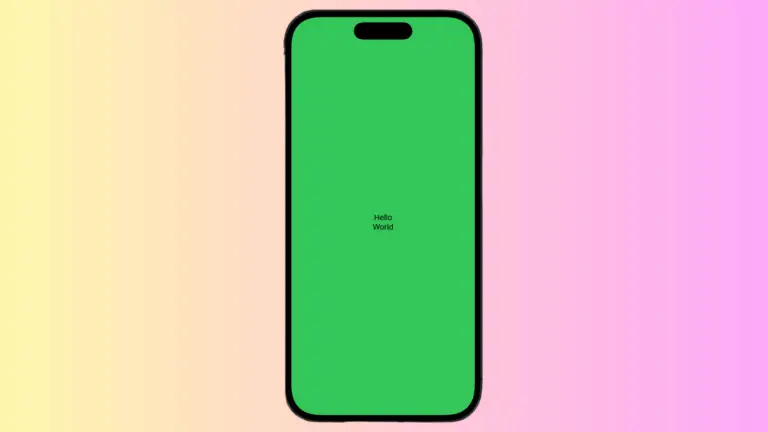
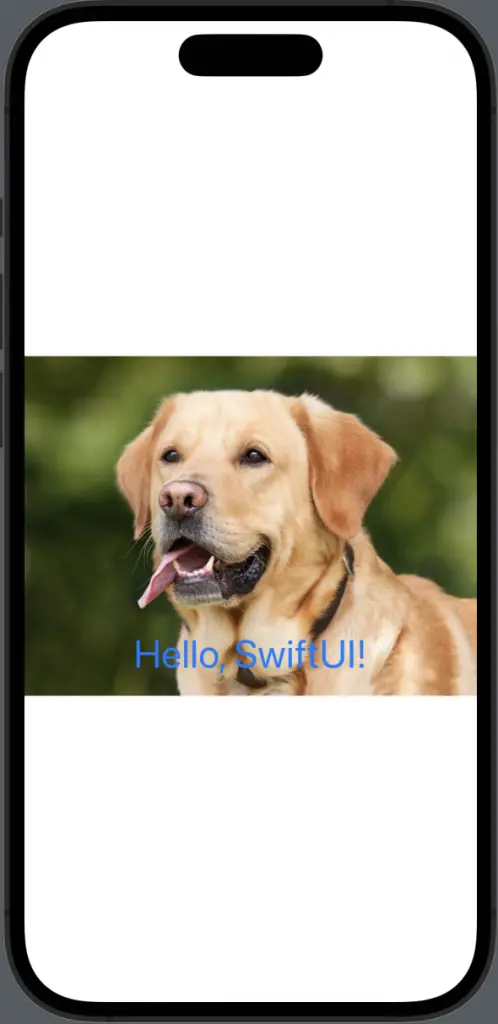
Image("dog")
    .resizable()
    .scaledToFit()
    .overlay(
        Text("Hello, SwiftUI!")
            .foregroundColor(.blue)
            .font(.largeTitle)
            .padding(),
        alignment: .bottom
    )
In this code, Image("dog") sets the image that will serve as the backdrop. The .overlay() modifier then places a Text view on top of the image. The alignment: .bottom argument aligns the overlay to the bottom of the image.
Enhance Readability Using Background Modifier
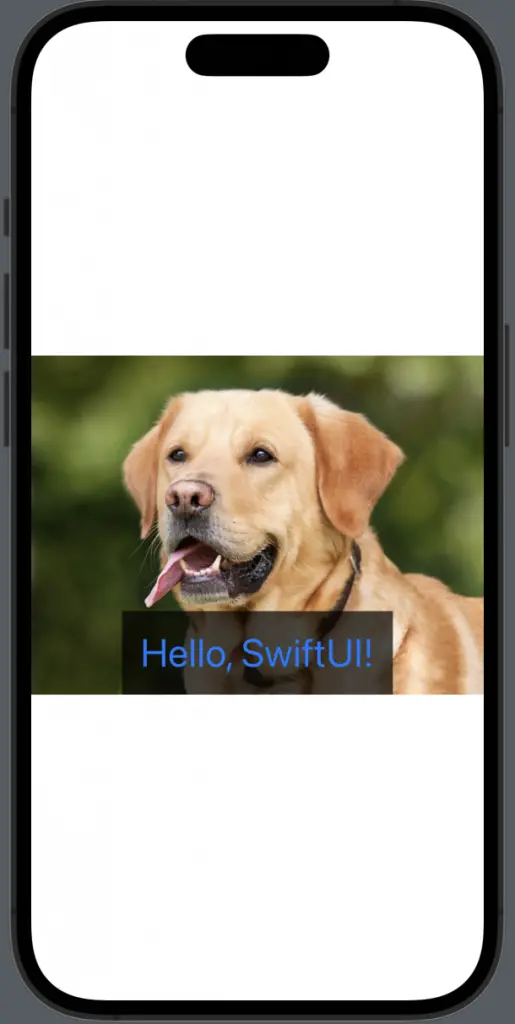
In some cases, the text might not be easily readable against the image. We can increase the text’s contrast by adding a semi-transparent background to it using the .background() modifier:
Image("dog")
    .resizable()
    .scaledToFit()
    .overlay(
        Text("Hello, SwiftUI!")
            .foregroundColor(.blue)
            .font(.largeTitle)
            .padding()
            .background(Color.black.opacity(0.7)),
        alignment: .bottom
    )
The .background(Color.black.opacity(0.7)) modifier adds a semi-transparent black background to the text, enhancing its visibility against the image.
Conclusion
Overlaying text on images in SwiftUI is a technique that can add a professional and polished look to your application, delivering information efficiently. With SwiftUI’s composability and a myriad of handy modifiers, it becomes quite straightforward to create such stunning interfaces.