How to Encapsulate Text within a Circle in iOS SwiftUI
In this blog post, we’re going to dive into an interesting feature of SwiftUI – placing text within a circular shape. This visual effect can give a fresh and stylish look to your app, make vital information stand out, or even serve as a creative design element.
Basics: Place Text Inside a Circle
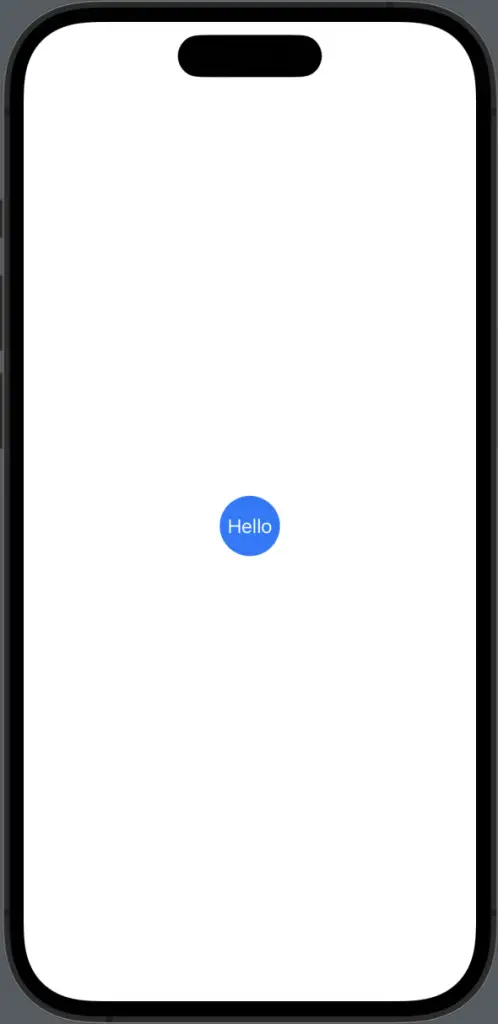
SwiftUI makes it easy to encapsulate a text view inside a circular shape. All it requires is the .background() modifier with a Circle() as its argument:
Text("Hello")
    .padding()
    .background(
        Circle()
            .fill(Color.blue)
    )
    .foregroundColor(.white)
In this example, the text “Hello, SwiftUI!” is displayed in white color, placed within a blue circular background. The .padding() ensures a nice, equal gap between the text and the circle edge.
Customize the Circle
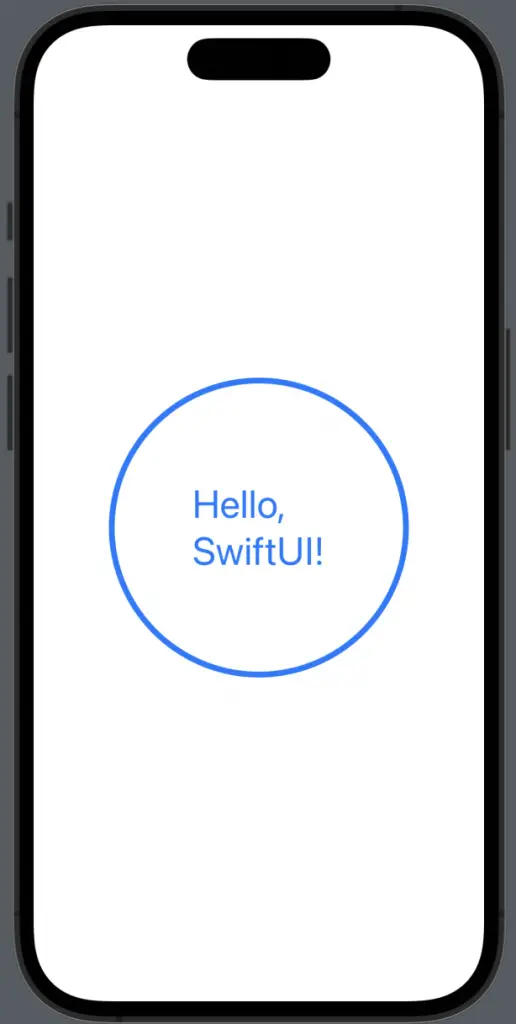
You can easily customize the circle’s appearance using SwiftUI modifiers. Here’s an example with a border and padding:
Text("Hello, SwiftUI!")
    .font(.largeTitle)
    .padding(100)
    .background(
        Circle()
            .strokeBorder(Color.blue, lineWidth: 5)
            .padding(10)
    )
    .foregroundColor(.blue)
In this example, instead of a filled circle, we’ve created a circular border with .strokeBorder(). The additional .padding(10) on the Circle creates a gap between the text and the circular border.
Circular Clip
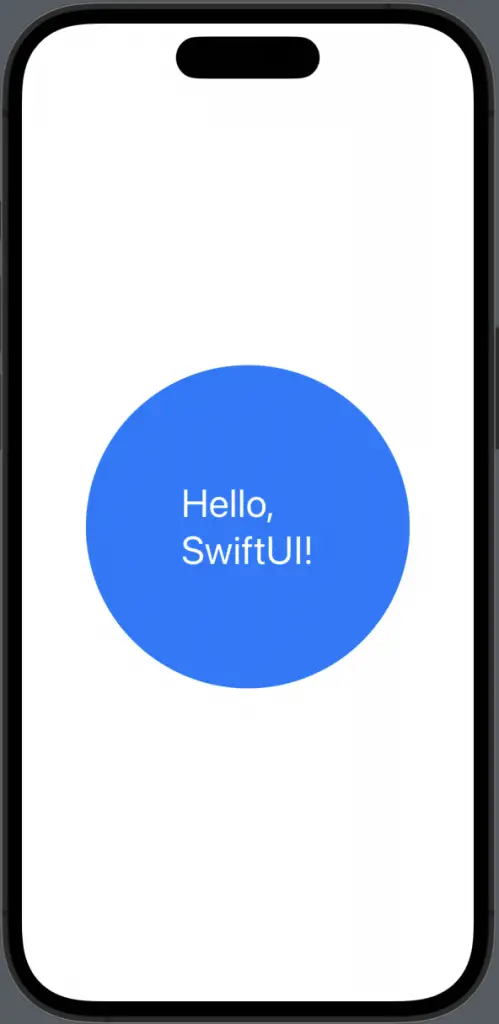
You can also clip the text view itself to a circular shape using the .clipShape() modifier:
Text("Hello, SwiftUI!")
    .font(.largeTitle)
    .padding(100)
    .background(Color.blue)
    .clipShape(Circle())
    .foregroundColor(.white)
In this case, the text view’s background is clipped to a circular shape, creating a distinctive visual effect.
Adding a circular shape to your SwiftUI text views can provide a unique, modern feel and make critical information more conspicuous. With SwiftUI’s straightforward and powerful modifiers, implementing such visually appealing designs is a breeze.
