How to Create Full Width Button in iOS SwiftUI
In this blog post, we’re focusing on an essential aspect of user interface design – creating full-width buttons in SwiftUI. A full-width button, as the name suggests, spans the entire width of its container. Such buttons can be great for drawing attention to primary actions in your application, such as submitting a form or confirming a purchase.
Basics: Create a Full Width Button
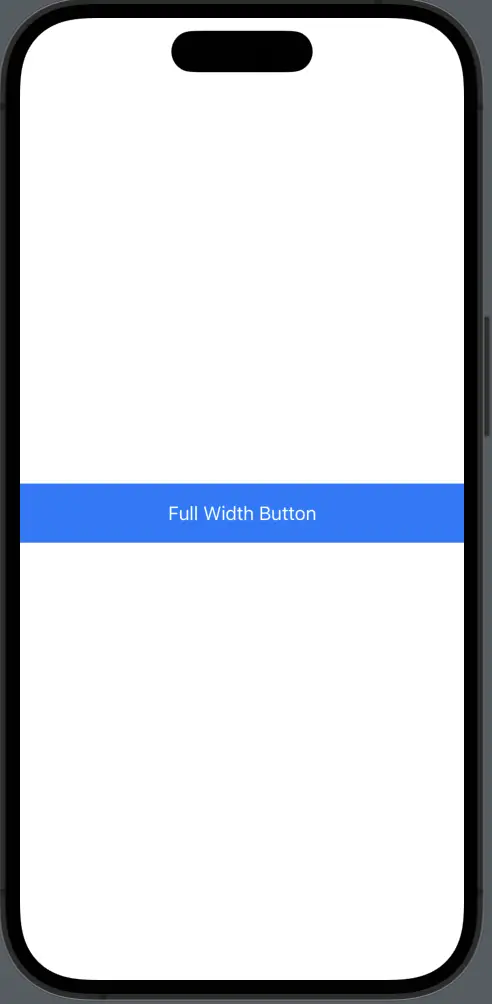
Creating a full-width button in SwiftUI is a straightforward process, thanks to the flexible nature of SwiftUI’s layout system. Here is a simple example:
Button(action: {
    print("Button tapped!")
}) {
    Text("Full Width Button")
        .frame(maxWidth: .infinity)
        .padding()
        .background(Color.blue)
        .foregroundColor(.white)
}
In the above example, the .frame(maxWidth: .infinity) modifier is the key to making the button span the full width of its container. The button has a blue background and white foreground, with padding added for a touch of aesthetics.
Full Width Button with ButtonStyle
You can also create a full width button with a predefined button style.
        Button(action: {
            print("Button tapped!")
        }) {
            Text("Full Width Button")
                .frame(maxWidth: .infinity)
        }.buttonStyle(.borderedProminent)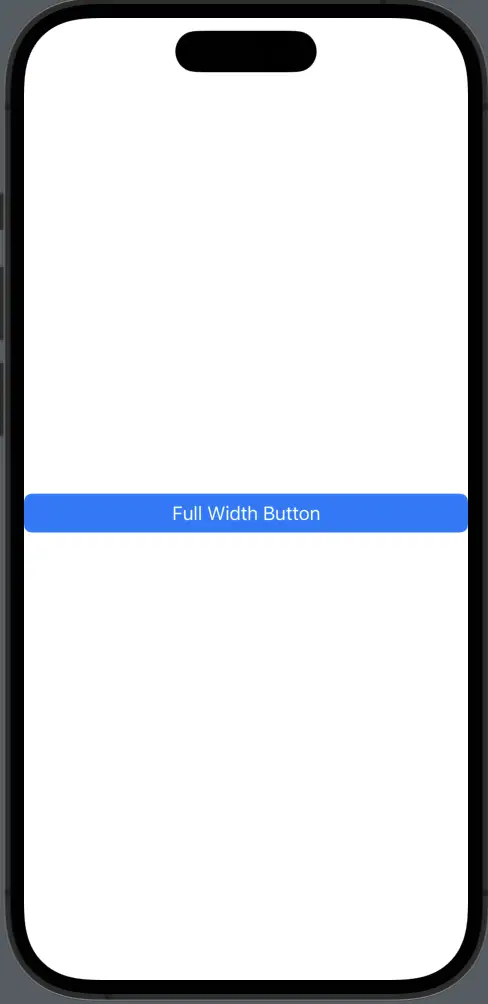
Full Width Button in a VStack or HStack
When creating full-width buttons within VStacks or HStacks, it’s important to ensure that the stack isn’t limiting the button’s size. To ensure your button spans the full width, apply the .frame(maxWidth: .infinity) modifier to the button:
VStack {
    Button(action: {
        print("Button tapped!")
    }) {
        Text("Full Width Button")
            .frame(maxWidth: .infinity)
            .padding()
            .background(Color.blue)
            .foregroundColor(.white)
    }
}
Creating full-width buttons in SwiftUI is a straightforward task, but it can have a significant impact on your app’s usability and aesthetics. With just a few lines of code, you can make primary actions stand out, improving your app’s overall user experience. Keep experimenting with SwiftUI’s modifiers to tailor your full-width buttons to your specific design needs.
