How to Create Dashed Border in SwiftUI
Borders are a great way to visually separate elements in your app’s UI. While SwiftUI provides a straightforward way to add solid borders, creating a dashed border requires a bit more work.
In this blog post, we’ll walk you through the steps to create a dashed border in SwiftUI.
Create a Basic Dashed Border
Use Overlay and strokeBorder
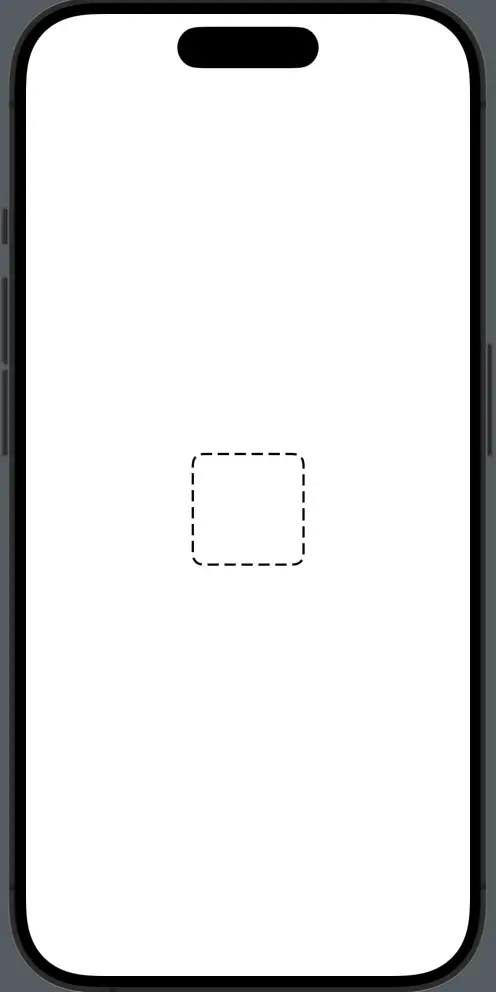
The key to creating a dashed border in SwiftUI is using the overlay and strokeBorder modifiers. Here’s a simple example:
import SwiftUI

struct ContentView: View {
    var body: some View {
        Rectangle()
            .fill(Color.clear)
            .frame(width: 100, height: 100)
            .overlay(
                RoundedRectangle(cornerRadius: 10)
                    .strokeBorder(style: StrokeStyle(lineWidth: 2, dash: [10, 5]))
            )
    }
}
Code Explanation
Rectangle().fill(Color.clear): We start by creating a transparent rectangle that will serve as the base for our dashed border..frame(width: 100, height: 100): We set the frame size for our rectangle.overlay(): This modifier allows us to overlay another view on top of our rectangle.RoundedRectangle(cornerRadius: 10): We use a rounded rectangle for the dashed border.strokeBorder(style: StrokeStyle(lineWidth: 2, dash: [10, 5])): TheStrokeStyleallows us to set the line width and dash pattern. Thedash: [10, 5]means that each dash is 10 points long, followed by a 5-point gap.

Customize the Dashed Border
Change Dash-Gap Ratio
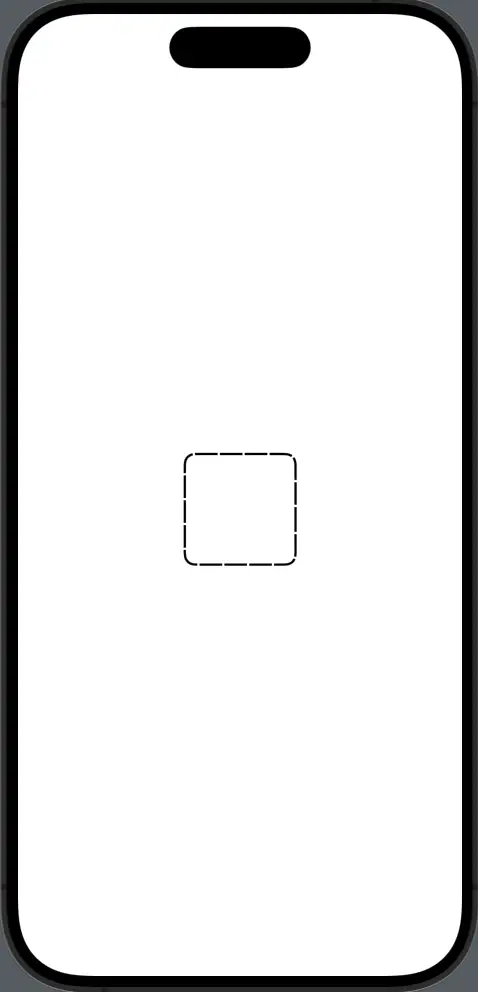
You can easily change the ratio of dash to gap by modifying the dash array in StrokeStyle.
.strokeBorder(style: StrokeStyle(lineWidth: 2, dash: [20, 2]))
Rounded Corners
To add rounded corners to your dashed border, simply adjust the cornerRadius parameter in RoundedRectangle.
RoundedRectangle(cornerRadius: 20)Creating a dashed border in SwiftUI is not as straightforward as adding a solid border, but it’s still quite manageable. By using the overlay and strokeBorder modifiers, you can create a variety of dashed border styles to suit your app’s design needs.


