How to Apply Border to VStack in iOS SwiftUI
In the world of SwiftUI, VStack is an essential element. It offers a straightforward way to organize views vertically. But what about giving some style to these views? In this blog post, we’ll delve into the specifics of applying a border to VStack.
What is VStack?
VStack in SwiftUI is a tool that lays out its children along a vertical axis. It’s ideal for managing multiple views and maintaining a clean, user-friendly interface. Now, let’s add some flair to our VStack with border styling.
Add Border to VStack
Adding a border around a VStack in SwiftUI is made simple with the .border modifier. Here’s how to do it.
Step 1: Set Up VStack
Start by setting up a VStack. You can populate it with some Text views.
VStack {
  Text("Hello, VStack!")
  Text("We're going to add a border")
}
Step 2: Add .border Modifier
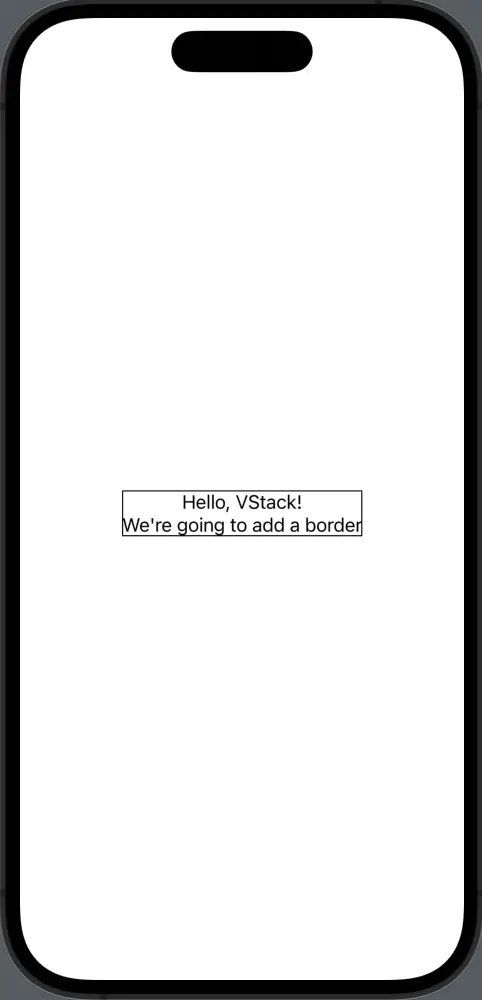
Next, apply the .border modifier to the VStack. Here, you specify the color and width of the border.
VStack {
  Text("Hello, VStack!")
  Text("We're going to add a border")
}.border(Color.black, width: 1)
You’ve now added a border around your VStack. The border color is black, and the border width is 1 point.

Adding borders in SwiftUI is a breeze with the .border modifier. It allows you to create more visually appealing interfaces. Now you’re ready to enhance your VStacks with attractive border styles.


