How to Add Padding in Flutter
Proper padding is an important factor while designing a mobile user interface. Giving proper padding to each component makes the layout neat and more beautiful. In this blog post, let’s see how to add padding in Flutter.
Padding can be applied using two classes – Padding and EdgeInsets. The Padding widget insets the child by the given amount of padding whereas the EdgeInsets class is used to represent offset for each of the four sides.
You can nest your widget inside the Padding widget as given below to apply some padding.
Padding(
        padding: EdgeInsets.only(left:20.0, top:10.0,right:20.0,bottom:10.0),
        child: Text("Hello World!"),
      )
If you want to have the same padding for all edges then you can add padding as given below:
Padding(
        padding: EdgeInsets.all(10.0),
        child: Text("Hello World!"),
      )
Following is a complete Flutter example on padding.
import 'package:flutter/material.dart';

void main() {
  runApp(const MyApp());
}

class MyApp extends StatelessWidget {
  const MyApp({super.key});

  // This widget is the root of your application.
  @override
  Widget build(BuildContext context) {
    return MaterialApp(
      title: 'Flutter Demo',
      theme: ThemeData(
        primarySwatch: Colors.blue,
      ),
      home: const MyHomePage(),
    );
  }
}

class MyHomePage extends StatelessWidget {
  const MyHomePage({super.key});

  @override
  Widget build(BuildContext context) {
    return Scaffold(
      appBar: AppBar(
        title: const Text('Flutter Padding example'),
      ),
      body: const Padding(
        padding: EdgeInsets.all(20),
        child: Text("Check out my padding!"),
      ),
    );
  }
}
Following is the output of the Flutter example:
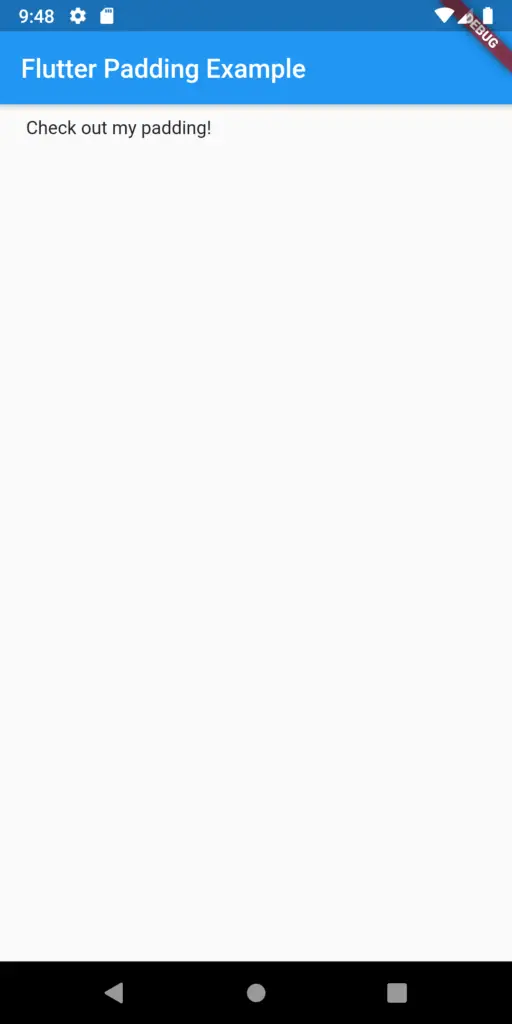
That’s how you add padding to widgets in Flutter.


One Comment