How to Add LazyHStack with Selection in iOS SwiftUI
SwiftUI, with its ever-expanding array of tools, is becoming a must-know framework for iOS developers. One of the tools that have proven to be particularly useful is LazyHStack, especially when working with selectable content.
In this blog post, we’ll explore how to implement selection in a LazyHStack using SwiftUI.
Introduction to LazyHStack
LazyHStack is a container view that arranges its children horizontally, creating them as they become visible on the screen. It’s a powerful tool that allows developers to optimize performance by only rendering what is visible to the user.
LazyHStack Example
Here’s a simple example of a LazyHStack without selection:
struct ContentView: View {
var body: some View {
ScrollView(.horizontal) {
LazyHStack {
ForEach(1...50, id: \.self) { index in
Text("\(index)")
.frame(width: 100, height: 100)
}
}
}
}
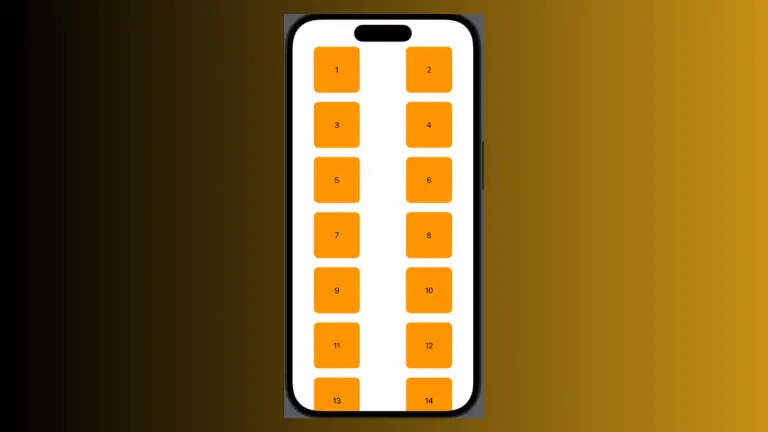
}This code snippet creates a horizontally scrollable view with 50 numbered items.
Selection in LazyHStack
Selection adds an interactive aspect to your views. By implementing selection, you enable users to choose among various options in your LazyHStack.
Example with Selection
Let’s create a LazyHStack with selectable text items:
struct ContentView: View {
    @State private var selection: Int? = nil

    var body: some View {
        ScrollView(.horizontal) {
            LazyHStack {
                ForEach(1...50, id: \.self) { index in
                    Text("\(index)")
                        .frame(width: 100, height: 100)
                        .background(selection == index ? Color.blue : Color.gray)
                        .onTapGesture {
                            selection = index
                        }
                }
            }
        }
    }
}
In this example, users can tap on an item to select it, causing the background color to change to blue.
@State private var selection: Int? = nil: This line of code sets up a state variable called ‘selection’ to manage the selected item..background(selection == index ? Color.blue : Color.gray): This modifies the background color based on the selection..onTapGesture { selection = index }: This captures the tap gesture and updates the ‘selection’ variable with the index of the tapped item.
Advantages of Using Selection in LazyHStack
- Enhanced User Experience: By allowing selection, you provide the users with a more engaging and interactive experience.
- Flexibility: You can extend the selection functionality to multiple selections or integrate with other UI elements, depending on your app’s requirements.
- Performance Optimization: With LazyHStack, only the items in view are rendered, thus ensuring efficient use of resources.
SwiftUI’s LazyHStack with selection provides a fantastic way to create a dynamic, engaging, and performance-optimized user interface. By understanding the key aspects and implementing selection functionality, developers can create a wide range of interactive horizontal lists.