How to Add Custom Fonts to Your Xcode Project
The default fonts available in Xcode are good, but sometimes you need a specific font to make your iOS app stand out or adhere to a brand’s guidelines. Adding custom fonts to your Xcode project might seem daunting at first, but it’s actually quite straightforward.
In this blog post, I will walk you through the process of adding a custom font to your Xcode project.
Steps to Add Custom Fonts
Download the Font File
First, download the custom font you want to use. Make sure it’s in a supported format like .ttf or .otf. For example, I am using regular Roboto font from the Google Fonts website.
Add Font to Xcode
- Open your Xcode project.
- Drag and drop the font file into your project’s navigator. Make sure to check the “Copy items if needed” option and the target option.

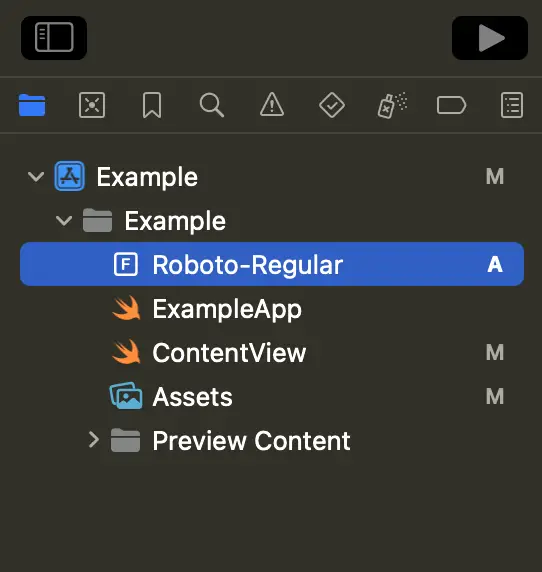
Update Info.plist
- Open your
Info.plistfile. - Add a new key called
Fonts provided by application. - Under this key, add an item for each font you’ve added, specifying the full file name along with its extension.

Use the Font in SwiftUI
To use the custom font in SwiftUI, you can use the .font() modifier like so:
Text("Hello, Custom Font!")
    .font(.custom("Roboto-Regular", size: 20))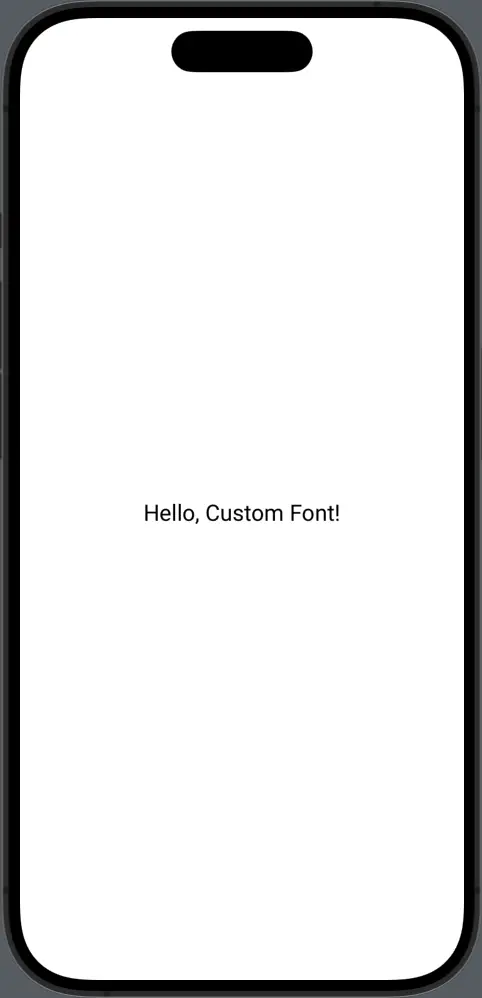
Troubleshooting
- Font Not Showing: Make sure the font file is included in the “Copy Bundle Resources” under your project settings.
- Incorrect Font Name: The name you use in code might be different from the file name.
Why Use Custom Fonts?
- Branding: Custom fonts can help maintain brand consistency across different platforms.
- Aesthetics: A unique font can make your app more visually appealing.
- Readability: Sometimes, the default fonts are not the best for readability, and a custom font can improve the user experience.
Adding custom fonts to your Xcode project is a simple process that can make a big difference in how your app is perceived. By following these steps, you can easily include and use custom fonts in SwiftUI.






One Comment