How to Add Borders to HStack in iOS SwiftUI
In SwiftUI, an HStack is a container view that arranges its child views in a horizontal line. Styling it with a border can give your interface a clear, polished look. This blog post will show you how to add borders to an HStack.
What is an HStack?
Before diving into adding a border, let’s understand what an HStack is. It’s a SwiftUI view that arranges its children horizontally. It’s perfect for placing views, such as Text or Image, side by side.
How to Add a Border to an HStack
Adding a border to an HStack in SwiftUI is straightforward. You use the .border modifier and specify the color and width of the border.
Step 1: Create an HStack
Start by creating an HStack. For example, you can add a few Text views:
HStack {
    Text("One")
    Text("Two")
    Text("Three")
}
Step 2: Add a Border
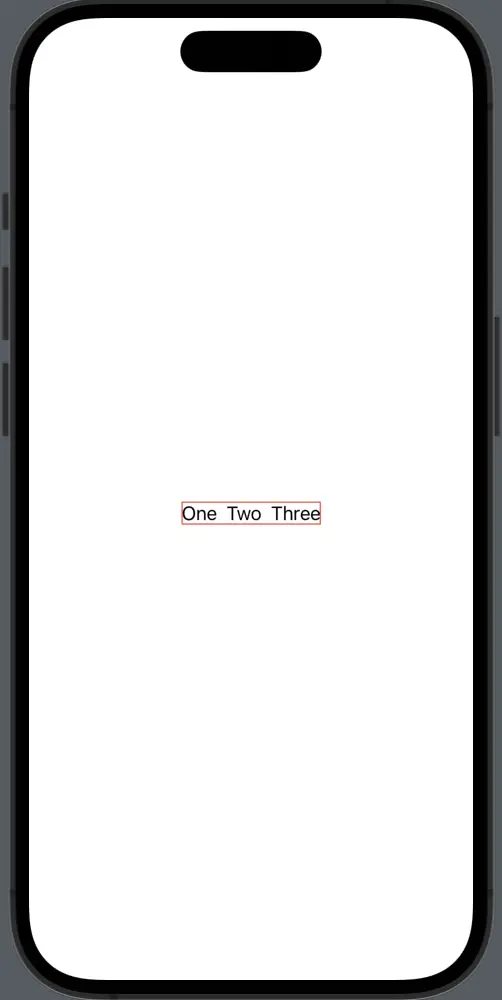
To add a border to the HStack, you use the .border modifier. In its simplest form, you just need to specify the color:
HStack {
    Text("One")
    Text("Two")
    Text("Three")
}.border(Color.red)
This code will add a red border around the HStack. By default, the border is 1 point thick.
Step 3: Customize the Border
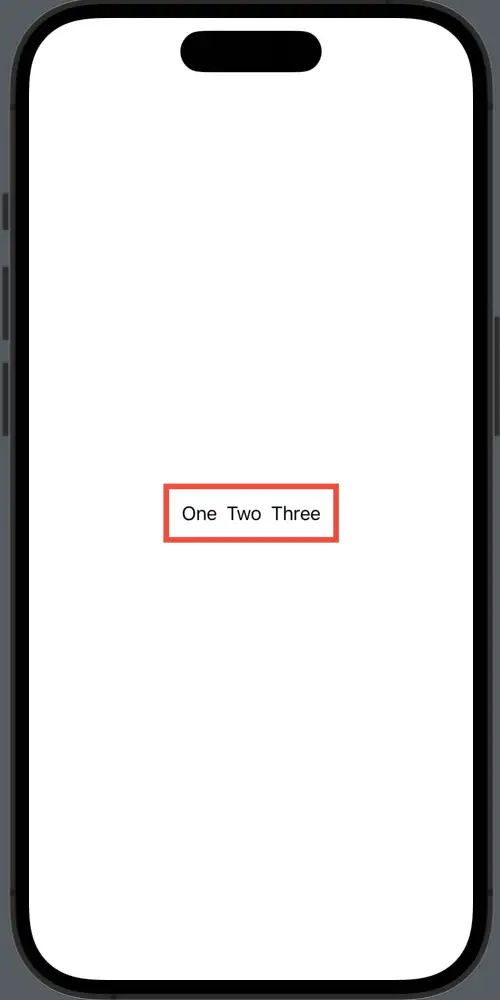
If you want to change the width of the border, you can do so by providing a second parameter to the .border modifier:
HStack {
    Text("One")
    Text("Two")
    Text("Three")
}.padding().border(Color.red, width: 5)
This will make the border 5 points thick with enough padding.
Following is the complete code for reference.
import SwiftUI

struct ContentView: View {
    var body: some View {
        HStack {
            Text("One")
            Text("Two")
            Text("Three")
        }.padding().border(Color.red, width: 5)
    }
}


struct ContentView_Previews: PreviewProvider {
    static var previews: some View {
        ContentView()
    }
}
Adding a border to an HStack in SwiftUI is simple and intuitive. You create the HStack, apply the .border modifier, and customize as needed. With this knowledge, you can add a professional touch to your SwiftUI interfaces.
