How to change Image Opacity in Flutter
Sometimes, you may want to change the opacity of UI components to make the mobile app visually appealing. In this blog post, let’s learn how to change image opacity in Flutter.
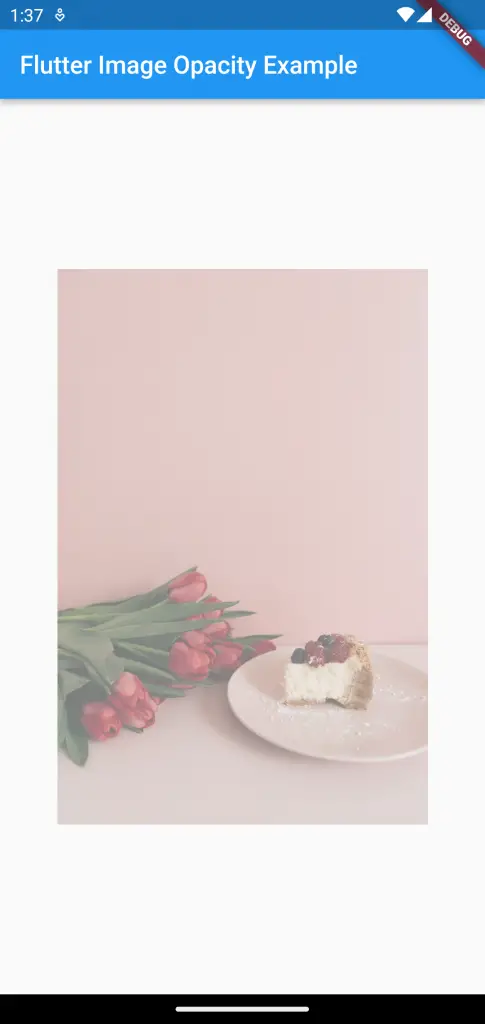
Flutter has a widget named Opacity that helps change its child’s opacity. The opacity property of the widget accepts a value between 0.0 and 1.0. Thus you can control the opacity of the image by making it the Opacity widget child.
See the following code snippet.
Opacity(
          opacity: 0.5,
          child: Image.network(
              'https://images.pexels.com/photos/6955476/pexels-photo-6955476.jpeg?auto=compress&cs=tinysrgb&w=1260&h=750&dpr=2',
              width: 300,
              height: 500),
        )
You will get the following output with 50% opacity.
Following is the complete code for reference.
import 'package:flutter/material.dart';

void main() {
  runApp(const MyApp());
}

class MyApp extends StatelessWidget {
  const MyApp({super.key});

  // This widget is the root of your application.
  @override
  Widget build(BuildContext context) {
    return MaterialApp(
      title: 'Flutter Demo',
      theme: ThemeData(
        primarySwatch: Colors.blue,
      ),
      home: const MyHomePage(),
    );
  }
}

class MyHomePage extends StatelessWidget {
  const MyHomePage({super.key});

  @override
  Widget build(BuildContext context) {
    return Scaffold(
        appBar: AppBar(
          title: const Text('Flutter Image Opacity Example'),
        ),
        body: Center(
            child: Opacity(
          opacity: 0.5,
          child: Image.network(
              'https://images.pexels.com/photos/6955476/pexels-photo-6955476.jpeg?auto=compress&cs=tinysrgb&w=1260&h=750&dpr=2',
              width: 300,
              height: 500),
        )));
  }
}
That’s how you change Flutter Image opacity. I hope this tutorial is helpful for you.