How to Change Button Border Shapes in iOS SwiftUI
In this blog post, we will examine an often understated but critical aspect of user interface design in SwiftUI: defining the border shapes of buttons. Not only do border shapes contribute to the visual appeal of your application, they can significantly impact the user experience by indicating interactive elements in your UI.
Basics: Create a Button with a Border
In SwiftUI, creating a button with a border is as easy as applying a few modifiers to your Button view. Here’s an example:
Button(action: {
    // Button action goes here
}) {
    Text("Hello, SwiftUI!")
}
.padding()
.overlay(
    RoundedRectangle(cornerRadius: 10)
        .stroke(Color.blue, lineWidth: 3)
)
In this example, we’ve created a button with the label “Hello, SwiftUI!”, and added a blue border using the .overlay modifier along with a RoundedRectangle shape.
Change Border Shapes
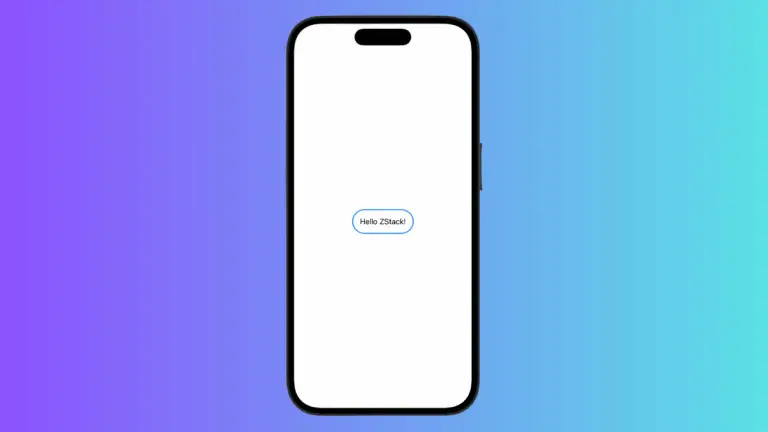
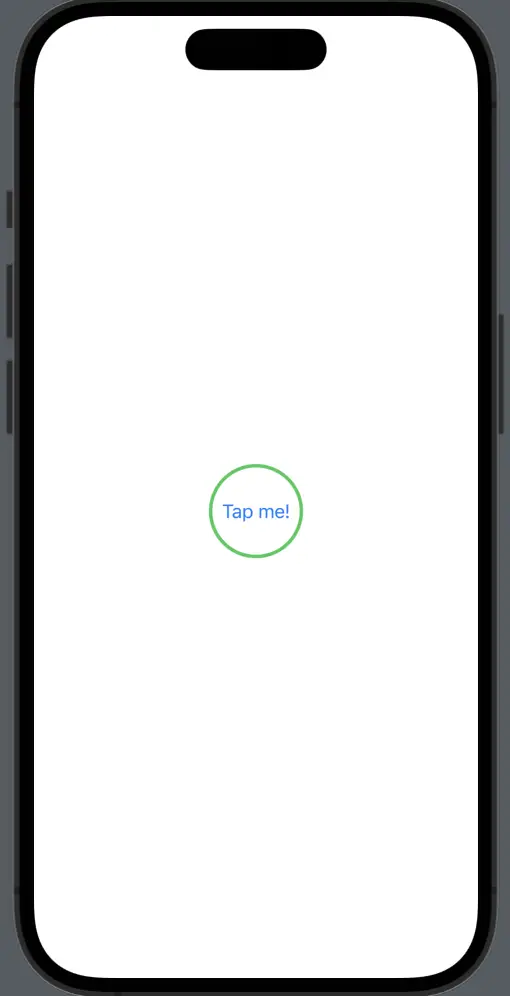
SwiftUI offers a variety of shapes that can be used to customize the border of your buttons, including Circle, Ellipse, Capsule, and more. For example, if you want your button to have a circular border, you can replace RoundedRectangle(cornerRadius: 10) with Circle():
Button(action: {
    // Button action goes here
}) {
    Text("Tap me!")
}
.padding(30)
.overlay(
    Circle()
        .stroke(Color.green, lineWidth: 3)
)
Border Shape with Bordered Button Style
The appearance of your button’s border shape can be easily customized when using the button style in SwiftUI. We use the buttonBorderShape modifier to change the border shape.
Button(action: {
            // Button action
        }) {
            Text("Hello, SwiftUI!")
        }
        .buttonStyle(.bordered)
        .buttonBorderShape(.capsule)
Designing and customizing the border shapes of buttons in SwiftUI is both an art and a science, requiring an understanding of SwiftUI’s shape library and a keen eye for aesthetics. By mastering these concepts, you can design engaging, interactive, and visually appealing buttons that enhance the overall user experience of your SwiftUI applications.
