How to add Switch Button in Flutter
Switch buttons are buttons with only two input options- on or off. In this blog post, let’s learn how to add a switch button in Flutter.
The Switch widget helps to create a Material design switch button in Flutter. We should use stateful widget to add Switch. The widget listens onChanged callback and rebuild switch with a new value.
See the following code snippet.
Switch(
      value: selected,
      activeColor: Colors.purple,
      onChanged: (bool value) {
        setState(() {
          selected = value;
        });
      },
    )
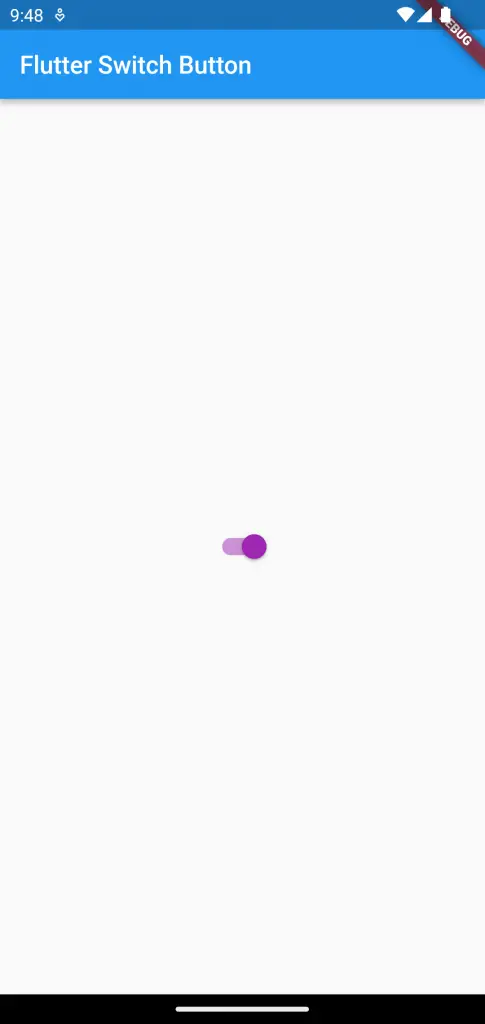
You will get the following output.

Following is the complete code.
import 'package:flutter/material.dart';

void main() {
  runApp(const MyApp());
}

class MyApp extends StatelessWidget {
  const MyApp({super.key});

  @override
  Widget build(BuildContext context) {
    return MaterialApp(
      title: 'Flutter Demo',
      theme: ThemeData(
        primarySwatch: Colors.blue,
      ),
      home: const MyHomePage(),
    );
  }
}

class MyHomePage extends StatelessWidget {
  const MyHomePage({super.key});

  @override
  Widget build(BuildContext context) {
    return Scaffold(
        appBar: AppBar(
          title: const Text('Flutter Switch Button'),
        ),
        body: const MyStatefulWidget());
  }
}

class MyStatefulWidget extends StatefulWidget {
  const MyStatefulWidget({super.key});

  @override
  State<MyStatefulWidget> createState() => _MyStatefulWidgetState();
}

class _MyStatefulWidgetState extends State<MyStatefulWidget> {
  bool selected = true;
  @override
  Widget build(BuildContext context) {
    return Center(
        child: Switch(
      value: selected,
      activeColor: Colors.purple,
      onChanged: (bool value) {
        setState(() {
          selected = value;
        });
      },
    ));
  }
}
That’s how you add Switch in Flutter.
You can also add Switch with a label using the SwitchListTile widget.

