How to Add SwiftUI Shapes with Gradient Fills
In the world of SwiftUI, shapes are fundamental UI components that can be brought to life with colors and gradients. Gradients are particularly powerful, offering a vibrant look that can make your shapes stand out or blend beautifully into the background.
This blog post will guide you through filling shapes with gradients in SwiftUI.
SwiftUI provides three types of gradients: linear, radial, and angular, each with its unique appeal. These gradients can be applied to any Shape through the .fill modifier. Let’s explore how to use these gradients to fill shapes.
Fill Shapes with LinearGradient
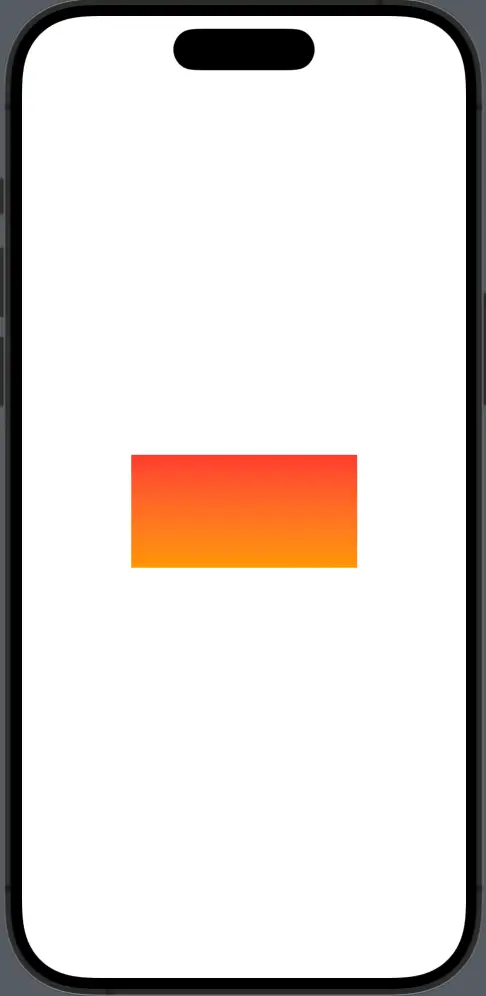
A LinearGradient creates a color transition along a straight line. To fill a shape with a linear gradient, you first need to define the gradient, then use the .fill modifier on the shape.
Here’s how you can fill a rectangle with a linear gradient:
import SwiftUI

struct ContentView: View {
    var body: some View {
        Rectangle()
            .fill(LinearGradient(gradient: Gradient(colors: [Color.red, Color.orange]), startPoint: .top, endPoint: .bottom))
            .frame(width: 200, height: 100)
    }
}
In this snippet, LinearGradient is applied to the Rectangle shape, transitioning from red at the top to orange at the bottom.
Fill Shapes with RadialGradient
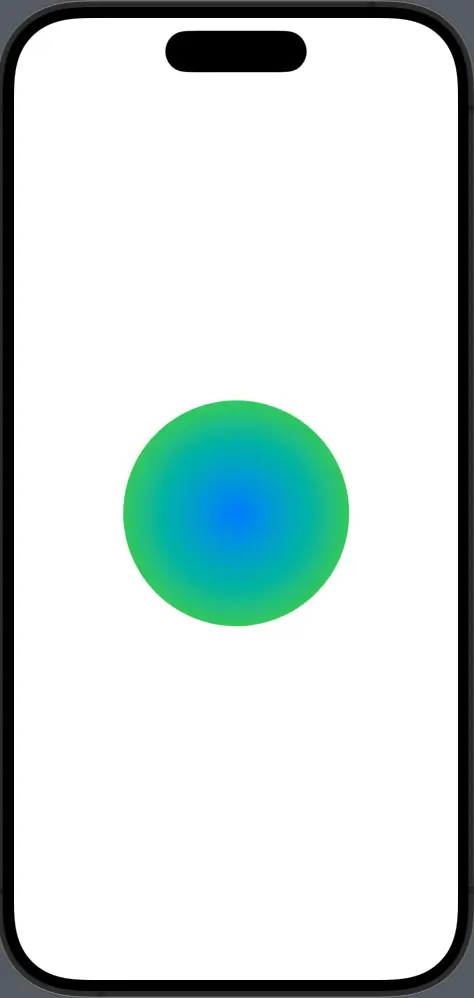
A RadialGradient transitions colors from a central point outward. It’s perfect for creating a spotlight effect or simulating depth.
To fill a circle with a radial gradient:
Circle()
    .fill(RadialGradient(gradient: Gradient(colors: [Color.blue, Color.green]), center: .center, startRadius: 0, endRadius: 100))
    .frame(width: 200, height: 200)
The Circle here radiates from blue at its center to green at the edges.
Fill Shapes with AngularGradient
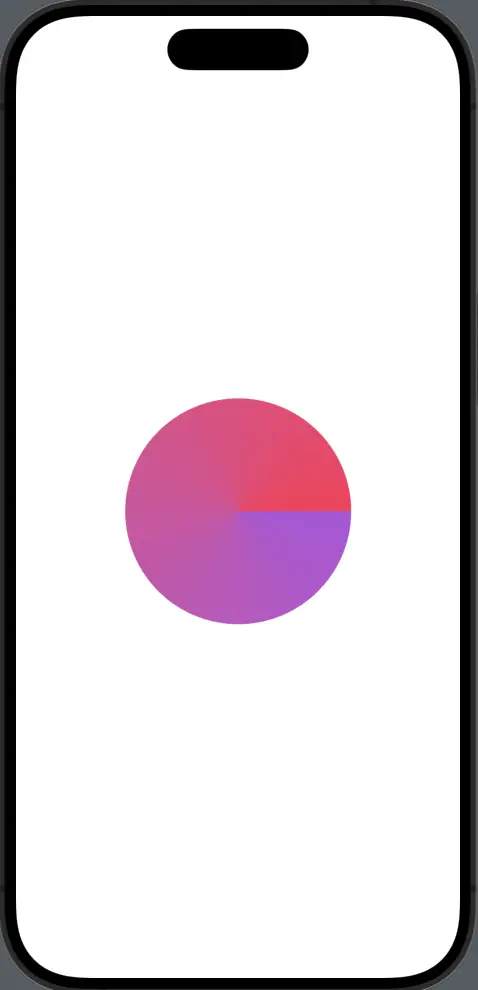
An AngularGradient (also known as a conic gradient) colors a shape around a center point, much like the colors on a dartboard.
Here’s an example with an angular gradient on a circle:
Circle()
    .fill(AngularGradient(gradient: Gradient(colors: [Color.purple, Color.pink]), center: .center))
    .frame(width: 200, height: 200)
In this code, the gradient colors sweep around the center of the circle, creating a purple to pink ring.
Customize Gradient Fills
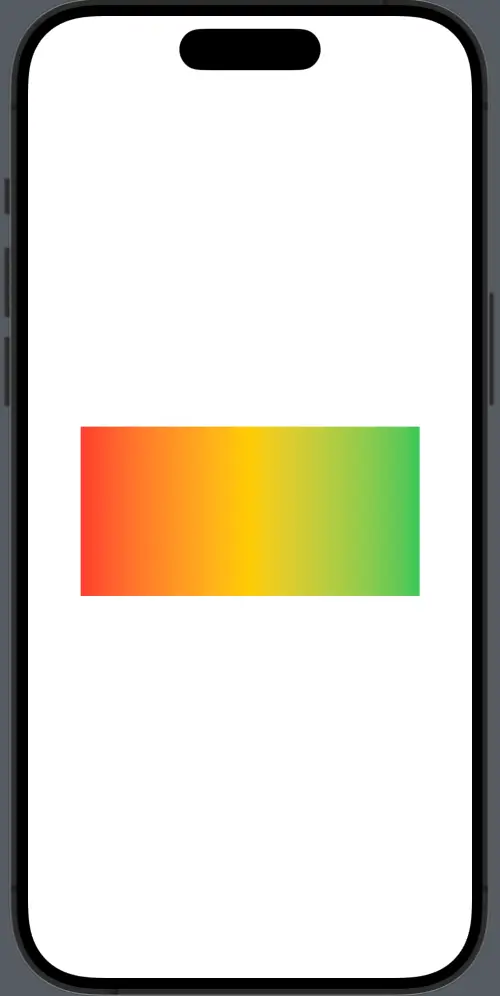
You can further customize gradients by adding more colors and controlling the locations of those colors within the gradient.
Rectangle()
    .fill(LinearGradient(
        gradient: Gradient(colors: [Color.red, Color.yellow, Color.green]),
        startPoint: .leading,
        endPoint: .trailing))
    .frame(width: 300, height: 150)
This Rectangle has a multi-color gradient that runs from left to right.
Gradients can dramatically enhance the visual appeal of your shapes in SwiftUI. Whether you opt for subtle color transitions or bold vibrant sweeps, gradients provide a toolset for making your UI expressive and engaging.
Understanding how to apply and manipulate gradients will allow you to create designs that are both beautiful and functional, ensuring your app stands out in the best way possible.
