How to Add Radio Button in Flutter
Radio buttons are a good way to take inputs from users. They allow users only to choose one option from a group. In this blog post, let’s see how to add a radio button in Flutter.
If you are looking for how to add a checkbox in flutter then you can go here.
We use the Radio widget from Flutter to add radio buttons. Using the Radio widget with the ListTile widget helps us to create a neat radio button with a label.
    ListTile(
          title: const Text('Giraffe'),
          leading: Radio<Animals>(
            value: Animals.giraffe,
            groupValue: _animal,
            onChanged: (Animals? value) {
              setState(() {
                _animal = value;
              });
              debugPrint(_animal!.name);
            },
          ),
        )
As you noticed, we need a stateful widget to make the radio buttons work. When the groupValue is changed using setState, the radio button gets updated. Hence the selected value is reflected as groupValue.
You can also create radio buttons using RadioListTile class.
Following is the complete example of radio buttons in Flutter.
import 'package:flutter/material.dart';

void main() {
  runApp(const MyApp());
}

class MyApp extends StatelessWidget {
  const MyApp({super.key});

  @override
  Widget build(BuildContext context) {
    return MaterialApp(
      title: 'Flutter Demo',
      theme: ThemeData(
        primarySwatch: Colors.blue,
      ),
      home: const MyHomePage(),
    );
  }
}

class MyHomePage extends StatelessWidget {
  const MyHomePage({super.key});

  @override
  Widget build(BuildContext context) {
    return Scaffold(
        appBar: AppBar(
          title: const Text('Flutter Radio Button'),
        ),
        body: const MyStatefulWidget());
  }
}

enum Animals { giraffe, lion }

class MyStatefulWidget extends StatefulWidget {
  const MyStatefulWidget({super.key});

  @override
  State<MyStatefulWidget> createState() => _MyStatefulWidgetState();
}

class _MyStatefulWidgetState extends State<MyStatefulWidget> {
  Animals? _animal = Animals.giraffe;
  @override
  Widget build(BuildContext context) {
    return Column(
      children: <Widget>[
        ListTile(
          title: const Text('Giraffe'),
          leading: Radio<Animals>(
            value: Animals.giraffe,
            groupValue: _animal,
            onChanged: (Animals? value) {
              setState(() {
                _animal = value;
              });
              debugPrint(_animal!.name);
            },
          ),
        ),
        ListTile(
          title: const Text('Lion'),
          leading: Radio<Animals>(
            value: Animals.lion,
            groupValue: _animal,
            onChanged: (Animals? value) {
              setState(() {
                _animal = value;
              });
              debugPrint(_animal!.name);
            },
          ),
        ),
      ],
    );
  }
}
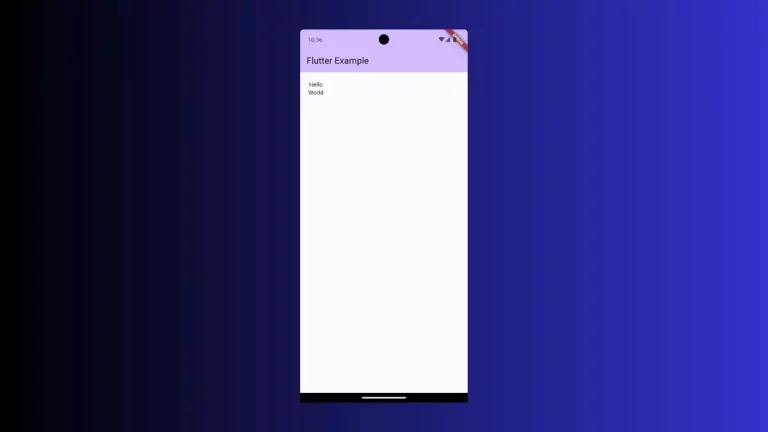
Following is the output of this Flutter radio button example.

I hope you liked this Flutter tutorial. Stay tuned for more tutorials.
One Comment